NOVEMBER 3 VICTOR ECHO MIKE
  • Blog
  • Events and Activations
  • Diversions
  • About
  • Gallery
  • Contact
  • Links
  • Subscribe
  • Search
  • Blog
  • Events and Activations
  • Diversions
  • About
  • Gallery
  • Contact
  • Links
  • Subscribe
  • Search
NOVEMBER 3 VICTOR ECHO MIKE

ham radio Projects and musings from a (Relatively) new operator

Details and the Important Stuff

5/22/2017

0 Comments

 
I think details are important. I prefer neatly wrapped cables. I like straight lines. I abhor piles, but if a stack is required, it MUST go from largest on the bottom to smallest at the top. I'm picky about how the dishwasher should be loaded (to the point where my family makes me do all the dishes...) Need I go on?
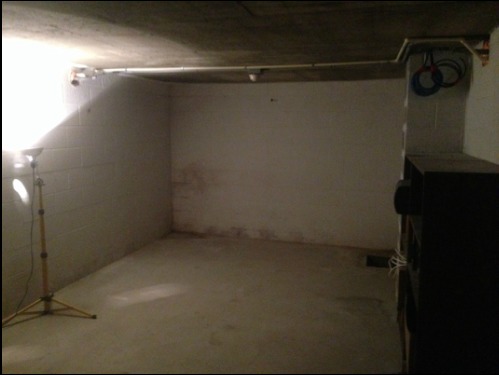
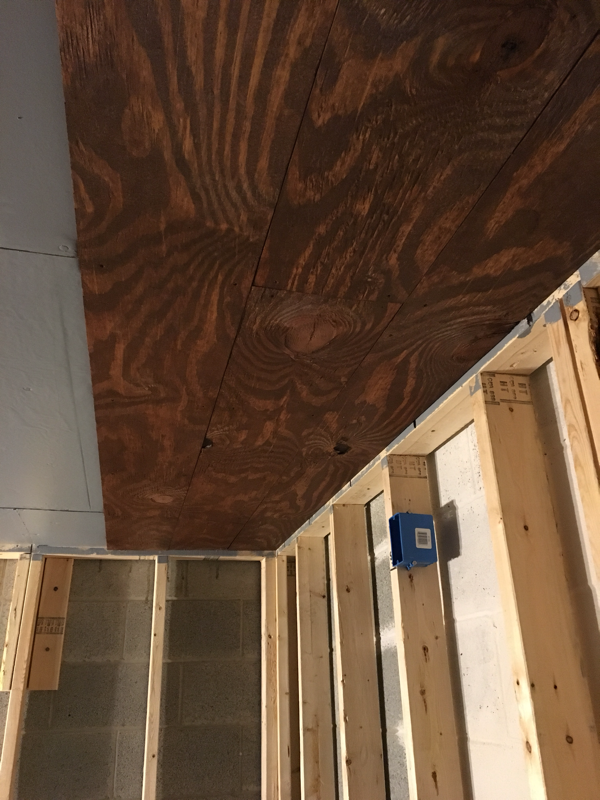
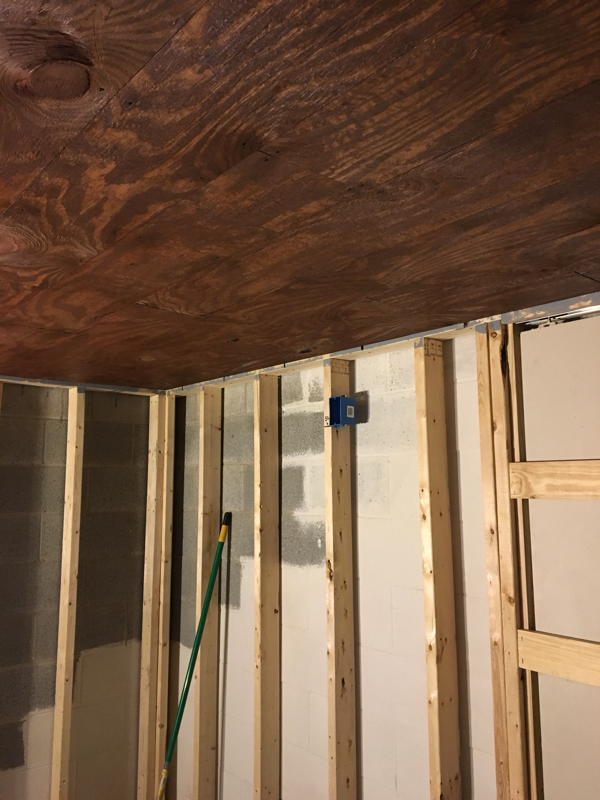
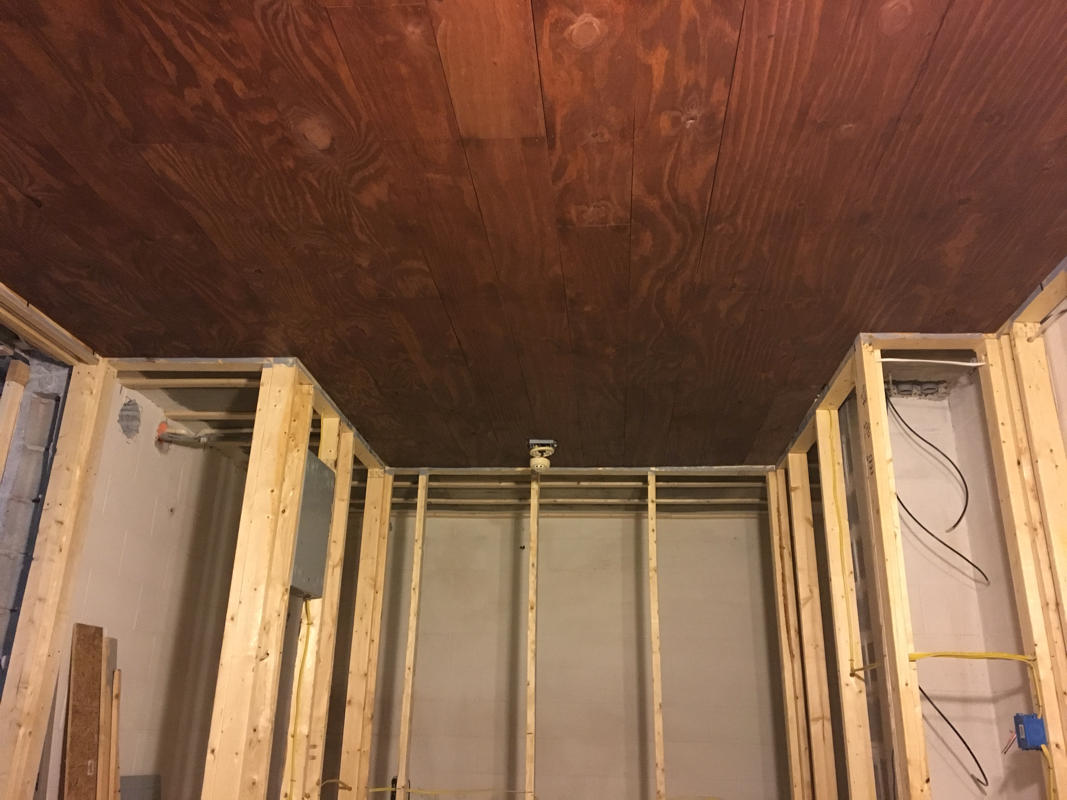
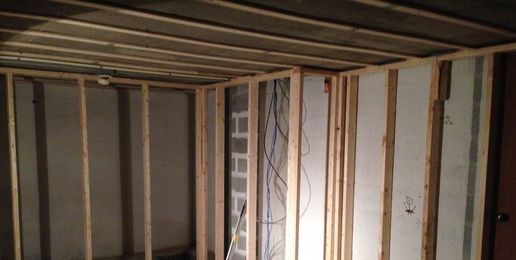
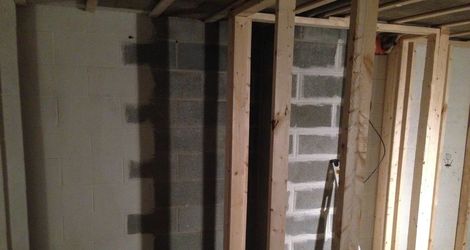
Now that you have some insight into my neurosis, I'll fill you in on why I shared. The empty concrete cube that I've been turning into my ham shack had some conduit and a decent size junction box for my home fire alarm system running through it (that's right - I said fire alarm system, not smoke detectors. I am fortunate enough to have a commercial fire alarm system in my house.) The junction box was too deep for the ceiling treatment I did, so after the main ceiling was up, I needed to build up a little something to cover it, and to mount the smoke sensor onto, so that my sense of order in the universe would not be shattered. Here's how I did it:
Picture
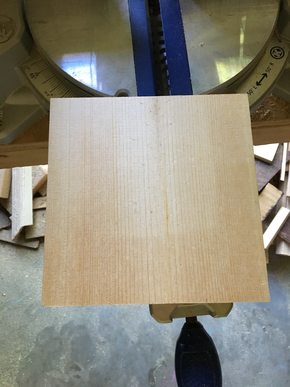
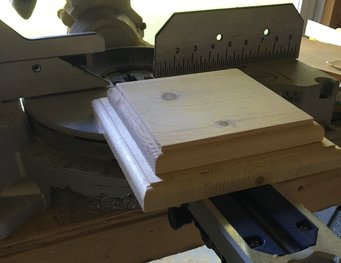
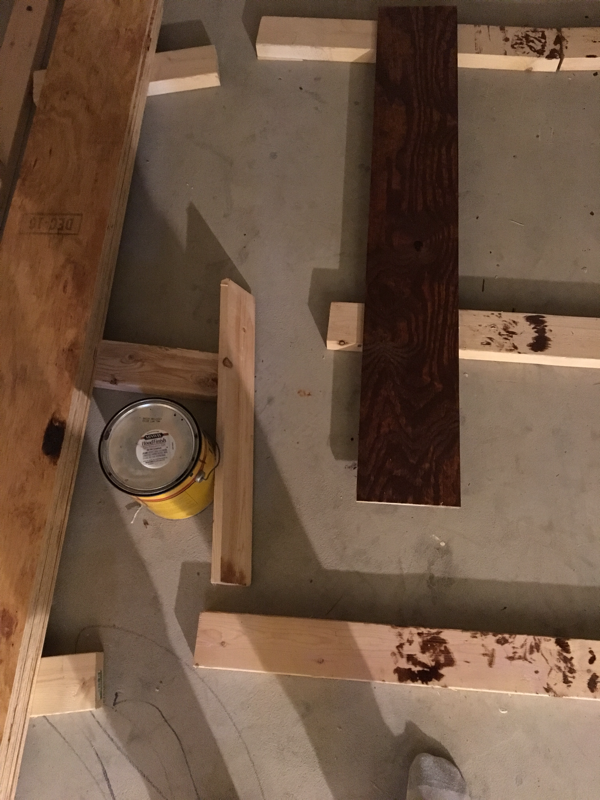
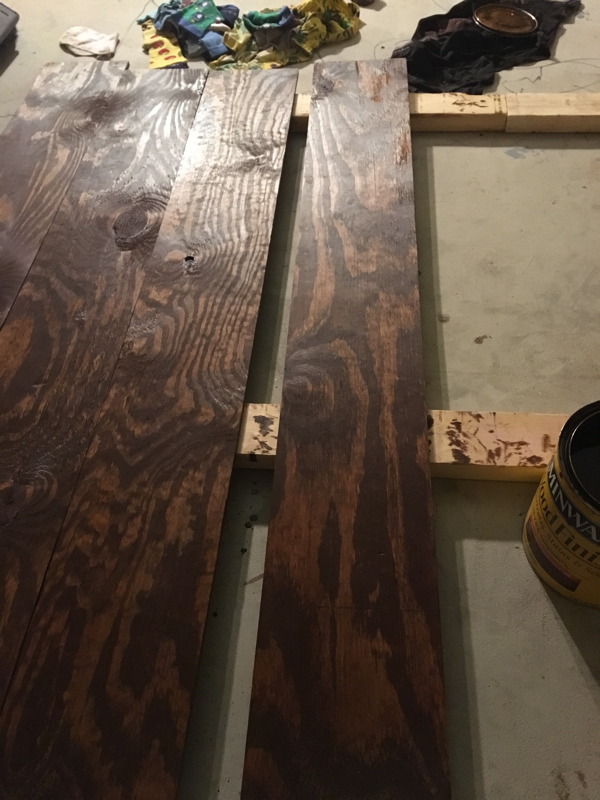
I started by cutting a piece of 3/4 inch pine to about 6x6 inches.
Picture
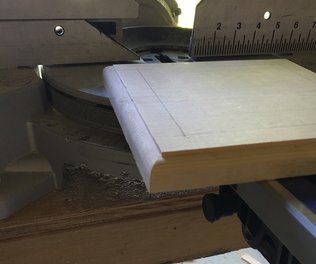
I next used my router to zip a nicer profile around the outside edge. I also marked the center to cut out, so it would fit around the junction box.
Picture
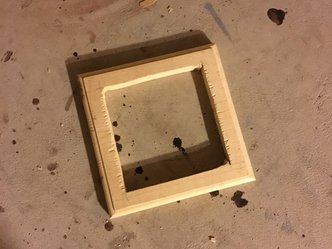
I cut out the center. I allowed this to be a rough cut, because it will be hidden.
Picture
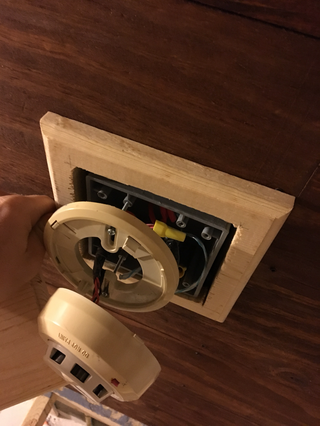
Test fit around the box.
Picture
I cut a second board, slightly smaller than the first, and routed the same profile on it.
Picture
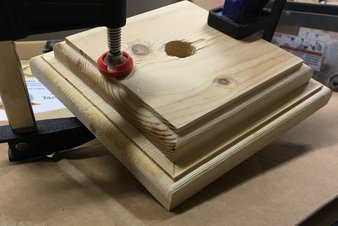
Some clamps and glue, and a hole for the wires to pass through (commercial fire alarm equipment is low voltage, so the wires are pretty small. If you were doing this for a standard 120volt Smoke Detector you'd need a bigger hole, and possibly a junction box extension)
Picture
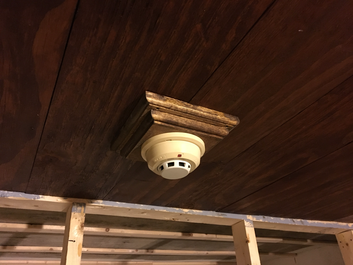
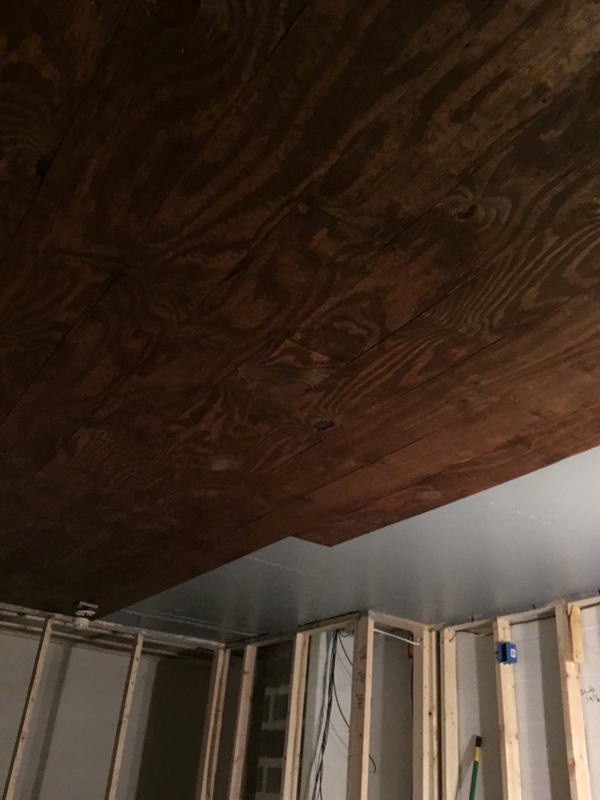
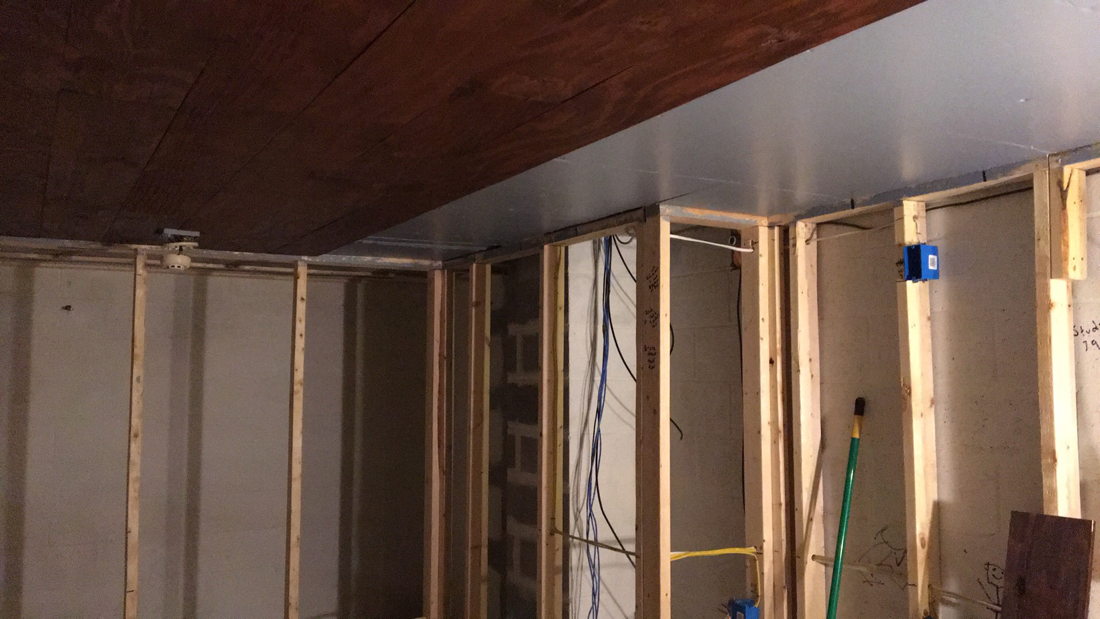
A little bit of stain to match the rustic ceiling, 4 screws, and presto - a pedestal for the most important piece of equipment in the ham shack!

    That's That!  The most important piece of equipment in my ham shack is already in place and operating.  Hopefully though, I'll never need it! 
Previous: Shack Build
Next: Shack Build
Back to Part 1 of this Project
0 Comments

A Roof Over My Head

5/18/2017

2 Comments

 
Post contains affiliate links
If you go back in time a couple years, to the beginnings of my blog, you might recall that one of the reasons I started it was to share my ongoing shack builds. It's been a while, but as I promised last week, I finally have an update on the home shack.  This is a good time to also point out, that if you don't follow me on twitter or instagram, please Check out the links in the right side bar and do so!  My followers there got several sneak peaks at this while it was in progress...
The last time I shared, I only had framing done. Since then, the rough electrical for the non-radio stuff (outlets & lights) has been nearly finished. Because of low headroom, I decided to do exposed conduit for part of the main run to the shack's sub panel. This means I had to get the ceiling treatment done before I could finish my rough electrical.
The raw space I had to work with is actually underneath my house's original garage. The suspended concrete ceiling was hardly smooth (check out the picture!), so I wanted a treatment that wouldn't look strange if it was uneven or wavy. Ultimately, because (as I've mentioned before) I'm going for the "old English pub meets mad scientist lair" look, I decided that a wood plank ceiling would fit the bill.
Picture
Here's what the space looked like before this project started - raw concrete cube, and nearly none of it was straight / level / plumb!
Since I wanted something that looked old and weathered, I knew that I needed boards that were a little rough. They do make flooring that "looks" old, but it still seemed too modern.  To get the look I was after, I ended up buying 1/2" exterior sheating. This is plywood that has imperfections, knots, dings, you name it. In other words, with a bit of stain, it would be perfect!
Before I got too carried away, I put up furring strips and foam insulation board. I also painted the face of the insulation board gray, so that if there were any gaps in my rustic ceiling you wouldn't see green or pink foam showing through.
The next step was to fire up my table saw. I love this saw! It was an "every holiday this year" gift from the YL. I also have the stand that lets me roll it around the garage, so when I'm using it I can push it over to the 240v outlet on the center garage post, and then push it back to the side when I'm done. Anyway, I ripped the plywood down into 8" and 7" boards. I did this to keep the boards from looking too uniform, plus it creates less waste in in the amount of plywood used. Most of the ceiling is the 8" boards with couple rows of the 7" boards thrown in for effect.
With my fancy boards ready to go, I started the process that took a couple weeks worth of spare evenings. I would stain as many boards as I had room to lay out, and then the next available evening I would screw them up, and then stain the next round. Repeat until finished.
I'm thrilled with the way it came out! I know the look isn't for everyone, but I love it, and will enjoy it every time I lean back in operating chair for a stretch between contacts!
Previous: Shack Build
Next: Shack Build
Back to Part 1 of this Project
2 Comments

finally some progress

7/3/2016

4 Comments

 
     So, I have finally made some forward movement on my home shack build!  As I get rolling on this project I'd love to hear feedback from everyone on what you would do if you had the opportunity to build your shack "from scratch" because that's exactly what I'm doing!  A while back I attached furring strips to the ceiling for the eventual ceiling treatment, and today I finally started framing some walls.
Picture
     Before I get too far, I'll explain a couple things in this picture - 1st, the door that looks partially obstructed by the framing is partially obstructed!  That was the original door into the room, and it is actually getting a pocket door framed up inside/in front of it.  Once the pocket door is in place, I'll remove this door from the other side.  This will help keep the dust out of the finished part of the basement while I work (and also keep the cats out...)
     You might also notice the wires hanging down in the boxed out area.  These are for computer network and TV distribution, and run up into the new addition - I put them in back when everything was torn apart, because that was the easiest time to do it!  In this same spot I have three 2" conduits running from this room clean up to the attic, to allow for whatever needs to get up there (like maybe some coax...)
     Lastly, if you are extra observant, you might notice that a couple of the wall sections are framed with the studs 2' on center instead of the standard 16".  This is because part of the strength of these walls will come from the eventual treatment that they get (I'm deciding between two options right now), so these studs are really just there to attach that treatment too, and not to provide strength like is needed for a standard drywall finish.
     The framed wall at the back of the picture is the wall that the operating desk will eventually be against.  If you look closely, you can see that this wall is actually some distance  from the foundation wall.  Here's another shot to help demonstrate this:
Picture
     The design I have bouncing around in my head allows for access to the back of the radio / computer / other equipment from this space, so that all of the wiring and everything else can be back here behind the walls, so that you don't see it from the room, but will also be very accessible by just walking back into this little "service" area that I am building in.
     What do you think?  What would you do with a similar space if you were turning it into your radio shack?  Leave a comment and let me know!
Previous: Shack Build
Next: Shack Build
Back to Part 1 of this Project
4 Comments

that pine fresh scent

7/2/2016

0 Comments

 
     Look what I got!....
Picture
     A few 2x4's might not mean much to most folks, but to me, it means that I'll finally make a little more progress on the shack at home, which, if you'll recall, looks like this at the moment:
​
Picture
     The YL that servers as the project manager around here has given the nod to start making some additional progress in the basement project, which included getting this room framed out.  Before you know it, it might start to look like a proper shack!  Stay tuned - with any luck I'll have some progress pictures to share before the weekend is out.

Happy Hamming!
Previous: Shack Build
Next: Shack Build
0 Comments

in The Gutter

4/27/2016

5 Comments

 
If you go all the way back to the beginning of this blog, you can see the current state of my home shack. If you need a refresher, here it is again.
Picture
     Due to the hecticness (is that a word?) of life, and some other home projects that needed finished ahead of this, I haven't had time to dig into the work down here yet - but I will soon!​
     Even though life is busy, I still like to play radio in the house every so often. If that urge strikes and I can't fight it, I bring my stuff in from the car and set up like this:
Picture
When I do this, the antenna I use as a temporary one is my gutters. Right outside this window is the downspout that goes up from the basement to the roof, and then the gutter runs the length of the main part of the house, about 32 feet. This means that between the downspout and gutter, I basically have a 60ish foot inverted L antenna, with the vertical part being about half of it. This works out to about 1/2 wave on 40 meters.
     When I decided to use this I knew it would be temporary, so I just pounded a 6 foot piece of rebar I had into the ground at the base of the downspout. I put a ring terminal on the center conductor of the coax and screwed that to the bottom of the downspout, and then used a hose clamp to attach the shield to the rebar.
 I make an ugly choke out of a few turns of the end of the coax, and connect the other end to my LDG tuner, and call it a day. Not nearly as effective as radials and proper matching would be, but it gets me on the air temporarily.
     So, all of this was to bring you here: Gutter's can make pretty darn good antenna's! 
Good enough that I'd consider burying some radials, putting in a proper ground rod, and making the coax connections a little more weather proof.  I made some contacts with good reports, and low power almost right away, so I decided to measure my gutter antenna using my analyzer.  Here's the graph:
Picture
     This graph covers from 0 to 54 MHz, and almost all of it is under 5:1 SWR, so the LDG tuner that works with my radio can match it all just fine.  Here are where the bands land:
  • 160m is all right around 3:1
  • 80m varies from 2.5:1 to 3.5:1 
  • 40m is the worst ranging from 4:1 to 5.3:1 (go figure!)
  • 30m is all just under 4:1
  • 20m is all between 2:1 and 2.5:1
  • 17m is about 2:1
  • 15m is all between 1.8:1 and 1.81:1
  • 12m is between 2.8:1 and 3:1
  • 10m is between 2.7:1 and 3.3:1
  • 6m is between 1.6:1 and 3.3:1
     In addition to the relatively low SWR, there are a several spots that are nearly resonant - several of those aren't in the amateur bands, but a couple are:
  • 3.780MHz
  • 28.080MHz
  • 51.840MHz
     So if you actually read the whole way through this - what do you think?  Are you gonna hook up to your downspouts and gutters and see what magic you can make happen?  I know at least one of the local hams in my area uses his gutters from time to time, and I owe him a visit so that we can hook up the analyzer to his guttertenna and see how it charts out.  Leave a comment and let me know your thoughts!
5 Comments
<<Previous
Forward>>

    Categories

    All
    Antenna
    Cw
    Digital-modes
    Flying-with-gear
    Home QTH
    Miscellaneous
    Mobile
    Operating Events
    Portable
    POTA
    Shack Build
    Technical


    - N3VEM -

         Welcome to my Ham Radio Blog!  This blog was started primarily to share my two concurrent shack builds - my mobile station and my home station.  Over time, this has grown to include sharing about my operations, and general radio-related thoughts that I have as a newer operator.  
         
    ​Enjoy!

    RSS Feed


    Picture
    POTA!

    Picture
    Proving that hams do indeed still build stuff!

    Picture
    100 Watts and Wire is an awesome community, based around an excellent podcast. 

    Archives

    September 2020
    July 2020
    January 2020
    September 2019
    August 2019
    July 2019
    June 2019
    May 2019
    March 2019
    January 2019
    December 2018
    November 2018
    October 2018
    September 2018
    August 2018
    July 2018
    June 2018
    May 2018
    April 2018
    March 2018
    February 2018
    January 2018
    December 2017
    November 2017
    October 2017
    September 2017
    August 2017
    July 2017
    June 2017
    May 2017
    April 2017
    March 2017
    February 2017
    January 2017
    December 2016
    November 2016
    October 2016
    September 2016
    August 2016
    July 2016
    June 2016
    May 2016
    April 2016
    March 2016
    February 2016
    January 2016
    December 2015
    November 2015


Picture
Copyright © 2015
 Vance Martin is a participant in the Amazon Services LLC Associates Program, an affiliate advertising program designed to provide a means for sites to earn advertising fees by advertising and linking to amazon.com.