Post Contains Affiliate Links
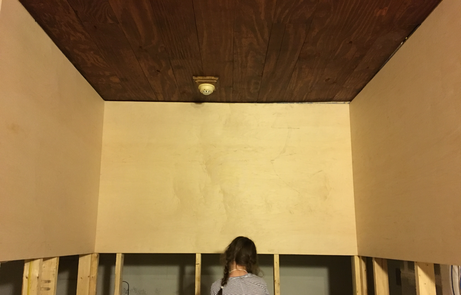
I have another update to share on the progress in my shack! The operating position received the treatment that will make up the "wall" behind the desk. My little helper wanted to demonstrate what it would look like when someone was sitting in the chair, so use your imagination and pretend she is sitting on a comfortable office chair, with a desktop/work surface around her, along with the dim glow from all the radio equipment:
Here are a couple more pictures, and then I'll describe my slightly unorthodox method to hang this, what I used, and what the plan is:
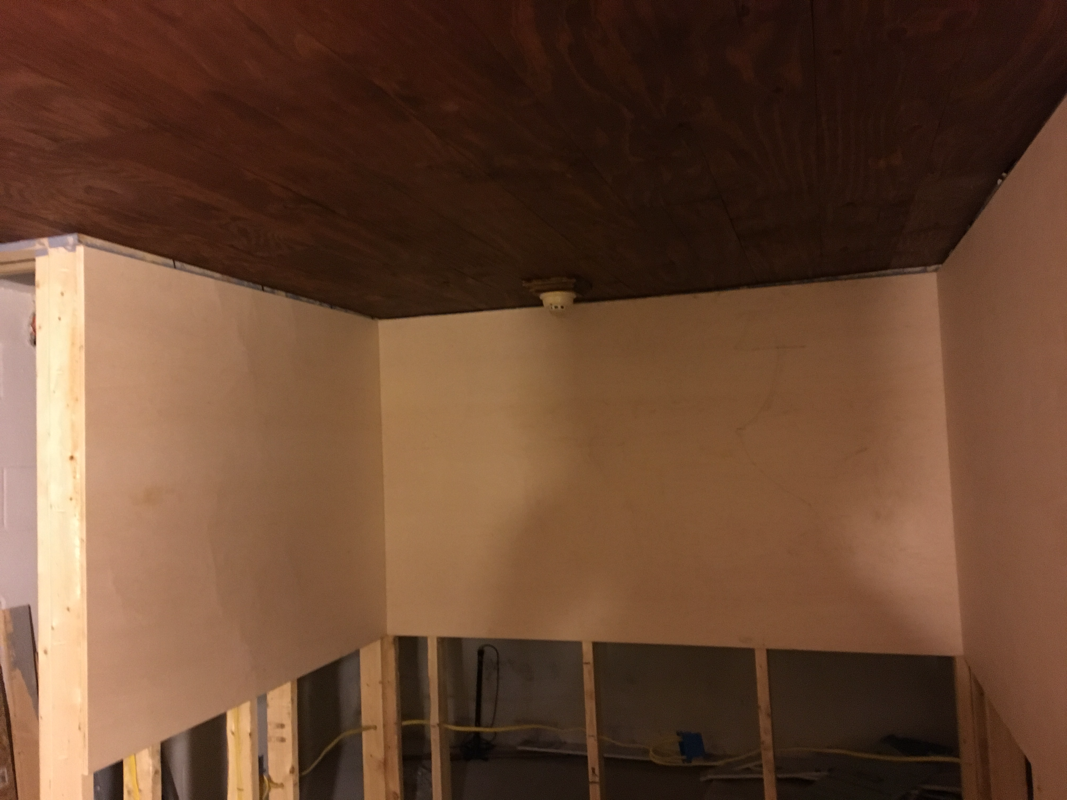
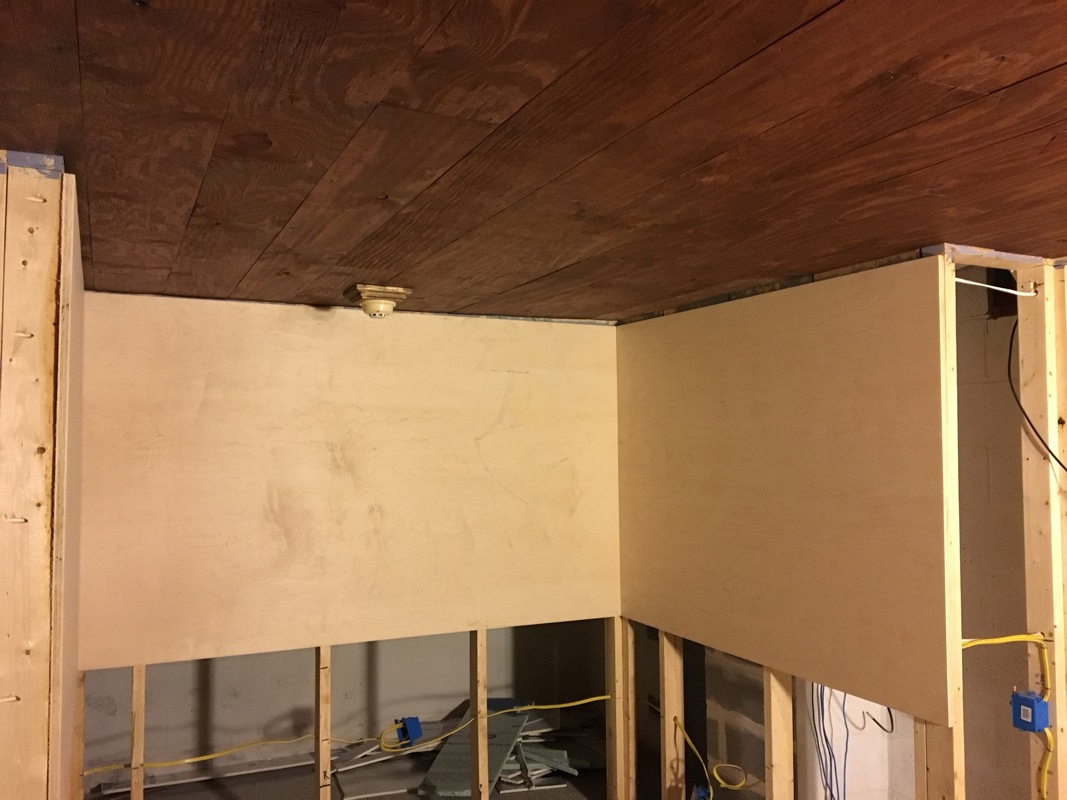
While this might not look like much at the moment, it actually represents something that I put a bit of forethought into. I like a clean look, so I knew that for my operating position, I wanted the equipment recessed into the wall, so that from the desk you would just see the faces of the equipment through purposefully sized cutouts. What you see here is actually 3/4 inch maple plywood, that will be stained, since that is in keeping with the look I'm after for the room. The wood wall will give me the look I'm after, while giving me the ability to mount the equipment they way I want.
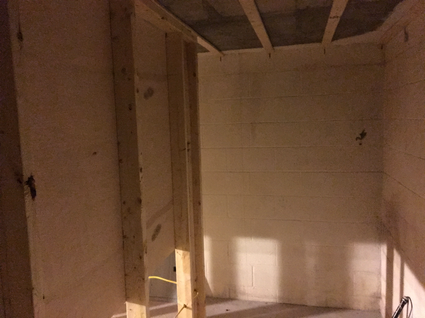
The framing that this plywood is on was framed with studs 24 inches on center instead of the standard 16 inches, so that there would be room for equipment to slide in between the studs. This also gives me plenty of space between studs to use some rack mount hardware, or potentially even put racks behind, with the faces flush with the wall. I have also mentioned previously, but now you can better see, that I framed the wall about 4 feet from the back of the room. This gives me a utility space that I can walk into, which will give me access to the back of all the equipment, and a place to put the "non-glamorous" components, like back-up batteries, etc.
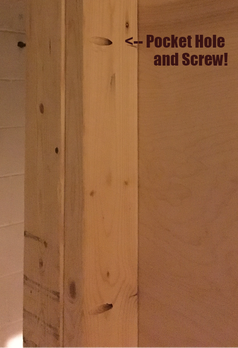
I hung these plywood panels in a non-traditional way. Since these panels will be stained, and will be the visible "wall", I didn't want to see screw heads. To make this happen I borrowed a tool from my YL (I'm pretty sure I've used it more than she has...)
 |
 |
For those that don't know, this thing is called a Kreg Jig. It lets you create perfect holes for pocket screws, which is a pretty slick way to hide fasteners. The most common application is probably for making the face frames for cabinetry, since they are an easy and fast way to join material that is butted together. In my case, when combined with some construction adhesive between the stud and plywood, it was a perfect way to screw my panels from the rear, while being sure that the tips of the screws wouldn't poke through the face!
The way the height works out, once I build the desktop, the desktop and splash guard will hide the seam between the top panel and the one below. The end result will be a seamless wall the I can mount equipment in, that is strong enough to hold anything that I might reasonably hang on it (TV / PC monitors) that gives me a finished look, while at the same time giving me very easy access to the rear of the equipment!
I'm pleased with how it's coming along! If you were doing a similar project, what features would you build in while you had the chance?
P.S. I found a use for the cutoff ends of this plywood, to build something that my YL has wanted for a while, that has a bit of a ham radio tie-in. I'll share that soon!
 RSS Feed