NOVEMBER 3 VICTOR ECHO MIKE
  • Blog
  • Events and Activations
  • Diversions
  • About
  • Gallery
  • Contact
  • Links
  • Subscribe
  • Search
  • Blog
  • Events and Activations
  • Diversions
  • About
  • Gallery
  • Contact
  • Links
  • Subscribe
  • Search
NOVEMBER 3 VICTOR ECHO MIKE

ham radio Projects and musings from a (Relatively) new operator

npota at saugus iron works

5/3/2016

0 Comments

 
Post contains affiliate links
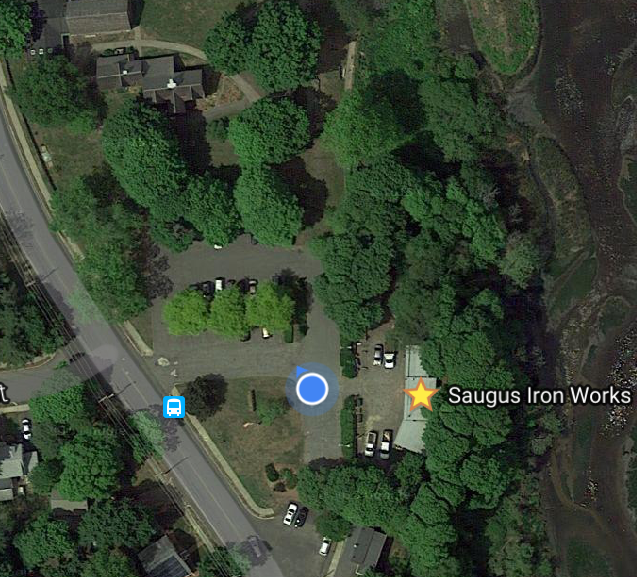
     My work got me reasonably close to another National Park recently, and I finished my meetings in time to get in an activation at Saugus Iron Works.  
Picture
Picture
     According to the National Parks on the Air website, my activation will have been the 9th activation at this park.  In addition to only 8 prior activations, there have only been 246 contacts with this park.  While I didn't add many to that count, I did make enough contacts to earn the activation.  Although I didn't have many contacts, I did contact more countries in this activation than I have in any other single activation.  In all my previous activations I had contacts in the US, and maybe 1 DX (for the non-ham readers, DX is the abbreviation we use for a contact outside the country.)  During this activation I made contact with stations in:
  • The United States
  • The Czech Republic
  • Germany
  • Ireland
  • Spain
     Considering how challenging the day was, I was pleasantly surprised by this little tidbit when I realized it!

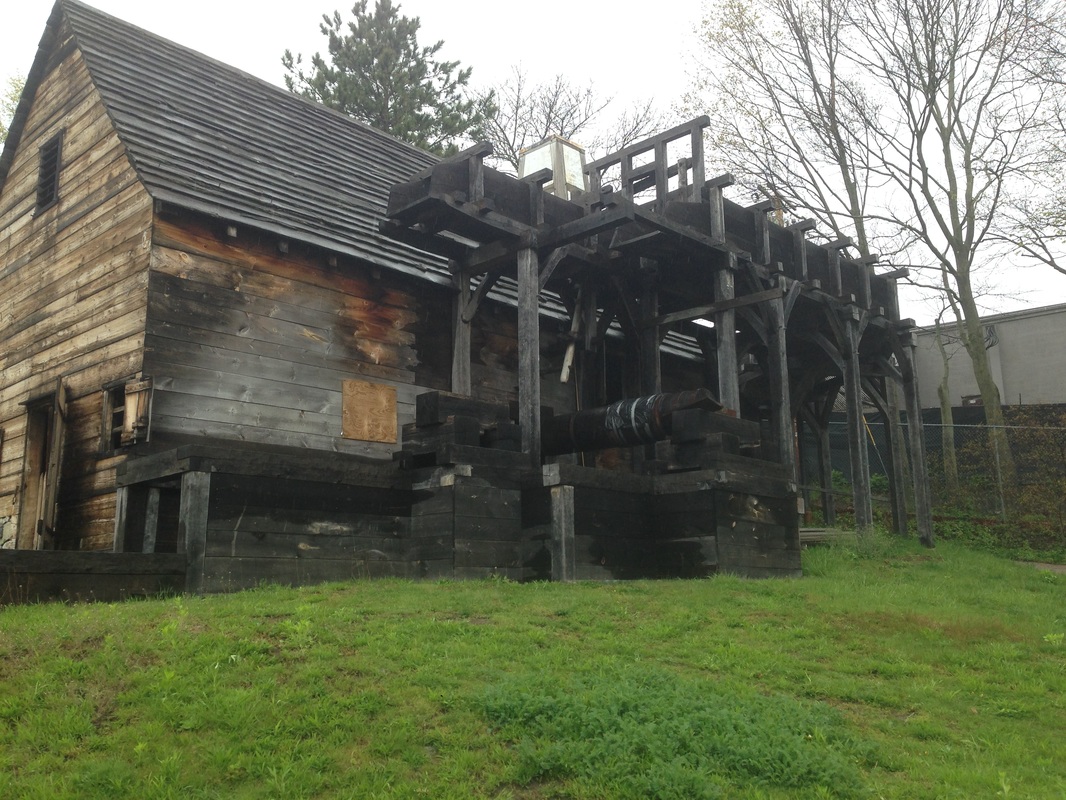
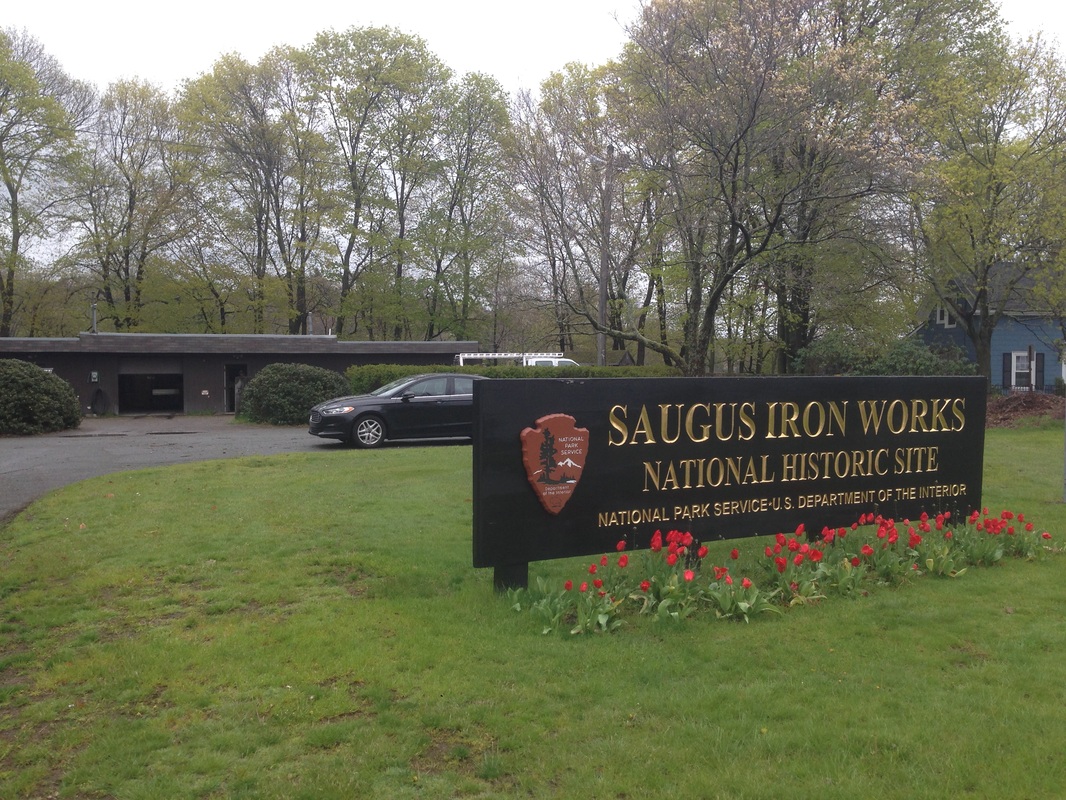
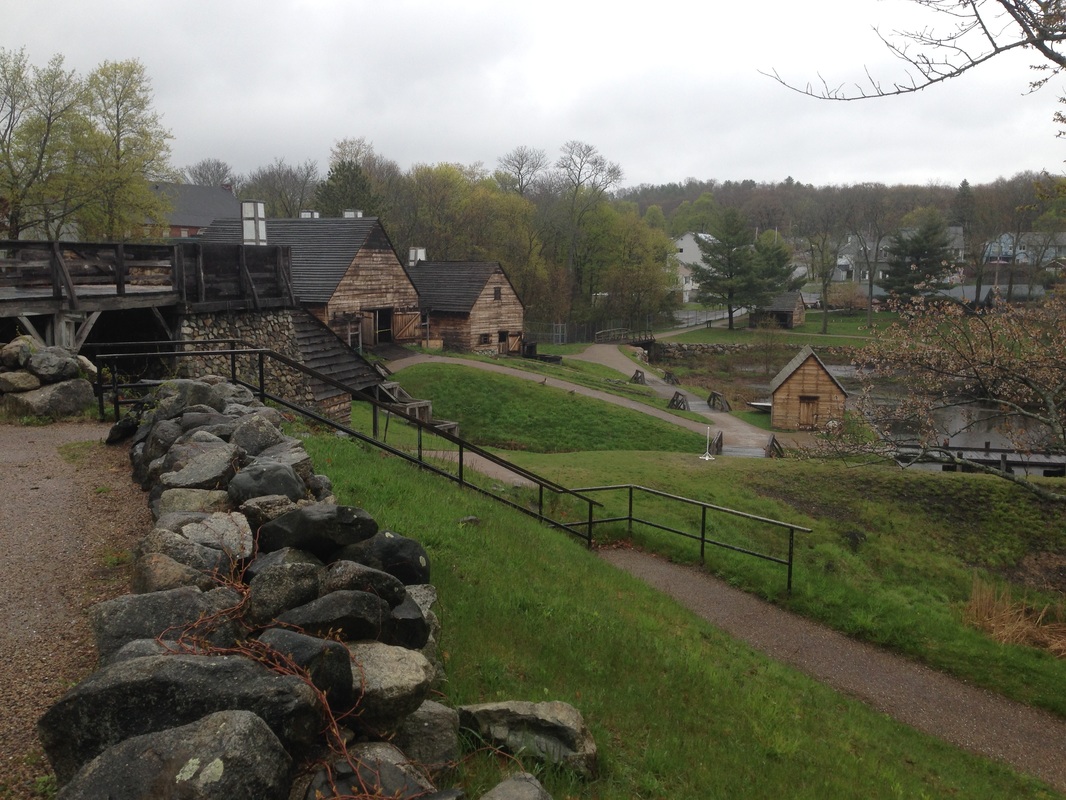
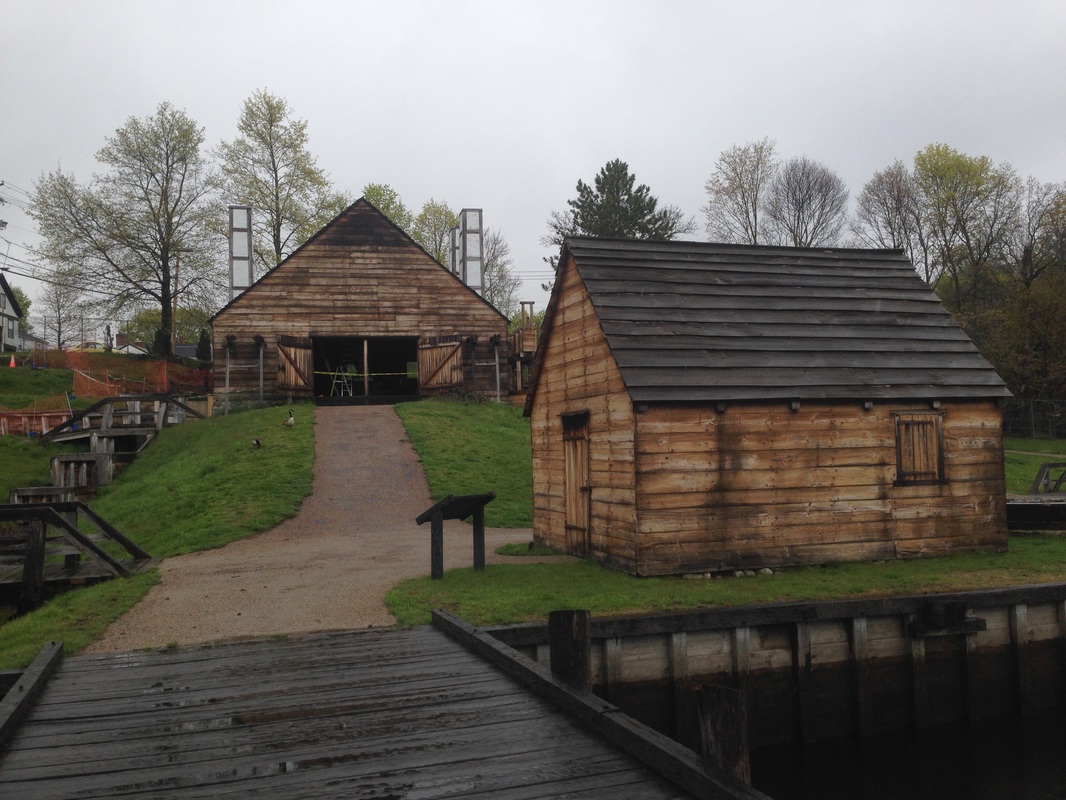
the start of the visit

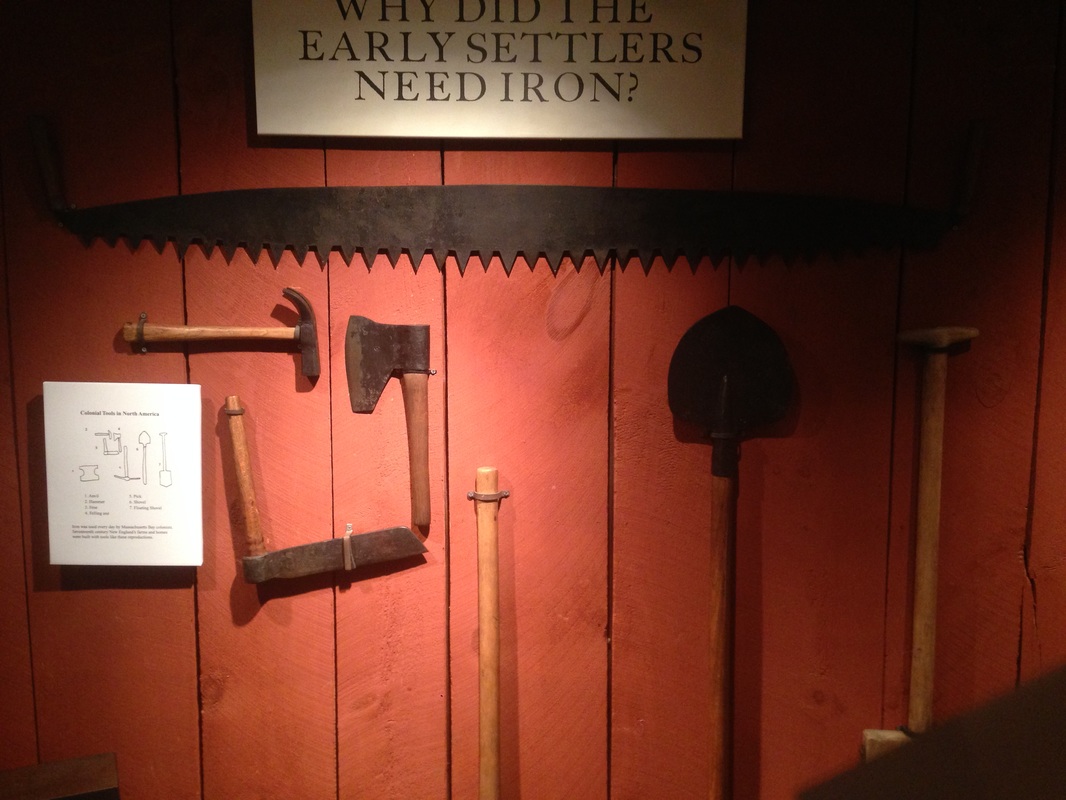
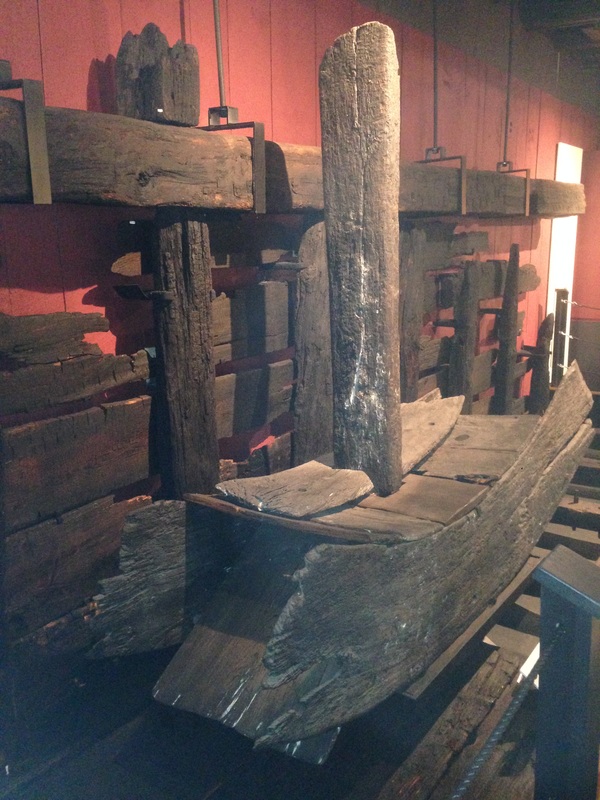
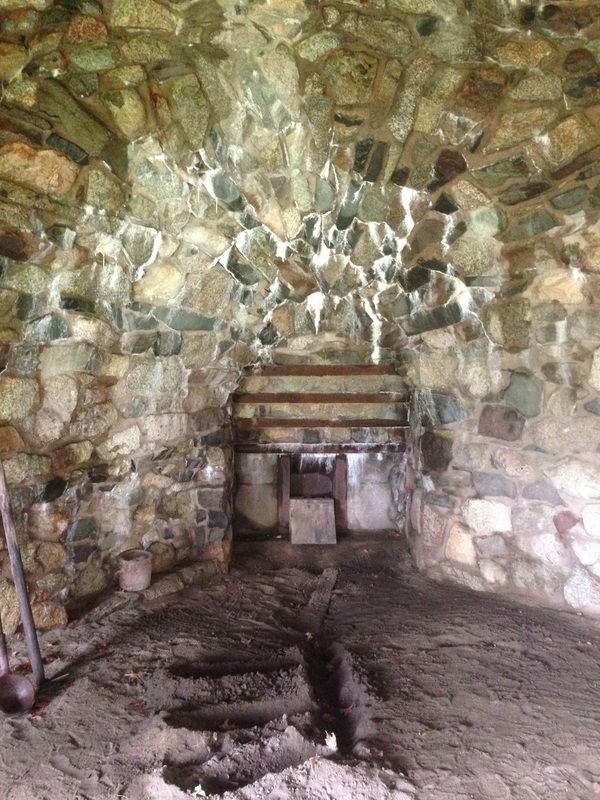
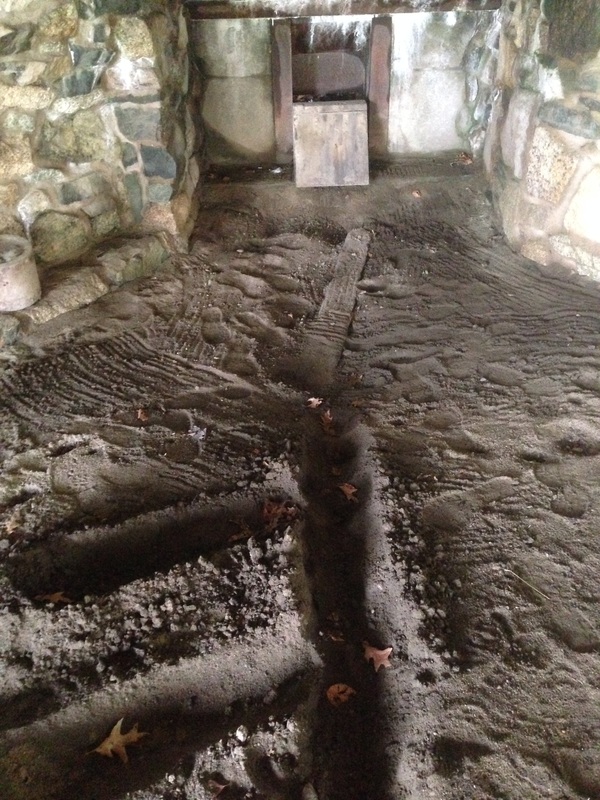
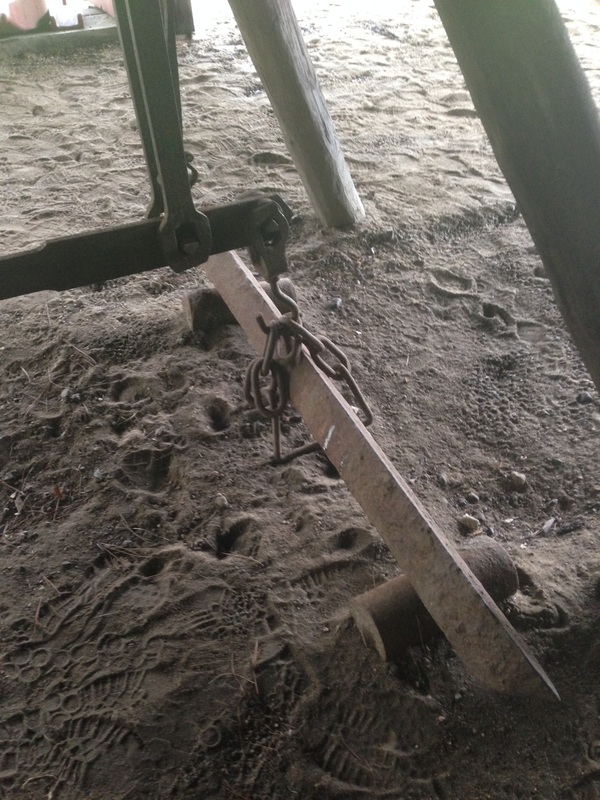
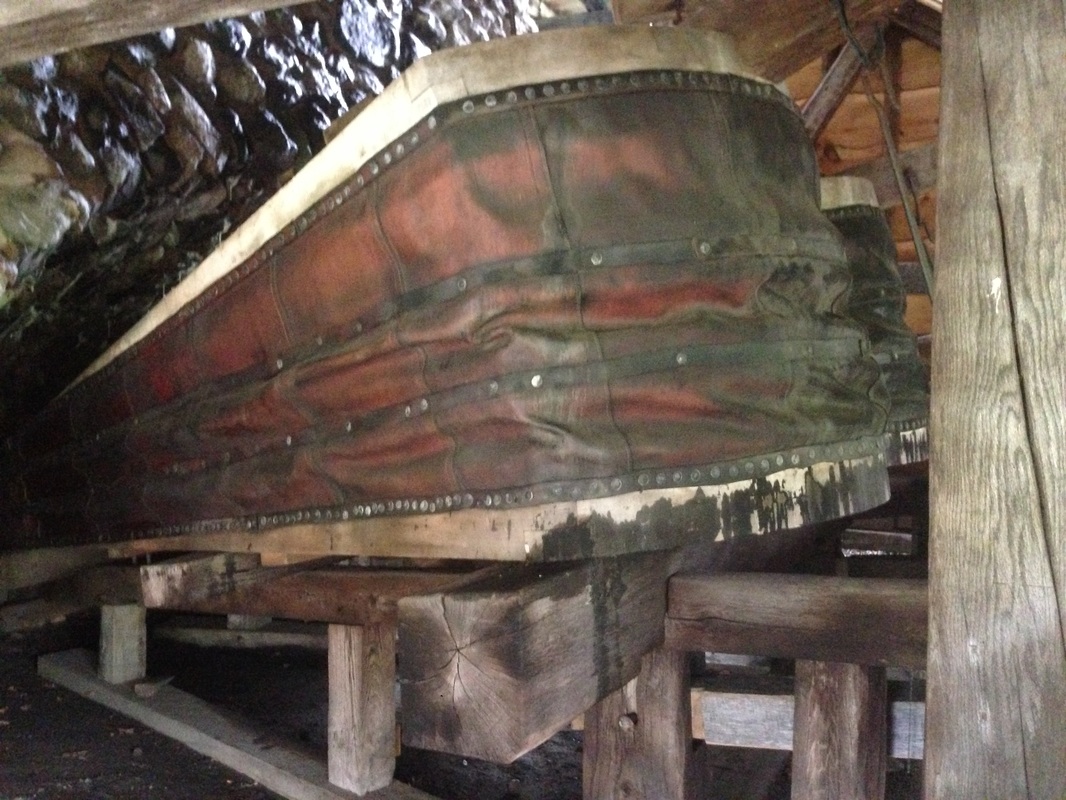
     One of the things that I think is awesome about National Parks on the Air, is visiting the parks!  I poked around Saugus before I even started playing radio - part of that time was a nice chat with Ranger Mike, who definitely knew his stuff about this park!  The short version, is that these iron works started because the Puritan settlers needed iron tools for their work and lives.  The Iron Works went through several phases of success and failure (which included some tense interactions between the Puritan settlers and the non-puritan workers, some of which were prisoners of war!)  Eventually, the Iron Works was closed, and lost to time.  In the 1940's archaeologists began excavations, and in the 50's they rebuilt the Iron Works into the site it is today.  
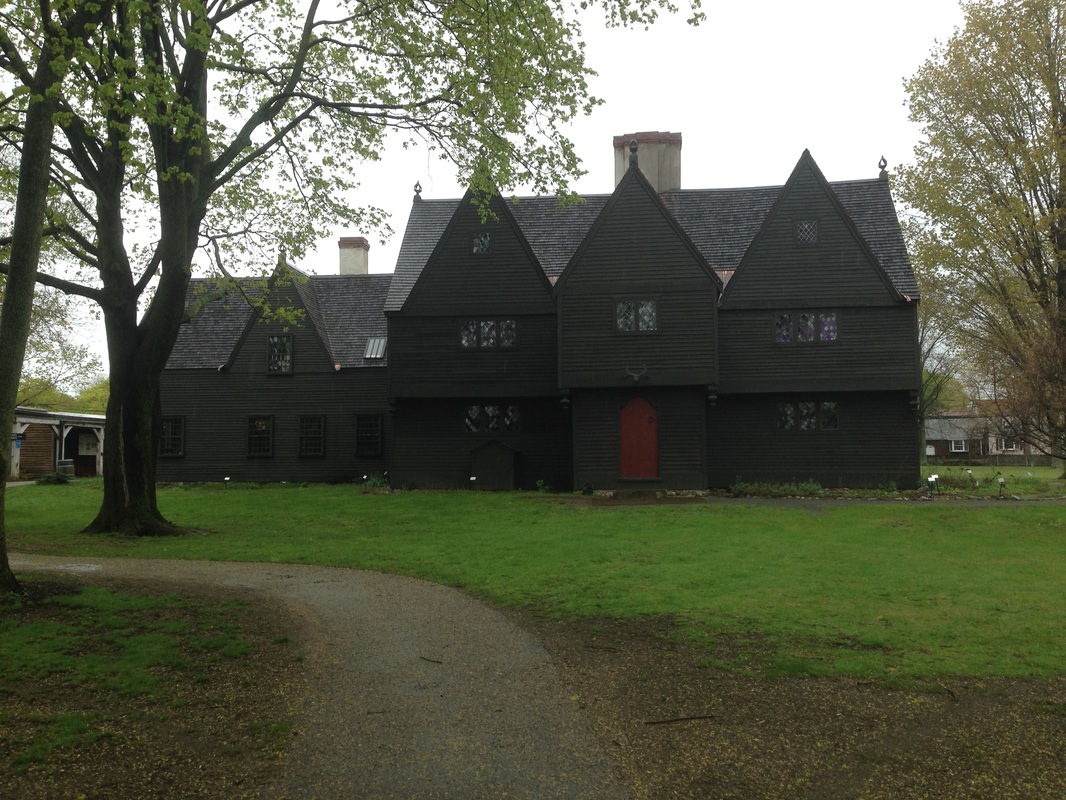
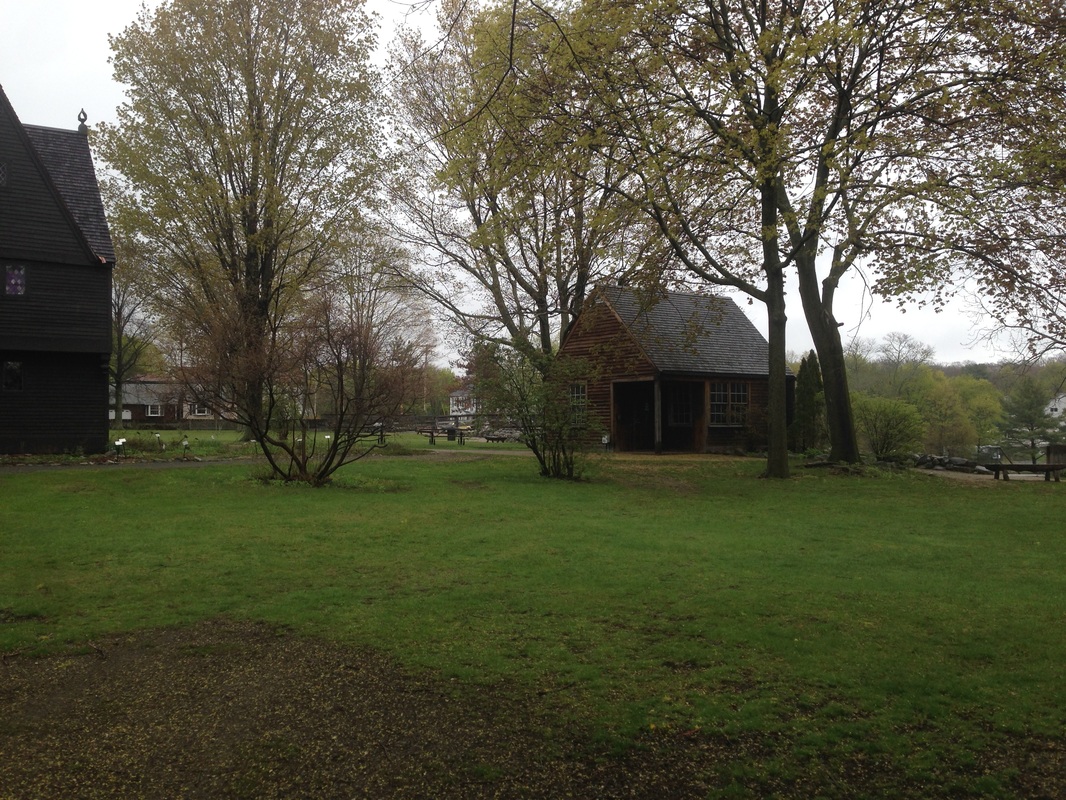
     Because most ham radio operators are technology geeks, I'd say every ham in the area needs to check this place out - what's cooler than historical technology!

The middle of the visit

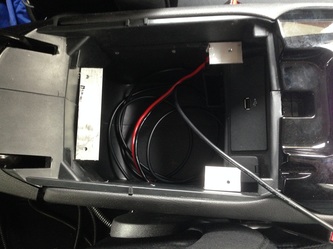
     After poking around, I decided to start playing radio!  Before I left for the business trip, I had actually thrown some temporary stuff into the car.  Part of the semi-secret project that I'm working on (there will be either a series of posts, or one massive post on that project when it is done) involves some of these bits and pieces, so I figured I'd use them on this trip to test them out.  This consisted of a pair of big batteries in the trunk (110ah total capacity) and a couple other tidbits.  
Affiliate Link
Affiliate Link
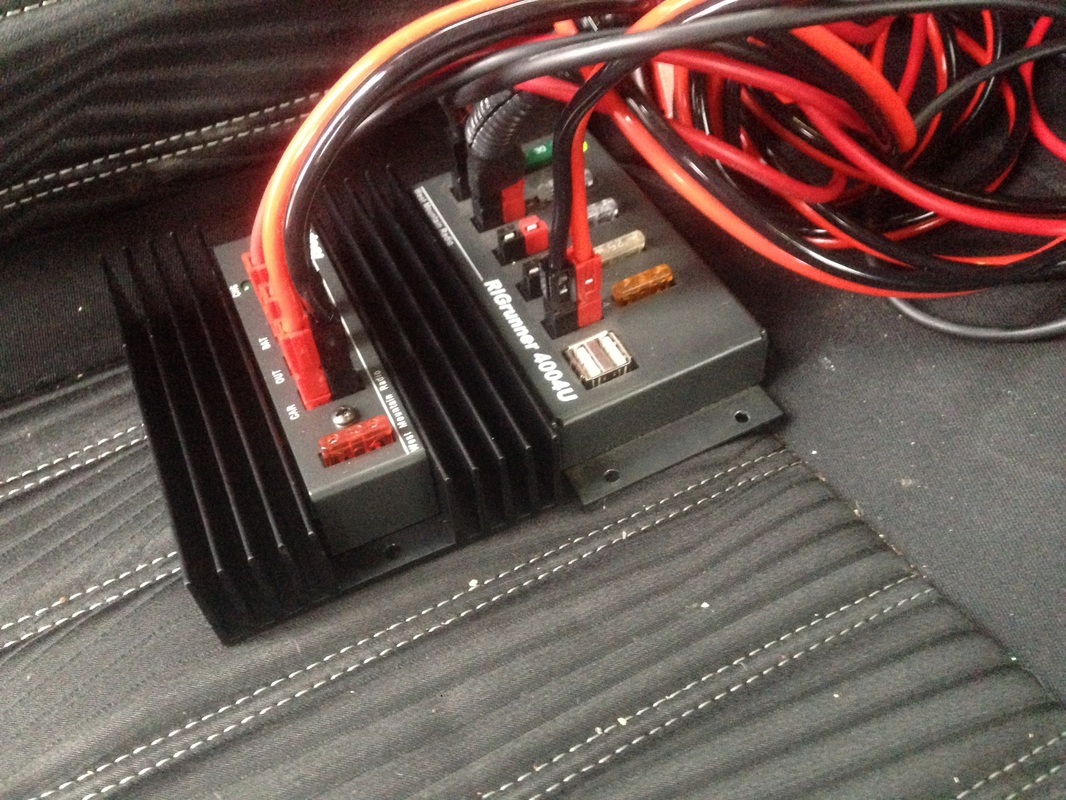
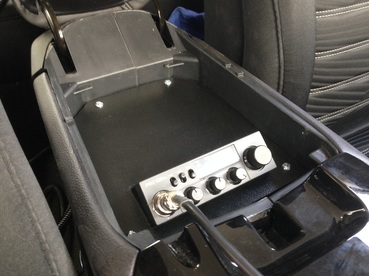
     The other tidbits are a West Mountain Radio Isopwr, which is basically a fancy diode/switch unit that allows these auxiliary batteries to be connected to the main car battery while the car is running, but isolates the batteries when the car isn't running, so that the radio's don't drain the main battery.  I also had a West Mountain Radio RigRunner that I used to distribute the DC power.  
     It worked out great because I was able to do my activation without the need to sit in a running car!  Here's the equipment temporarily thrown in my car - stay tuned for the actual project that this stuff will ultimately be used for.
Picture
Picture
     Even though the equipment was working out - the contacts weren't coming.  It was raining cats and dogs, so I was just using the hamstick that is normally on my car, and even after a couple hours, I had only netted 9 contacts - 1 short of what I needed!  When I was getting frustrated to the point of almost giving up, the rain finally let up.  I took advantage of the break in the rain to take a short bio break, and set up my buddipole Antenna.  I also hooked up my computer to switch over to digital modes.

the end of the visit

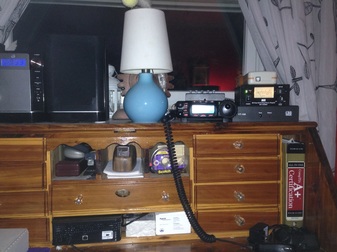
     If you're curious about my digital setup in my car, check out this post from March when I got myself set up to be able to mobile digital in Shenandoah National Park - this is a temporary arrangement, which will eventually be integrated into the "secret project."  
     Once I switched over to the buddipole, and digital modes, the contacts flooded in!  I made as many PSK31 contacts in the last 30 minutes before the parked closed, as I did in the 2 hours leading up to that!  That means I had enough contacts to count, plus some for insurance (I already uploaded my logs!)​
     I have now successfully activated 5 different parks, and I've had 1 complete failure (Delaware Water Gap.)  For those keeping score, this puts me in a tie with a bunch of other people for 160th place out of 660 for park activators.  I'm assuming the people leading the charge have multiple activations at the same park, but I am going to make it a personal goal to try to activate as many different parks (without repeating!) as my travels in 2016 will allow.  Maybe the ARRL will add a 3rd point category for unique activations - if they did, where would you rank?  Leave a comment and let me know!
0 Comments

close encounter

5/1/2016

2 Comments

 
Picture
     To the stranger whistling in the Lancaster, PA Panera bread - "I heard you!"  
     Yesterday I had a CW close encounter.  We were running some errands, and my wife had used the Panera app to place a pickup order for a bagel.  The Panera rewards card had earned us a free bagel every day for the month of April, so we were making sure to take advantage of it!  When you order for pick up at Panera, your order ends up on a shelf, and you just pop in, grab it, and pop out again - if you're quick you can be in and out in about 30 seconds.  It was during that 30 seconds that I heard a faint whistling coming from somewhere in the restaurant.
     The sound triggered something in my subconscious that made me turn and look back over my shoulder as I dashed out the door.  It wasn't until my feet hit the sidewalk outside that it dawned on me - the whistling was in a very distinct pattern:

_._.  _ _._
     Wait a minute - that's CW, and it was someone whistling CQ! I was on a bagel mission for the YL, so even though I strongly considered it, I didn't head back into the store to whistle back and figure out where it came from.
     As we were driving away I was wondering who the whistling was meant more - was it meant for me?  Was it pure conicindence?  Was it actaully just someone whistling and because of all the time I've been spending learning morse code, I just heard something that wasn't actually there?
     Then it dawned on me - I was wearing my 2015 Ham Radio Field Day shirt - there probably happened to be another ham in Panera who saw my shirt, and decided to "put out a call."  Sorry I missed you!  Next time I'll be prepared to whistle back!
_..  .     _.  ..._ _  ..._  .  _ _
2 Comments

in The Gutter

4/27/2016

5 Comments

 
If you go all the way back to the beginning of this blog, you can see the current state of my home shack. If you need a refresher, here it is again.
Picture
     Due to the hecticness (is that a word?) of life, and some other home projects that needed finished ahead of this, I haven't had time to dig into the work down here yet - but I will soon!​
     Even though life is busy, I still like to play radio in the house every so often. If that urge strikes and I can't fight it, I bring my stuff in from the car and set up like this:
Picture
When I do this, the antenna I use as a temporary one is my gutters. Right outside this window is the downspout that goes up from the basement to the roof, and then the gutter runs the length of the main part of the house, about 32 feet. This means that between the downspout and gutter, I basically have a 60ish foot inverted L antenna, with the vertical part being about half of it. This works out to about 1/2 wave on 40 meters.
     When I decided to use this I knew it would be temporary, so I just pounded a 6 foot piece of rebar I had into the ground at the base of the downspout. I put a ring terminal on the center conductor of the coax and screwed that to the bottom of the downspout, and then used a hose clamp to attach the shield to the rebar.
 I make an ugly choke out of a few turns of the end of the coax, and connect the other end to my LDG tuner, and call it a day. Not nearly as effective as radials and proper matching would be, but it gets me on the air temporarily.
     So, all of this was to bring you here: Gutter's can make pretty darn good antenna's! 
Good enough that I'd consider burying some radials, putting in a proper ground rod, and making the coax connections a little more weather proof.  I made some contacts with good reports, and low power almost right away, so I decided to measure my gutter antenna using my analyzer.  Here's the graph:
Picture
     This graph covers from 0 to 54 MHz, and almost all of it is under 5:1 SWR, so the LDG tuner that works with my radio can match it all just fine.  Here are where the bands land:
  • 160m is all right around 3:1
  • 80m varies from 2.5:1 to 3.5:1 
  • 40m is the worst ranging from 4:1 to 5.3:1 (go figure!)
  • 30m is all just under 4:1
  • 20m is all between 2:1 and 2.5:1
  • 17m is about 2:1
  • 15m is all between 1.8:1 and 1.81:1
  • 12m is between 2.8:1 and 3:1
  • 10m is between 2.7:1 and 3.3:1
  • 6m is between 1.6:1 and 3.3:1
     In addition to the relatively low SWR, there are a several spots that are nearly resonant - several of those aren't in the amateur bands, but a couple are:
  • 3.780MHz
  • 28.080MHz
  • 51.840MHz
     So if you actually read the whole way through this - what do you think?  Are you gonna hook up to your downspouts and gutters and see what magic you can make happen?  I know at least one of the local hams in my area uses his gutters from time to time, and I owe him a visit so that we can hook up the analyzer to his guttertenna and see how it charts out.  Leave a comment and let me know your thoughts!
5 Comments

morse code

4/24/2016

2 Comments

 
dah di dit   dit     dah dit   di di di dah dah   di di di dah   dit   dah dah

So....I'm learning CW (or as most non-hams know it: Morse Code.)  For anyone who needs an interpretation of the above, its the sound in CW of this message:

de n3vem

de is an abbreviation for "this is" so my message above just says "this is n3vem."  

     I had set a goal for myself to be able to have an on-air QSO by September.  Some people might think that I should be able to learn the code much quicker, but remember, in addition to ham radio, I'm a husband, father, a full-time employee for a big company, AND a student.  My company does tuition reimbursement, so I'm working on finishing up my degree through one of the local colleges.  All that being said, I think I'm doing okay!
     I've been using the software program Just Learn Morse Code and it seems to be working well.  This program uses the Koch-Farnsworth method, which basically means you listen to the characters and one speed, but spaced at another.  That way you get used to what the characters "sound like" at the faster speed, but you get them delivered to you slower.  I now know the entire alphabet, all the numbers, and all the punctuation that I think I'll actually need.  Right now, I'm listening to the characters at 10wpm, spaced at 5wpm.  I can copy 5 minutes of code at about 90% accuracy this way, so now I just need to start speeding up my spacing.  When I'm at 10wpm for both characters and spacing, I think I'll have a go live on the air.
     Before that happens, I do want to invest in a key in the meantime, and an oscillator so that I can practice sending with something other than just tapping on my desk :-)  I'm having a blast!
     My daughter has been amused by it too - she has now started bringing me things and saying - "Daddy, spell this in morse code!"  I think I might have a future ham on my hands...

     Do you have any recommendations for keys?  Leave a comment and let me know!
2 Comments

the other radio - final

4/23/2016

0 Comments

 
post contains affiliate links
     I'm sure the purists are tired of hearing about my CB install at this point, so this will be my last post on it, but that's mainly because it's finally done!  (Is any radio project every really done?)
     I spent about an hour and a half between the last couple of evenings finishing up the install of a CB radio into the center console of my car.  To come up to speed, you may want to check out part 1 and part 2 of this project.  Okay - now that you're up to speed, all I really had left to do was to make the permanent mounting panel to replace the temporary wooden template that served for test-fitting purposes.
     At this point, the process was fairly straight-forward.  First, I put some tape onto the piece of HDPE that I had gotten from Tap Plastics to both protect it, but also so that I had something to mark on.  I then traced the plywood template onto this, and started cutting.  Here's a shot of what things looked like, part of the way through that process:
Picture
     Once all my cutting was done, I screwed the mounting bracket to this new panel.  The way that worked was actually to screw 2 small L brackets to the panel, and then I screwed the CB mounting bracket to the L brackets.  This was needed because of the angle at which the CB was mounted.
     With the part cut, and the radio in it, it was time for a quick test fit:
Picture
     If you checked out parts 1 and 2 of this project you'll know that I had installed brackets for this panel to sit on.  At this point I used my trusty tap set and drilled through the plastic, into the metal.  I then used a slightly bigger bit to drill the holes the in the plastic out just a little larger, and then I used the tap to add the threads to the holes in the brackets.
Picture
     All that was left to do was to screw the panel in place!  I also used a very thin bead of black caulk around the radio, where it passes through the opening, just to hide my not-perfectly-straight cut a little bit - I don't have a very good jig saw so cuts that I can't do on my table saw or mitre saw can give me a hard time.
Picture
     Done!  Now I've got my working CB in place, and when the center console lid is closed, it's neatly tucked away.  You may notice that there is a lot of empty space behind the radio in this panel.  With a bit of luck, and some spare $$ I hope to eventually put a screwdriver controller there for the Tarheel Antenna that I don't own yet.  One can dream, right?

     On to the next project!  Leave a comment and guess what it might be (if you read some of my other posts, you might be able to figure it out!)

     Lastly - I've been pretty please with this little CB radio - you can get them fairly cheaply through the jungle, so please check it out:
0 Comments
<<Previous
Forward>>

    Categories

    All
    Antenna
    Cw
    Digital-modes
    Flying-with-gear
    Home QTH
    Miscellaneous
    Mobile
    Operating Events
    Portable
    POTA
    Shack Build
    Technical


    - N3VEM -

         Welcome to my Ham Radio Blog!  This blog was started primarily to share my two concurrent shack builds - my mobile station and my home station.  Over time, this has grown to include sharing about my operations, and general radio-related thoughts that I have as a newer operator.  
         
    ​Enjoy!

    RSS Feed


    Picture
    POTA!

    Picture
    Proving that hams do indeed still build stuff!

    Picture
    100 Watts and Wire is an awesome community, based around an excellent podcast. 

    Archives

    September 2020
    July 2020
    January 2020
    September 2019
    August 2019
    July 2019
    June 2019
    May 2019
    March 2019
    January 2019
    December 2018
    November 2018
    October 2018
    September 2018
    August 2018
    July 2018
    June 2018
    May 2018
    April 2018
    March 2018
    February 2018
    January 2018
    December 2017
    November 2017
    October 2017
    September 2017
    August 2017
    July 2017
    June 2017
    May 2017
    April 2017
    March 2017
    February 2017
    January 2017
    December 2016
    November 2016
    October 2016
    September 2016
    August 2016
    July 2016
    June 2016
    May 2016
    April 2016
    March 2016
    February 2016
    January 2016
    December 2015
    November 2015


Picture
Copyright © 2015
 Vance Martin is a participant in the Amazon Services LLC Associates Program, an affiliate advertising program designed to provide a means for sites to earn advertising fees by advertising and linking to amazon.com.