NOVEMBER 3 VICTOR ECHO MIKE
  • Blog
  • Events and Activations
  • Diversions
  • About
  • Gallery
  • Contact
  • Links
  • Subscribe
  • Search
  • Blog
  • Events and Activations
  • Diversions
  • About
  • Gallery
  • Contact
  • Links
  • Subscribe
  • Search
NOVEMBER 3 VICTOR ECHO MIKE

ham radio Projects and musings from a (Relatively) new operator

the "other" radio - Part 2

4/21/2016

0 Comments

 
     A while back I did a post on the initial steps that I took when installing the CB radio in my car.  I know some hams have a beef (hi hi) with CB radio, but I like having one because of the amount of highway time I have in my job.  If you want a refresher on where I was prior to this post check out my part 1 post here.  I finally had some time to continue work on this project.  It's still not done, but I made some progress on it.  The goal with Part 2 of this project was to start where I had left off, but finish up the wiring so that I could use the radio for a little bit, in it's current configuration, before cutting the final part that will make the "pretty" mounting place for the radio.
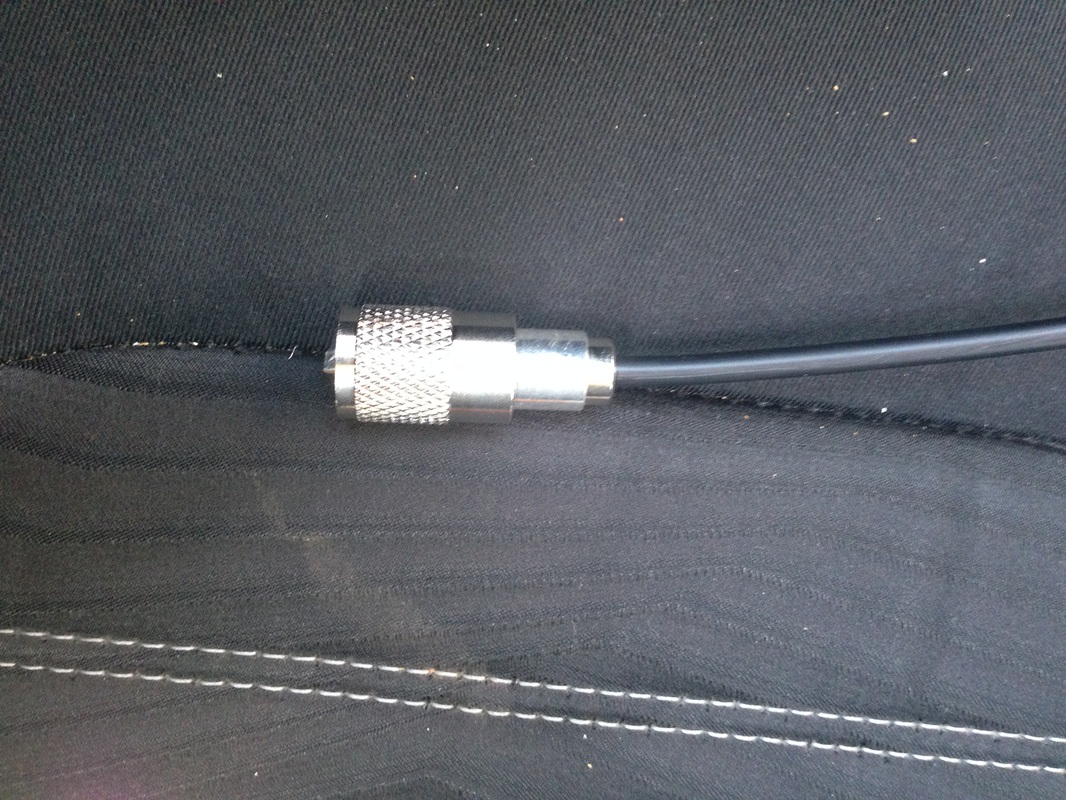
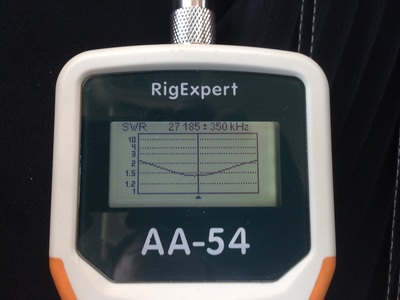
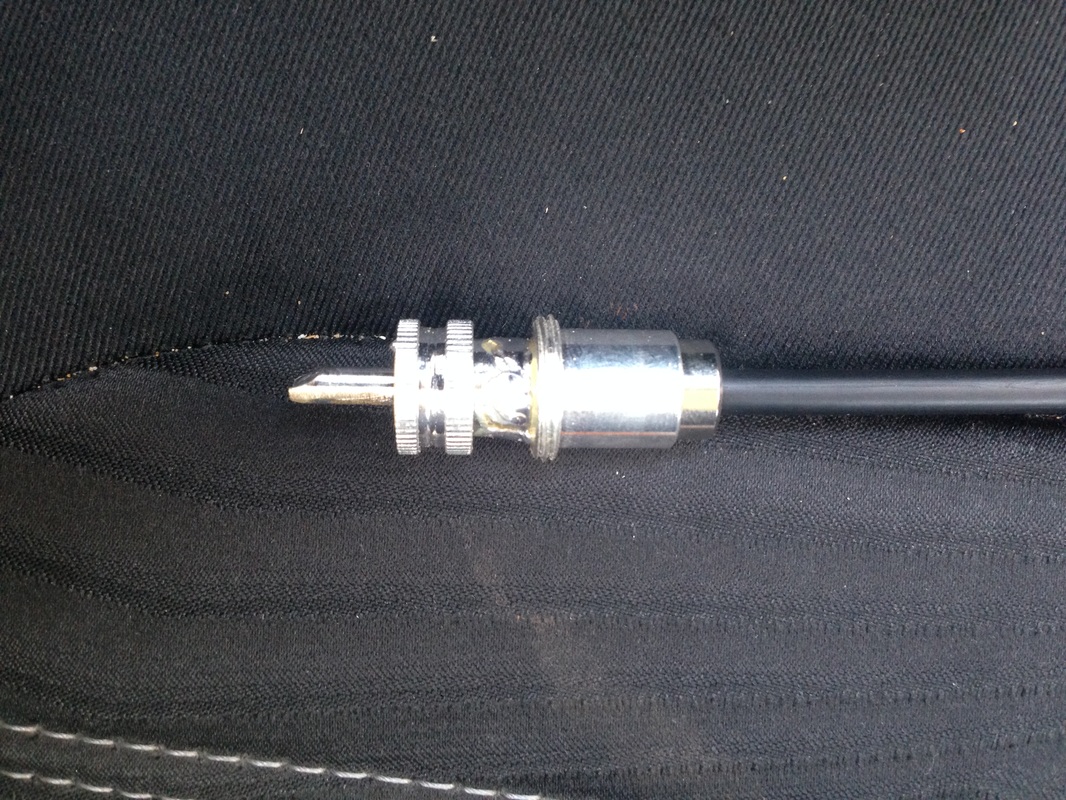
     The first part of this was to install a UHF male connector on the end of the coax in the center console.  There are about a million different theories on what the "correct" method is, what the "best" method is, and about what method Uncle Fred has been using ever since he installed his first antenna on the dinosaur that he rode to work every day.  For some silly reason, I usually just follow the directions that come from the manufacturer (they should know, right?)  For this connector the directions are to strip to the appropriate measurements, fold the shield over the reducer, screw the body on, solder the tip, solder through the holes, screw on the barrel, and call it a day.  I don't do a ton of soldering anymore, but it turned out just peachy, and I didn't get any weird readings when checking things out with my analyzer after it was done.
Picture
Picture
     I then installed Anderson Power Poles on the power lead that was waiting to be used, and on the power leads from the radio.  No pictures of that...sorry.
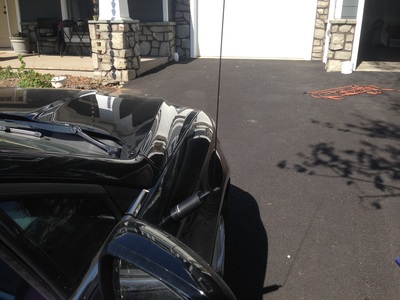
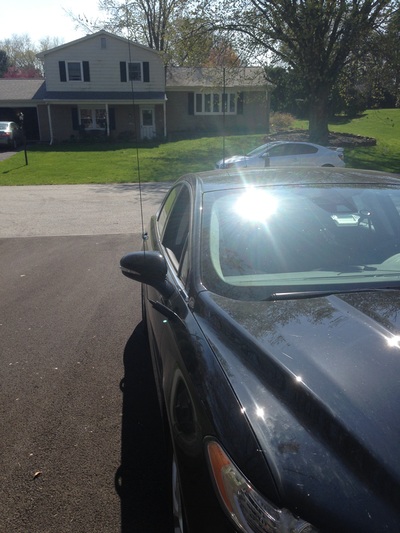
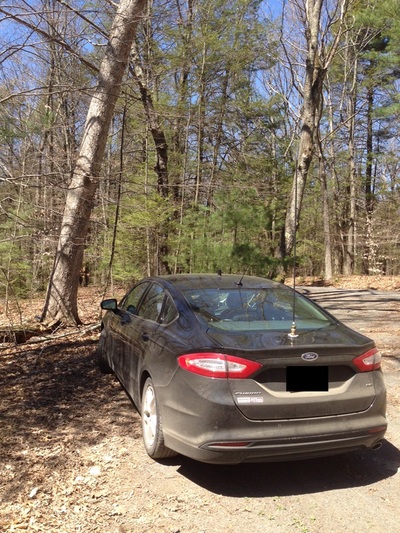
     With the connectors on, I turned to the antenna.  Because the NMO mount was installed on the front fender of the car, I had to bend the antenna element to make it vertical.  Basically, without doing any trimming, I measured the SWR with the antenna sticking straight out, and then I measured the SWR again after bending it to vertical to see how much bending the antenna element changed it.  I was then able to cut the bent part off, and slowly trim to length with the antenna sticking out, and then when I hit the magic spot where bending it up to vertical would make the SWR land where I wanted it, I made the bend, and presto - CB antenna!
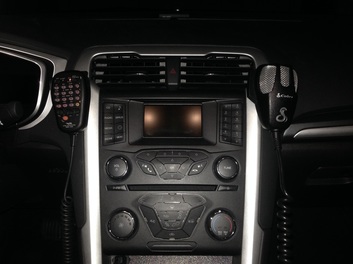
     I also added another mic hanger, so that my ham mic and CB mic would kind of "balance" each other as they hang on the dash.
Picture

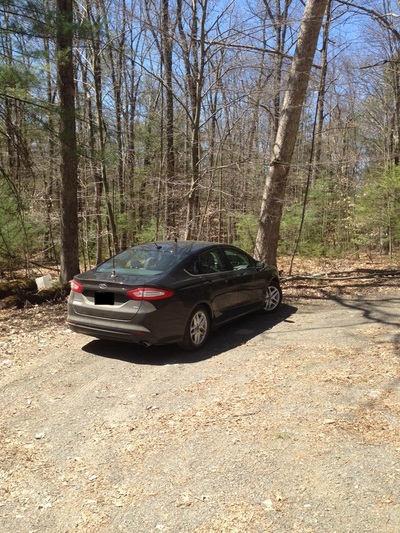
     Lastly, during a recent work trip, I got to test out the radio and it's location, so I've decided that I'm please with the mounting location, etc.  I actually got to test it out, because I heard one trucker say to another - "I wonder if that guy in the Black Fusion could get any more antenna's on his car?" to which I had to reply - "I can put as many antenna's on here as you'd like me too"  :-)  We then had a nice chat about radio's, ham radio, and what all my antenna's were for, which was great, because the HF ham bands were pretty much dead, and this way I still got to have a QSO (I just won't tell that truckers that's what we call it...)
     Since I'm pleased with it, the only thing left to do is to take out the temporary wood mounting piece, trace it onto the piece of HDPE that is waiting in my garage, and do the final "screwing down" of everything.  For now though, I'll leave you with 2 questions...
     1) How do you solder your connectors?
     2) Do you talk on CB radio? (you can call it 11 meters if it makes you feel better...)

Leave a comment and let me know!
0 Comments

Delaware water gap

4/20/2016

0 Comments

 
Picture
Delaware Water Gap National Recreation Area Unit RC07
Seems like every activation gets harder for me :-( 
     I only had a short time for this, but band conditions seemed completely dead; not a single contact in the short time I called CQ.  I tested everything out and my equipment is fine...just a bad day, but heck, a bad day playing with radios is still better than a lot of the alternatives!
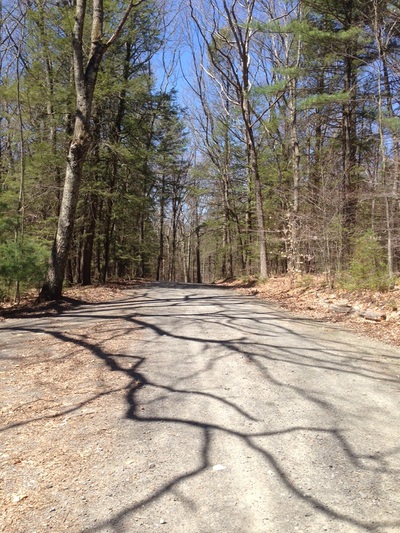
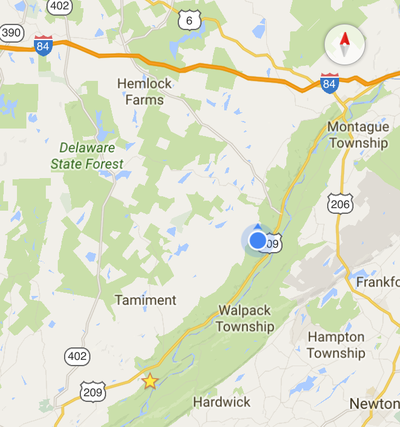
     Even though I didn't get to make any contacts on my very brief attempt at an impromptu activation, I did snap a couple pictures and a GPS screenshot. Being in a valley, I figured my odds might not be great, but I figured if I looked for signs like "Scenic Lookout" I might be able to find a place with some elevation.  As it was, I made a sudden turn onto Chestnut Hill Road, because it looked like a steep climb, and the word "Hill" in the name seemed promising.  This road is barely a road, and even includes warning signs like "road not maintained" and "travel at your own risk."  Almost as if by fate however, at the crest of the hill was a small pull-off where I stopped to try and make my contacts.  If only the bands had gotten the memo that fate was supposed to be on my side....
0 Comments

rookie day

4/17/2016

0 Comments

 
     My local club, the Red Rose Repeater Association, is having an event today!  We are setting up at Welsh Mountain Community Park as a way to play on the radio, participate in the ARRL Rookie Roundup, and generally have some radio fun.  Pull it up on google maps and come join us from 2pm - 8pm, EST.  One of the club members will be monitoring the repeater if you need a talk in:
 Freq: 147.015     offset: +0.6     PL:118.8     Echolink Node: 380019
0 Comments

Tough lessons

4/12/2016

2 Comments

 
Post contains affiliate link
Picture
As promised, I'm finally giving my update on my NPOTA activation at Cuyahoga Valley National Park.  This was a challenging activation for me, but I managed to get enough contacts to make it "count" and I learned something about my kit of portable stuff.
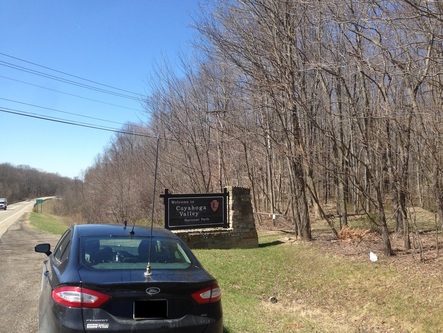
     This activation happened when I was on one of my trips for work.  I was starting out at our Cleveland, Ohio office, and then finishing up the trip in our Pittsburg PA office.  Since Cleveland is about a 5 hour drive my home, I drove out there, and then stopped to do this activation on the drive between the two offices.  I stopped for a quick photo op as I entered the park....little did I know what the afternoon was going to bring...
Picture
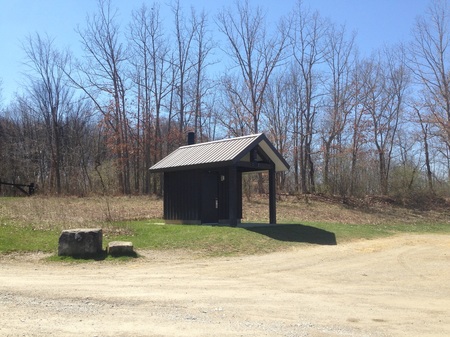
     The area in the park where I decided to set up was at the Wetmore Trailhead.  I picked that location, because based on the maps I could find on the park's web site it seemed like a decent place where I could park my car, set up my Buddiepole beside it, and operate similar to the way I did at Minuteman National Park.  I also thought it was a good spot because based on elevation maps I looked at, it also seemed like this parking area sat at a relatively high area, and it had bathrooms (well, a seat over a hole in the ground, in one of the new style of "composting" toilets that are in a lot of the parks now.)  
Picture
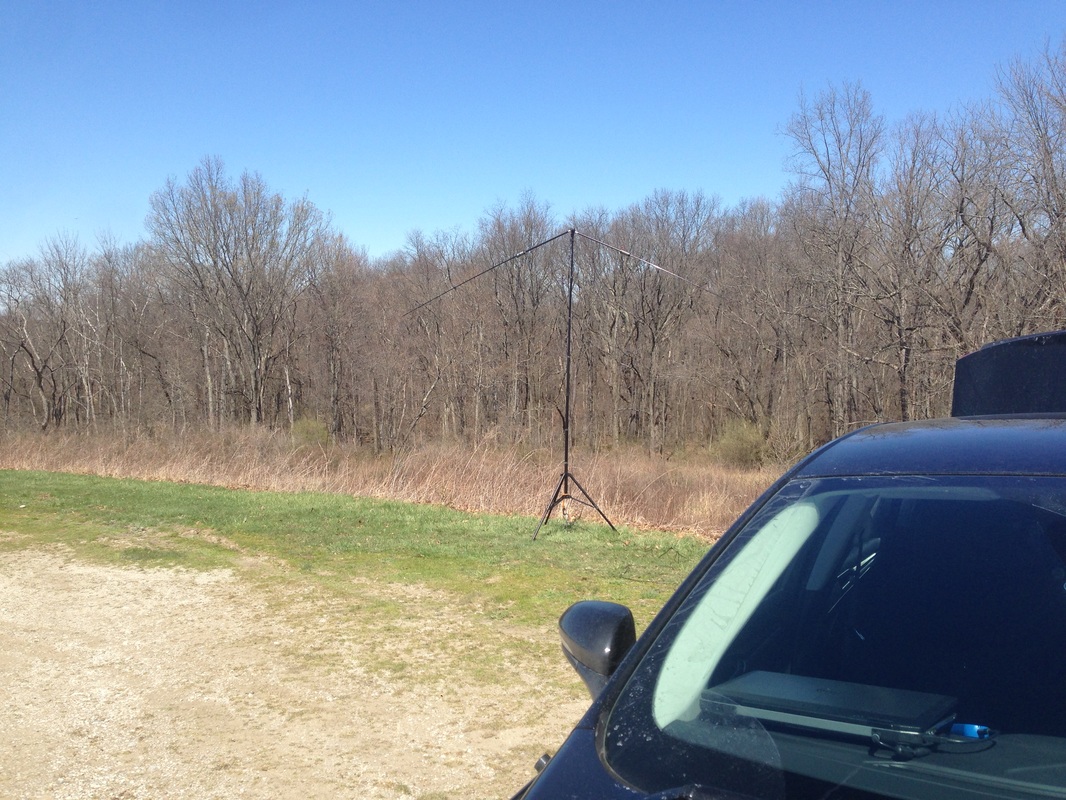
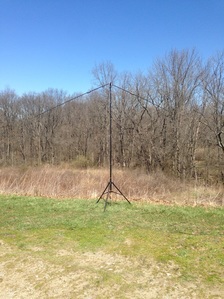
     I set up my equipment in my traditional method, except instead of a standard flat dipole I set up my Buddiepole as an inverted V.  No reason in particular - just figured i'd do it that way to see how it played.  
Picture
Picture
     When I set it up it didn't tune with the same taps on the coils that it normally does, so I assumed that this had to do with the different impedance at the feedpoint because of inverted V format.  I made the adjustments to get decent match (using my RigExpert AA-54 analyzer), I started transmitting and.......nothing.  I called for a looooong time and got no responses.  
     I reached the point where I was going to give up, but figured I'd try a different band first.  When I started to re-tune for the other band I got some weird fluctuations on my analyzer, so I started fiddling with connections, and actually changed out my coax and presto - things started tuning up like normal.  Conditions still weren't great, but at least I started making some contacts!
     All of this led me to what many of you probably already knew.  Cheap coax goes bad fast.  I had grabbed some coax when the Radio Shack stores were going out of business, and this is what I had been using with this antenna.  I now have some decent RG-8X on it's way from DX Engineering, to replace the Radio Shack stuff in my portable kit.  Lesson learned.

What ham radio lessons have you learned the hard way?  Leave a comment and let me know!
2 Comments

CUYHOGA VALLEY NP14

4/5/2016

0 Comments

 
Picture

​CUYHOGA VALLEY|
 National Park

oFF air

     So, I'll officially call that one a "near fail."  I'll post soon with some pictures, things I learned, or thought I learned, etc.  This was probably my toughest activation yet - it took me multiple hours of struggling through noise, weak signals, etc.  just to get to the minimum number of contacts.  At one point I even considered bagging it, BUT I stuck with it, and managed to hit the minimum number of contacts, with a couple extra for insurance.  Logs are uploaded, so now I just cross my fingers and hope that those I contacted confirmed with LOTW, so that this one will "count" for me.
     The good news, it will count for everyone else, because the contacts always count for the chasers, even if the activator doesn't reach the minimum for it to be called a successful activation.
Good Night!
0 Comments
<<Previous
Forward>>

    Categories

    All
    Antenna
    Cw
    Digital-modes
    Flying-with-gear
    Home QTH
    Miscellaneous
    Mobile
    Operating Events
    Portable
    POTA
    Shack Build
    Technical


    - N3VEM -

         Welcome to my Ham Radio Blog!  This blog was started primarily to share my two concurrent shack builds - my mobile station and my home station.  Over time, this has grown to include sharing about my operations, and general radio-related thoughts that I have as a newer operator.  
         
    ​Enjoy!

    RSS Feed


    Picture
    POTA!

    Picture
    Proving that hams do indeed still build stuff!

    Picture
    100 Watts and Wire is an awesome community, based around an excellent podcast. 

    Archives

    September 2020
    July 2020
    January 2020
    September 2019
    August 2019
    July 2019
    June 2019
    May 2019
    March 2019
    January 2019
    December 2018
    November 2018
    October 2018
    September 2018
    August 2018
    July 2018
    June 2018
    May 2018
    April 2018
    March 2018
    February 2018
    January 2018
    December 2017
    November 2017
    October 2017
    September 2017
    August 2017
    July 2017
    June 2017
    May 2017
    April 2017
    March 2017
    February 2017
    January 2017
    December 2016
    November 2016
    October 2016
    September 2016
    August 2016
    July 2016
    June 2016
    May 2016
    April 2016
    March 2016
    February 2016
    January 2016
    December 2015
    November 2015


Picture
Copyright © 2015
 Vance Martin is a participant in the Amazon Services LLC Associates Program, an affiliate advertising program designed to provide a means for sites to earn advertising fees by advertising and linking to amazon.com.