NOVEMBER 3 VICTOR ECHO MIKE
  • Blog
  • Events and Activations
  • Diversions
  • About
  • Gallery
  • Contact
  • Links
  • Subscribe
  • Search
  • Blog
  • Events and Activations
  • Diversions
  • About
  • Gallery
  • Contact
  • Links
  • Subscribe
  • Search
NOVEMBER 3 VICTOR ECHO MIKE

ham radio Projects and musings from a (Relatively) new operator

Wire in the Air

9/15/2017

0 Comments

 
Post contains affiliate links.  ​
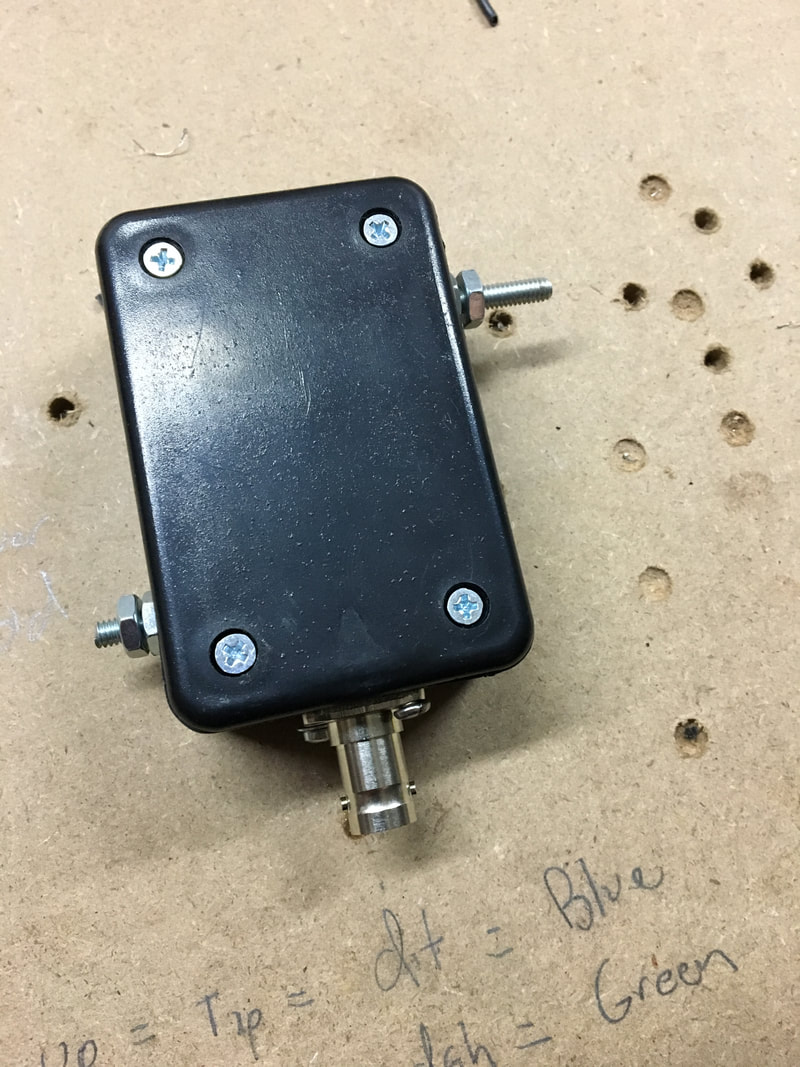
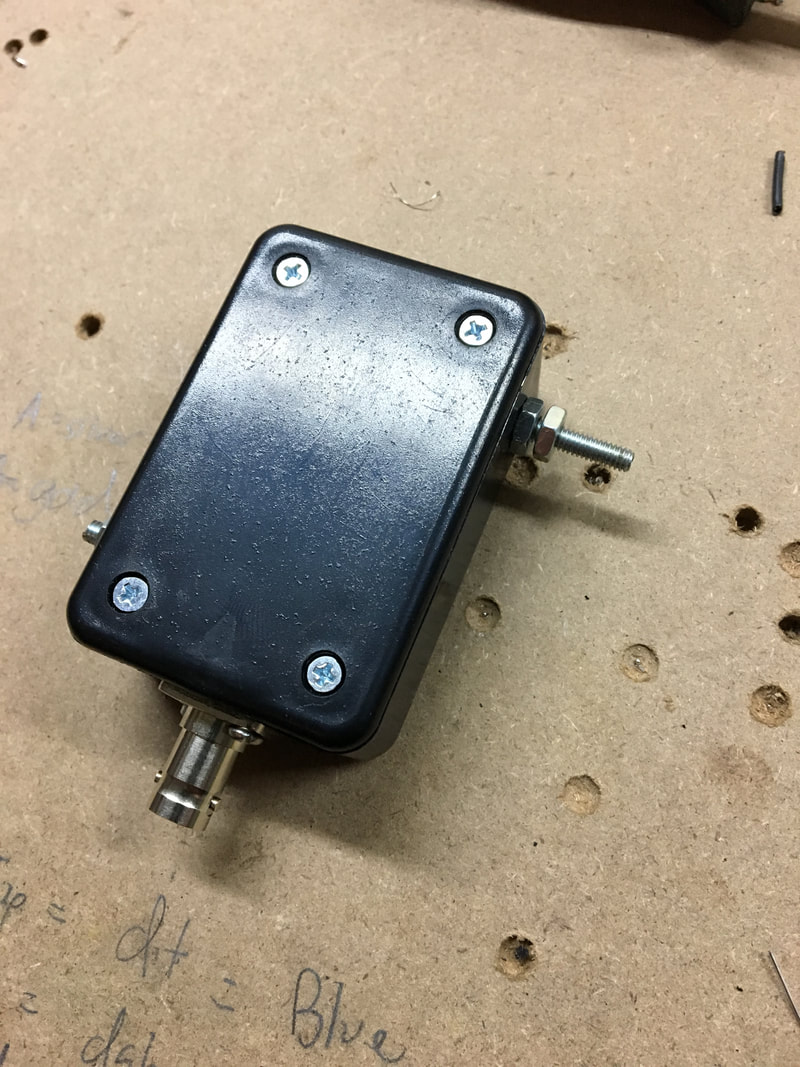
Within the last several days I shared the little 9:1 unun that I made for myself - if you missed it you can check it out here. This evening (well, that is the evening I started writing this - who knows when I'll finish and publish it!) I used the little unun to put some wire in the air.
I had a spool of left over cable from extending my fire alarm system into our addition when we did that project, so I cut off a length of it for my random wire. There are actually a couple neat resources available for knowing what lengths of "random" wire are likely to work best, but I used the info available here and decided to cut my wire at about 36 feet, to use on 40 - 6 meters.
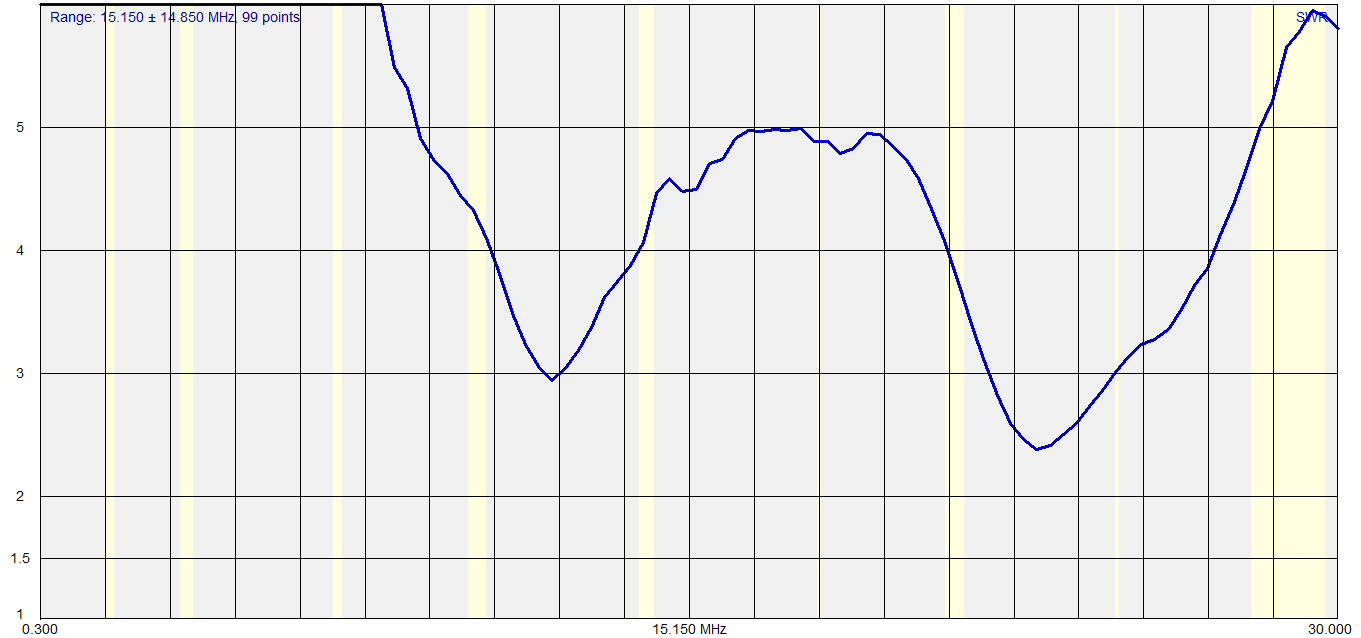
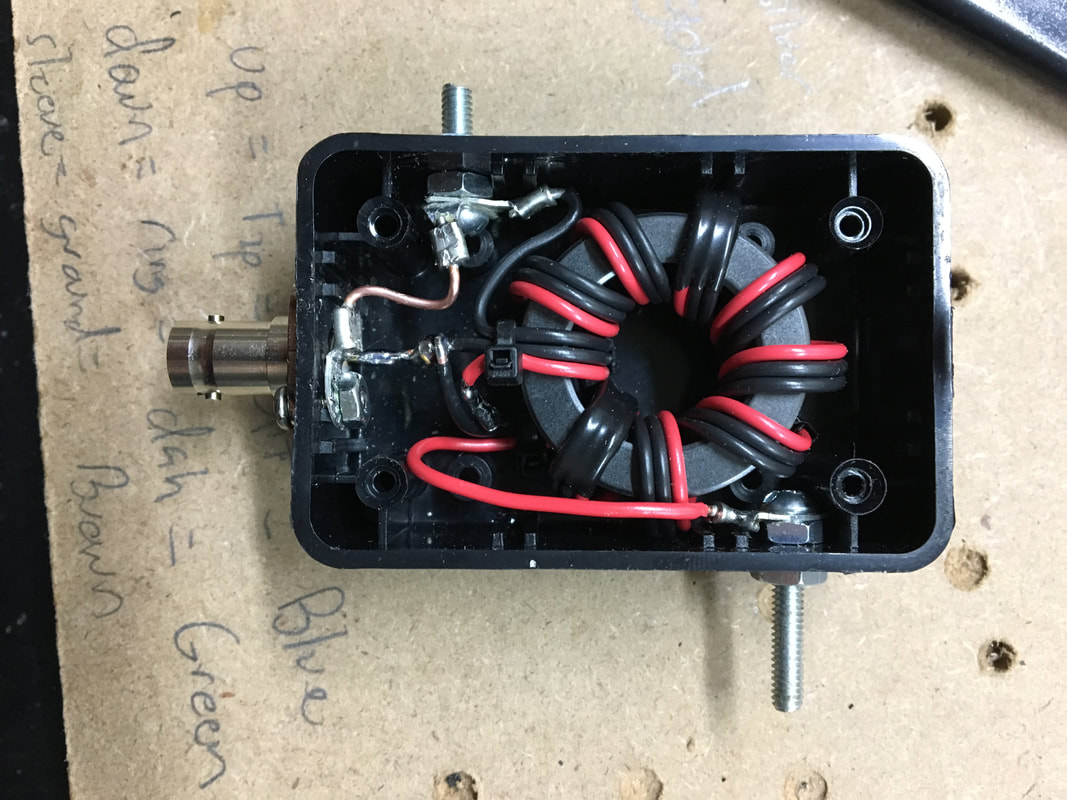
I actually soldered all the wires in the twisted shielded pair together at the ring terminal, so really the shield of the cable is probably doing most of the RF work. Anyway, after I cut it and put a connector on, I hooked one end to my fence out front, and connected the other end to my unun. Without connecting a counterpoise or ground I scanned from 0 - 30 Mhz with my Rig Expert AA-54 to make sure I was in the ballpark. 
Picture
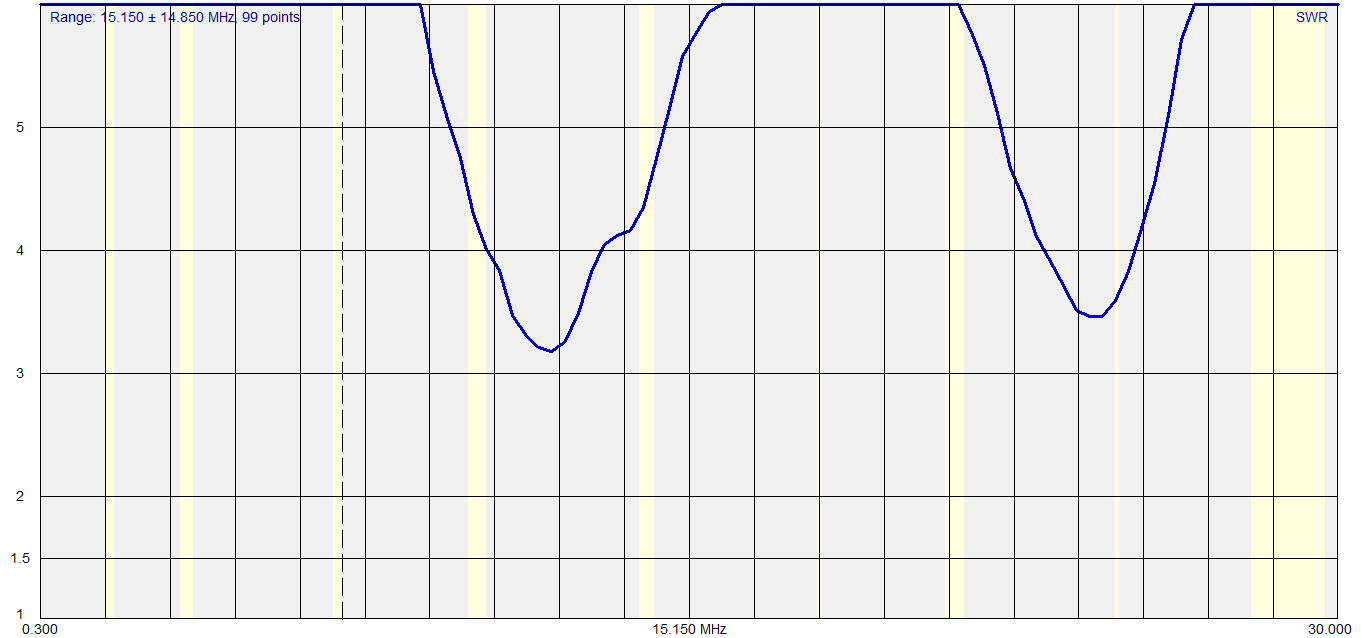
The scale of this graph isn't great, because it tops out at an swr of 5:1, but in the amateur bands, everything above that was at least under 12:1 or so.  I figured that once it was in the air, it would probably still be in line with something my tuner could handle, so I started working on getting the wire up.
Since this is a temporary antenna, I didn't want to get crazy with buying stuff to hang it up.  I've usually got mason's line around because I end up using it for projects around the house.  I needed something however, to get the end of the line over a tree.  Thanks to my bad grammar, when I posted the statement on Twitter that I was looking for something to use,I made it sound like I wanted to throw my garage over a tree...thanks to VK5OI for catching that :-)
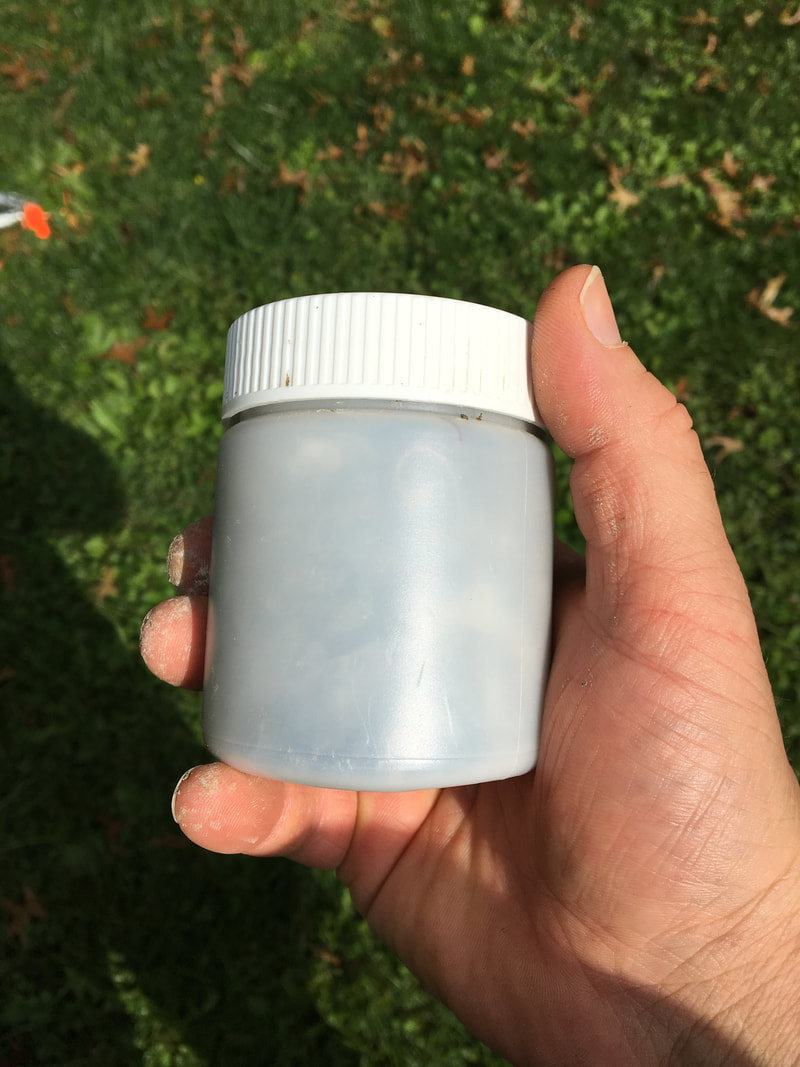
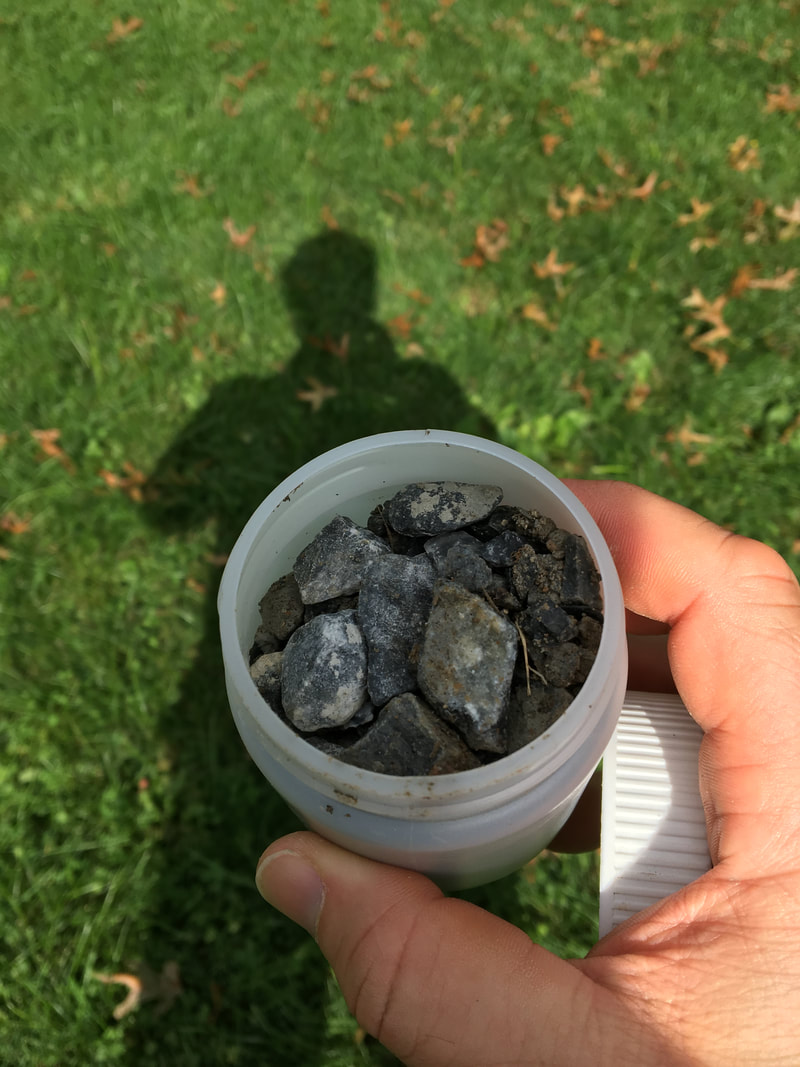
Anyway, I ended up finding a little plastic bottle (my YL says it was from bouillon) so I filled it with gravel, tied one end of the string around it, and threw it like it was going out of style (and got it on the first try!)
Picture
Picture

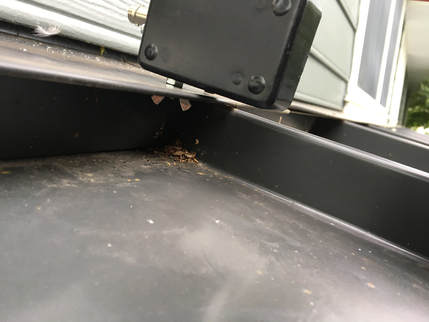
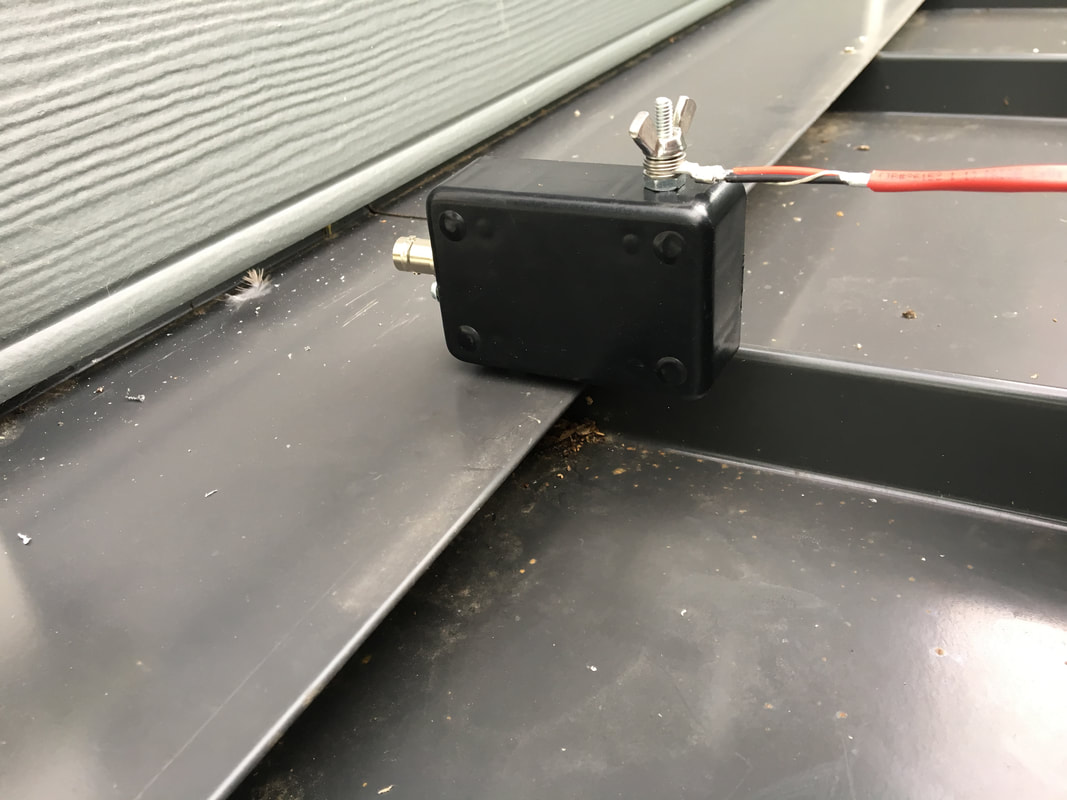
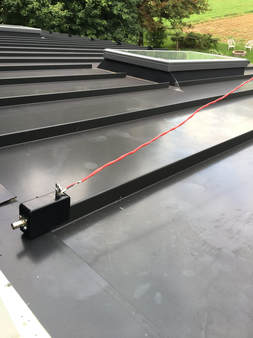
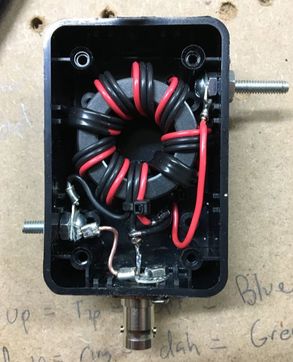
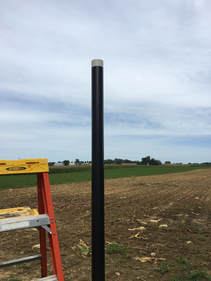
Those of you that read my first post on the topic may recall that my intention with this little 9:1 unun and random wire was to use the metal roof of our addition as that counterpoise.  Rather than try to figure out a way to mount the unun, and then add a way to connect a jumper wire from the unun's ground side to the roof, I came up with something to kill both birds with one stone.
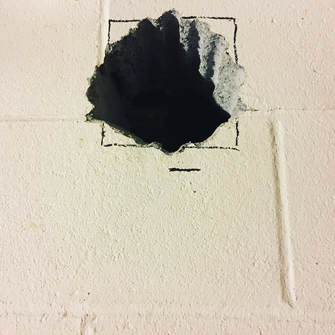
At the top of the metal roof, there is a lip that covers the roof-to-wall connection.  I drilled a small hole in the edge of this (in a spot that any water running through the hole, would just land on the metal underneath, and run down the roof.)  It was then simply a matter of sticking the counterpoise lug through the hole, and spinning the wing-nut on from the bottom (I used a star washer on the bottom to make sure I pierced the paint and got onto the bare metal.)  This accomplished the job of holding the unun in place, AND making my connection to my giant counterpoise! When I take it down I can always caulk the hole if I really feel its necessary.
Picture

I connected my antenna wire to the other terminal, and then looped the other end through an insulator.  With those details done, I tossed the end off the roof to the back yard where the end of my mason's line was waiting patiently.  Once I tied it off, I walked around to the other end of the line that was waiting for me on the other side of the tree, and hoisted the whole thing into the air!
Picture
Picture

I'm not too worried about wind, trees, etc. pulling on the wire, because mason's string is not strong stuff - at a moments protest it will just snap, letting the wire drop with no harm to the roof or house, so no worries there!  In order to give it a little wiggle room however, so it wouldn't snap in a light breeze, I didn't tie the other end off - I just used a super high-tech counter-weighting arrangement:
Picture

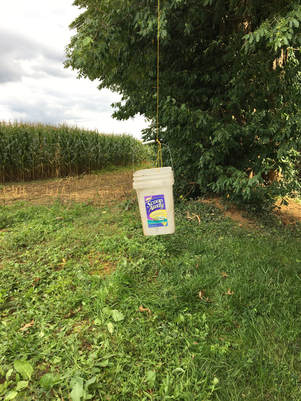
Remember when Costco sold Scoop Away cat litter in buckets?  That was great for two reasons - afterwards you had a useful bucket AND the buckets were a recyclable plastic.  Now their litter comes in plastic bags that are much less recyclable.  Boo on you Scoop away!

Anyway, in the bucket is half a brick to give it some weight.  In a prior life I had drilled holes in the bottom of this particular bucket, so it won't hold water and get funky!
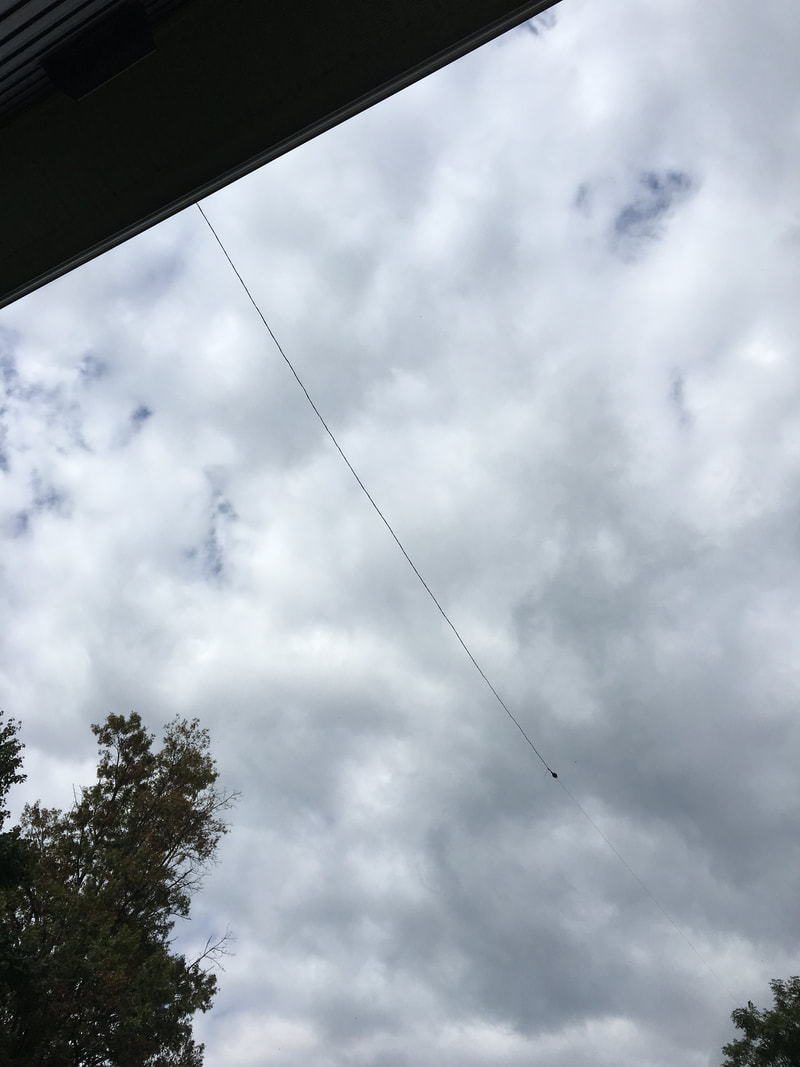
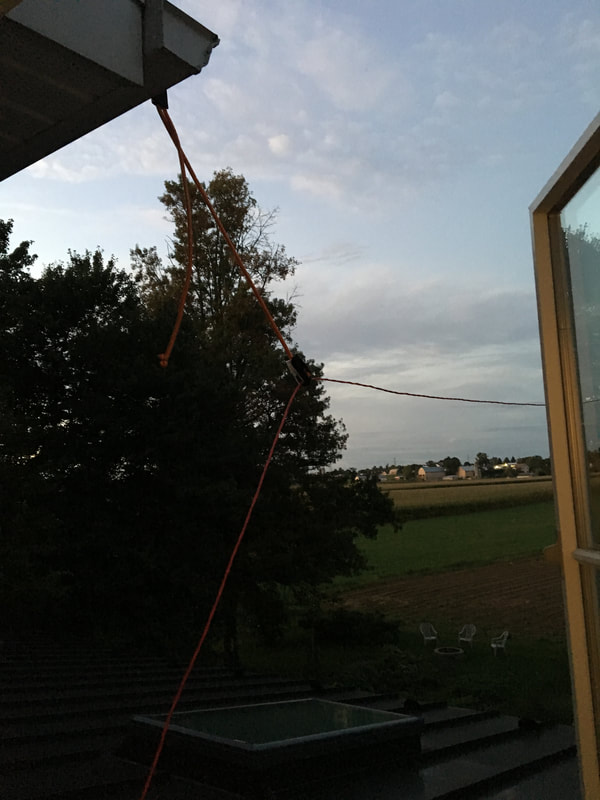
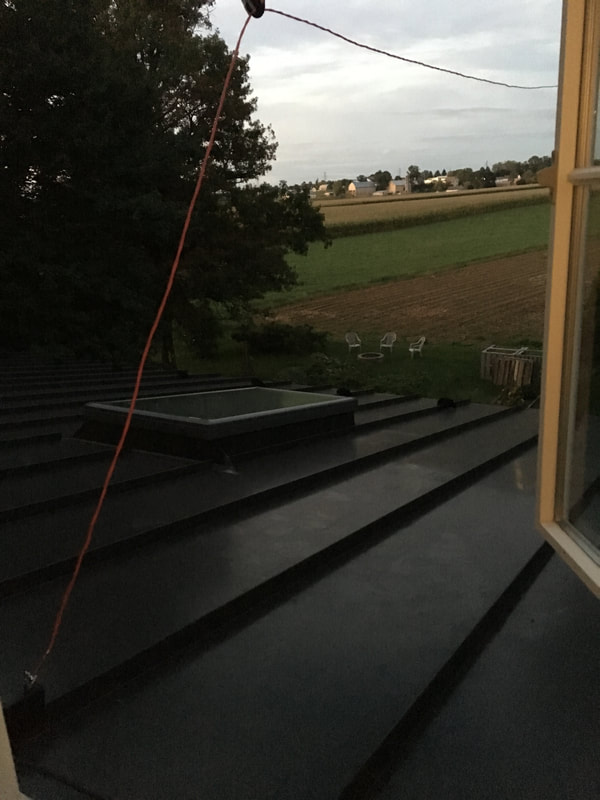
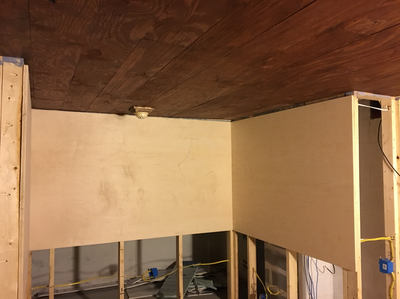
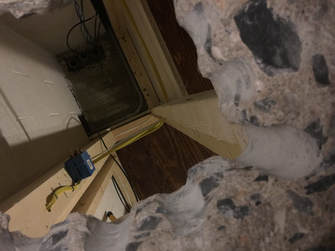
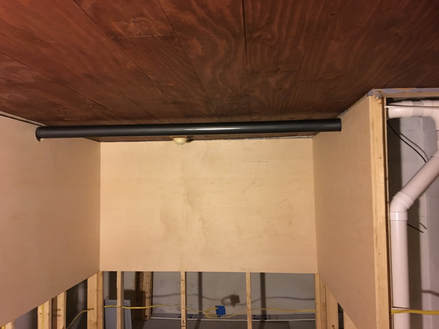
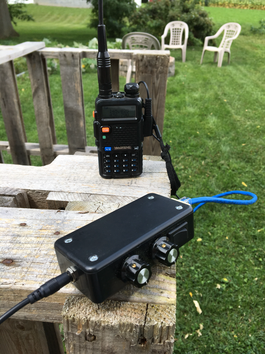
With the wire in the air, this was the new view out of the window at my temporary operating position:
Picture
When I first put the antenna analyzer on this however, things didn't look so hot - some of the bands were so out of wack that my little LDG YT-100 tuner wasn't going to have a hope of tuning it.  I made a wild guess that because of the angle, with the metal roof directly under, I was getting some unexpected interaction between my radiating element and counterpoise.  To address that, I went to another standby in the temporary antenna arsenal - bungee cord.
Picture
Picture

This gave enough separation that the SWR curve across my targeted portion of the HF spectrum looked like something my tuner would handle!  40 meters was the worst at 8:1, but that's still tune-able. Because I only have about 3 feet of feed-line from here to the back of the rig, I'm not too concerned about feed-line loss :-)
Picture

So how does it work?  It's hard to say from just a few contacts, but I managed to catch a couple of fellow WWFFers on 40 meters (both CW and Phone) and I hopped around all the bands between 40 and 6 to make sure it would tune up.  What I can say for sure, is that it "works" and I will be able to be on the air more reliably from home from my new temporary shack (in the corner of a closet), while I finish up the basement shack project!
A Quick Update!
Less than 24 hours after publishing this post, I changed the antenna :-)  I was in the back yard working this morning, and it dawned on my that I really underestimated the distance from my house to the trees in the back corner.  After stepping it off, I decided that I could probably fit enough wire to get 80 meters into my list of "tune-able" bands.  After dropping the antenna down, adding another 37 feet of wire for a total length of about 72 feet, I now have access to everything from 80 through 6 meters on this wire!
0 Comments

Sleep is Overrated

9/13/2017

5 Comments

 
     I've been fiddling with a couple antenna things because I want to get some more permanent options in the air while I work on the home shack (you can get up to speed on that project by starting here and following the links at the end of each post.) and eventual tower project. As I was messing around, it dawned on me that the desk I am sitting right now, faces a window that looks over the top of our addition and into the back yard.  The addition has a metal roof.  Why not throw a random-wire end-fed into the trees across the back yard, and use the metal roof as a counterpoise?
     End-fed antenna's usually need an unun to transform the high impedance of the end of the wire into something that the radio or tuner will be happy with.  This usually means that a 9:1 unun is just the ticket.  With that thought, when I should have been going to bed, I was making this little number out of scraps of wire and hardware from my garage, along with a couple bits from the electronics stash:
Picture

     If you do a search on that internet thing for "9:1 unun" you'll find all kinds of diagrams, far better than what I could draw for you.  I mostly wanted to share this because I was pleased with how I was able to make myself a "mini" 9:1 unun.  I managed to squeeze the whole thing into a 3x2x1 project box. It won't handle high power, but for 100 watts or less here at home, or as another piece of ammo in the portable kit, I think it will be just the ticket!
     Once I had the thing built, I threw a 650k resistor across the terminals (because that's what I had handy), and then put the antenna analyzer on it just to make sure I had the winding correct and had it wired correctly.  It read at something in the neighborhood of 1.5:1 across the entire HF spectrum, so I'm gonna take that as a good sign!  All that will be left to do is to attach an appropriately random length of wire to it, connect the counterpoise terminal to the roof, and hook it up to the rig to see what happens when it actually has some power applied.
     Just for fun, here's a couple more pics of my handy-work as I threw it together:
. .
5 Comments

Fast

9/9/2017

0 Comments

 
At least it seemed fast to me. I'm a cw noob and I've made a handful of contacts at 5-7wpm. I just made one the other night at about 20 wpm. My heart is still beating fast from the rush.
So how does that work? A lot patience, and working up the nerve! Gary, N5PHT was activating a park for WWFF. Becasue I saw the spot I knew the frequency and call to listen for. As he called CQ and others answered I just picked away at what I could copy, until after several go-rounds I pieced together that he was calling "CQ POTA DE N5PHT."
And then the baby woke up, so I had to go help him get back to sleep. When he was settled back down, I went back to the radio, and Gary had moved to 20 meters, where I could copy him very well - awesome!
I knew from experience and from other cw pros that you can always send faster than you can receive because of how the brain works. I never actually tried, so while I listened to some of Gary's QSO's I put my rig in CW practice mode, and tried my call and exchange at about 20 wpm. At that point it dawned on me that I just might be able to do this...
So, at the next opportunity, I threw out my call. FAST (or so it felt.). Then I heard him answer! I missed a good portion of his answer, but I got the important bits, so when he ended his transmission I sent back his signal report and closed out. Boom.
I think for myself though, the lesson here is to keep listening faster then I'm comfortable. Even though it took me several rounds to copy his CQ, once I did, and knew what to expect, it felt easy!
0 Comments

Health and Welfare (and Progress)

9/1/2017

0 Comments

 
Post contains affiliate links
     Welcome to part number (who knows?) of my shack build!  In my last update here on my blog, I had just hung up the plywood panels that will become the "walls" of my operating position, through which, and into which, I will eventually be mounting my radio equipment.
Picture

If you follow me on Instagram or Twitter (and I recommend you do - check out the links at the top of the sidebar!) you got to see some pictures of the next phase of things that I just wrapped up.  
In Lancaster, PA, where I live, we apparently sit on top of significant natural uranium deposits.  We also have very porous topsoil.  These two factors together mean that Radon is very prevalent in our area.  Our home however, was built before radon was really discovered, so when it was built, radon mitigation wasn't a thing.  I always assumed that our levels were probably fine, because our house sits on a little bit of a hill with a daylight exposure basement.  In theory, this usually means radon can't accumulate because it seeps out through gaps around doors, windows, etc.  A while back though, we decided to test and it turns out the levels in our basement were HIGH.  
With the amount of time I am planning on spending in my basement ham shack, I figured I better deal with it!  For many reasons, we often recommend that ham shacks be in the basement, but we never talk about making sure the basement is a safe place!  I STRONGLY urge you to test the radon levels in your basement, especially if that is where your shack is, or if you spend any significant amount of time down there! 
When we built our addition, the foundation and basement slab in the new section were equipped for radon mitigation when we did the project.  This meant that I just needed to add a couple of additional suction points in the existing house, (where the shack will be) and tie them into the piping in the new section.  The first step to accomplish this was to get out the hammer drill and make some holes.
Picture
The first hole I made was in the wall between the original house and the addition, so that my new radon piping (in the old section of the house) could pass through to tie in to the radon mitigation piping in the addition.
After making a hole in the wall, I needed to make 2 holes in the floor - one for each of the suction points I would be adding in the main part of the house.  To make the holes, I just used my hammer drill to make a series of smaller holes in a circle, and then used my sledge hammer and a chisel bit in the hammer drill to knock out the center.  With this done, if you were the radon under my house, this is the new view you would have:
Picture

In my opinion, the most tedious part of the suction points was excavating out the stuff from under the slab, to make the air pocket big enough.  I found that a combination of a hand trowel and my big shop vac was just the trick for this.  Scrape Scrape Suck, Repeat.
With the new holes in place, it was time to start running pipe!  Radon systems use either 3" or 4" piping, depending on the size of the runs etc.  There are calculators available to determine what you need based on lengths of runs etc.  Short of that, many outfits will just use 4" piping so they don't have to worry about it.  In my case, because the system was being retrofit, there were some spaces where 4" pipe just wouldn't fit, so I had to go with 3".  This means I have to use a slightly more expensive fan to keep airflow where it needs to be, but that was a better option then tearing a lot of stuff apart, or doing nothing at all!
Picture

I think the most unique thing about my install however, was dealing with the section of the pipe that needed to be exposed.  Because of ceiling heights etc. there are some things in the shack that will be exposed conduit and pipe.  This can actually be a neat look, so I'm just going with it.  With that thought in mind however, white plastic pipe doesn't quite fit the bill as "looking neat" so here's what I did for the section that would be exposed:
The first thing I did was measure, cut it to length, and do a dry test fit.  Once I knew I had it the right size I masked the ends, where it would need to be glued. I also used some 120 grit sandpaper to rough up the PVC and get the glossy sheen off of it everywhere that wasn't masked.  With that prep work done, I hammered a piece of conduit into the backyard so I could slip my pipe over it, to stand it on end.  (If you saw my Instagram post, this is what I was up to when I was getting strange looks from the neighbors...)
Picture

With a beautiful view in the background, I started spray painting!  In keeping with the look I was after, I used black paint with a textured finished.  The goal was to have it still look like a pipe, just not a cheap plastic one!  I have used the Rust-Oleum "Hammered" paint in the past, so I knew it would give me the texture I was after.
Picture

After 2 coats of paint I pulled the tape off the ends, and had this fancy looking thing standing in my back yard for a couple hours to dry:
Picture

Once the paint was dry enough to handle, this last section of pipe got put in place, so now instead of a cheap looking white pipe going through my shack, I have something that "looks the part" just a little bit better:
Picture

With the last section of pipe in place, I finished up my afternoon by putting pipe straps and hangers in place, and sealing up the holes around the suction points.  All that's left to do is to install the new Radon fan in the pipe outside the house, do a fresh radon test to check the new levels, and I should have a radioactive-free space, to be radio-active.
Previous: Shack Build
Next: Shack Build
Back to Part 1
0 Comments

Curiouser and Curiouser

8/31/2017

0 Comments

 
Post Contains Affiliate Links
...she was so much suprised, that for the moment she quite forgot how to speak good English...
-Alice in Wonderland

I can't really say I was surprised this week, but I have found myself being "curiouser and curiouser" about ham radio satellites!

It seems like everyone is talking sats and amsat at the moment. I follow several folks on Twitter who are into satellites, the crew at ICQ Podcast keeps mentioning them, and I just read through the Winter Field Day rules again, and was looking at those satellite bonus points...
Picture
To see if this was an itch I wanted to scratch I downloaded GoSatWatch at the recommendation of NJ4Y and KX9X. They were right- this is a great app! Using it I went and stood in the field behind my house (in the mud...) And listened for the first time to a satellite pass as SO-50 went overhead. Think about it - signals from space! How is that not freekin' awesome! I know, most people aren't impressed because they think of satellites as a way to get their TV, but none of them can talk back to the satellite, so I still think it's awesome!

Picture
GoSatWatch has a slick night time mode so you don't kill your night vision if you're chasing sats in the dark!
In addition to listening to SO-50 passes, I also listened to the ISS pass a couple times during last several days. For one of those passes I actually hooked my HT up to my AnnaLink Interface (Remember when I made that? Whodathunk it would be useful for satellite stuff too!) I then used the audio modem in the PocketPacket app to snag a packet sent through the digipeater on the ISS. Fun stuff!
Picture
Picture
Anyway, I think I have a new project in the queue, to add to all the other ones - building an antenna for satellite work (you should know me by now - I wouldn't be happy just buying one!) So, once I have the time to tackle it, I'll share here. I suspect however, that I'll end up using scraps from my garage, and maybe some of the stuff from this section of Lowe's:
Picture

Bye for now!
0 Comments
<<Previous
Forward>>

    Categories

    All
    Antenna
    Cw
    Digital-modes
    Flying-with-gear
    Home QTH
    Miscellaneous
    Mobile
    Operating Events
    Portable
    POTA
    Shack Build
    Technical


    - N3VEM -

         Welcome to my Ham Radio Blog!  This blog was started primarily to share my two concurrent shack builds - my mobile station and my home station.  Over time, this has grown to include sharing about my operations, and general radio-related thoughts that I have as a newer operator.  
         
    ​Enjoy!

    RSS Feed


    Picture
    POTA!

    Picture
    Proving that hams do indeed still build stuff!

    Picture
    100 Watts and Wire is an awesome community, based around an excellent podcast. 

    Archives

    September 2020
    July 2020
    January 2020
    September 2019
    August 2019
    July 2019
    June 2019
    May 2019
    March 2019
    January 2019
    December 2018
    November 2018
    October 2018
    September 2018
    August 2018
    July 2018
    June 2018
    May 2018
    April 2018
    March 2018
    February 2018
    January 2018
    December 2017
    November 2017
    October 2017
    September 2017
    August 2017
    July 2017
    June 2017
    May 2017
    April 2017
    March 2017
    February 2017
    January 2017
    December 2016
    November 2016
    October 2016
    September 2016
    August 2016
    July 2016
    June 2016
    May 2016
    April 2016
    March 2016
    February 2016
    January 2016
    December 2015
    November 2015


Picture
Copyright © 2015
 Vance Martin is a participant in the Amazon Services LLC Associates Program, an affiliate advertising program designed to provide a means for sites to earn advertising fees by advertising and linking to amazon.com.