NOVEMBER 3 VICTOR ECHO MIKE
  • Blog
  • Events and Activations
  • Diversions
  • About
  • Gallery
  • Contact
  • Links
  • Subscribe
  • Search
  • Blog
  • Events and Activations
  • Diversions
  • About
  • Gallery
  • Contact
  • Links
  • Subscribe
  • Search
NOVEMBER 3 VICTOR ECHO MIKE

ham radio Projects and musings from a (Relatively) new operator

Just a touch of progress

2/14/2018

0 Comments

 
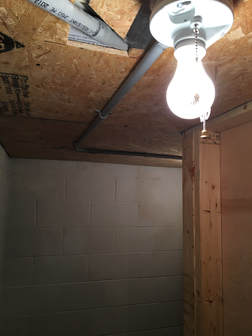
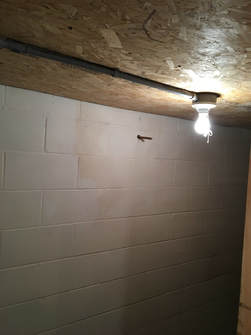
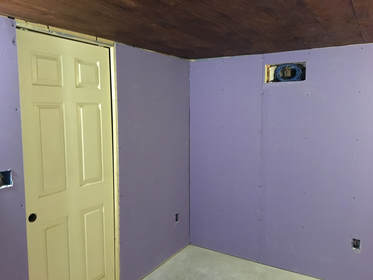
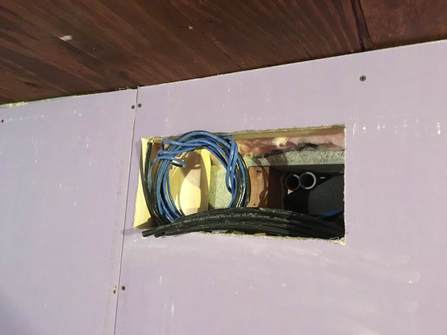
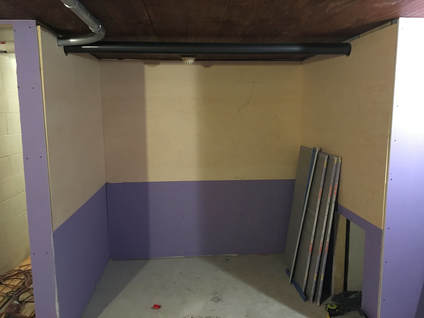
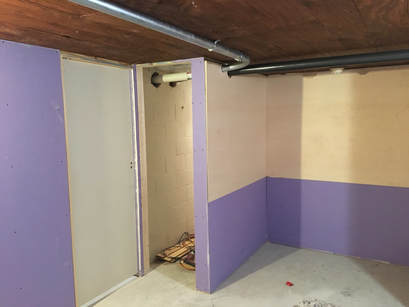
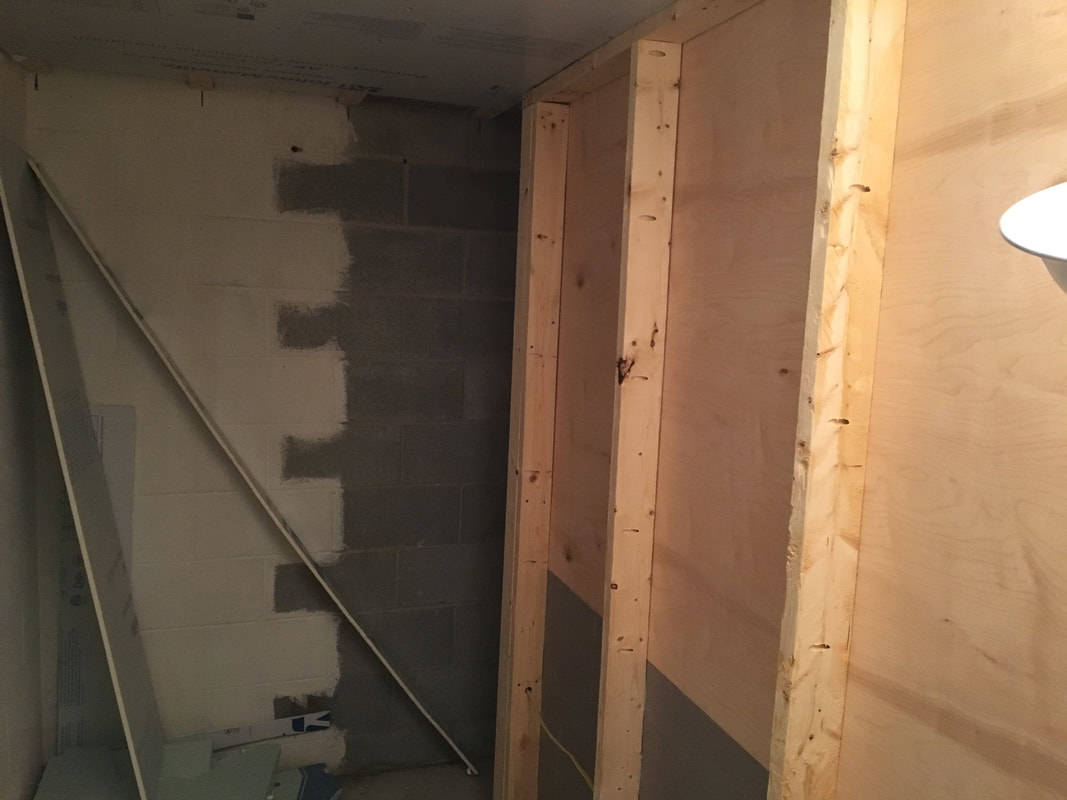
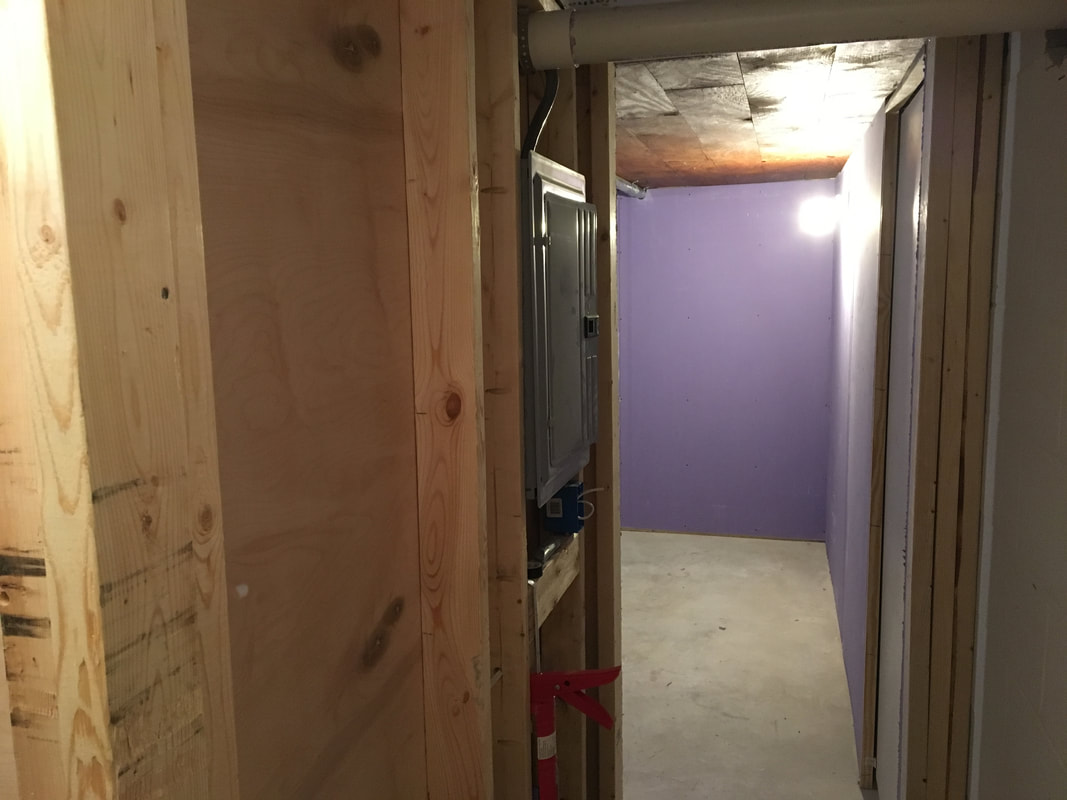
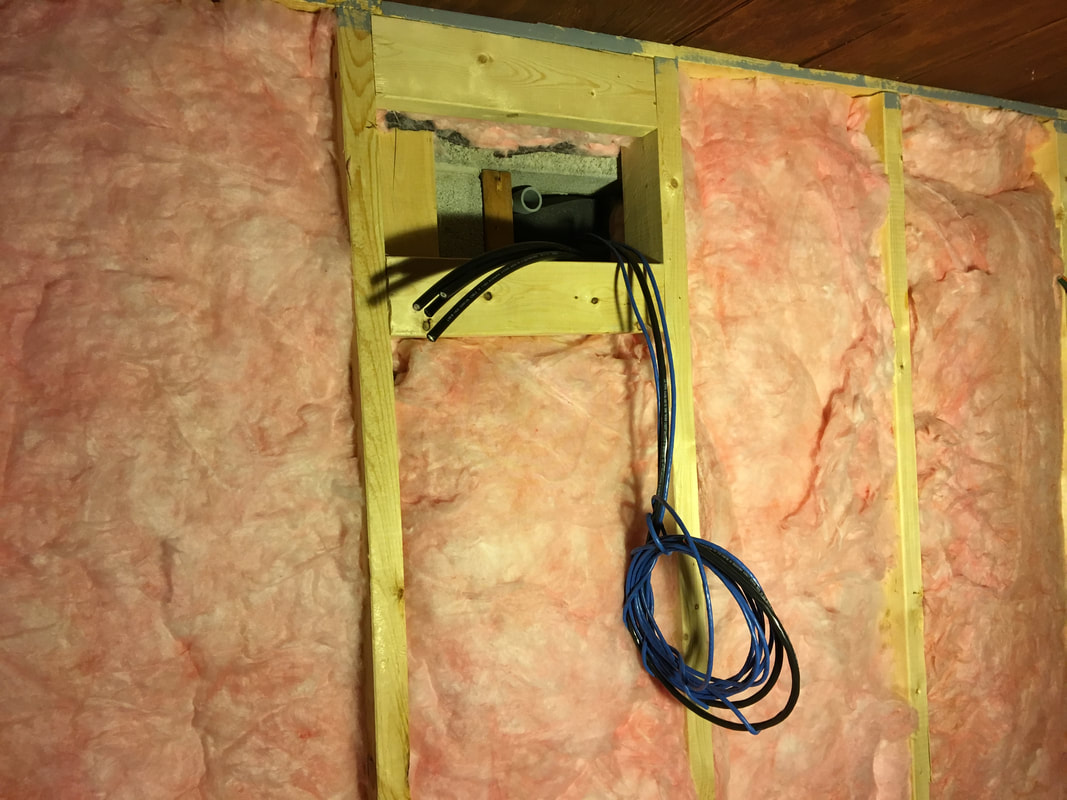
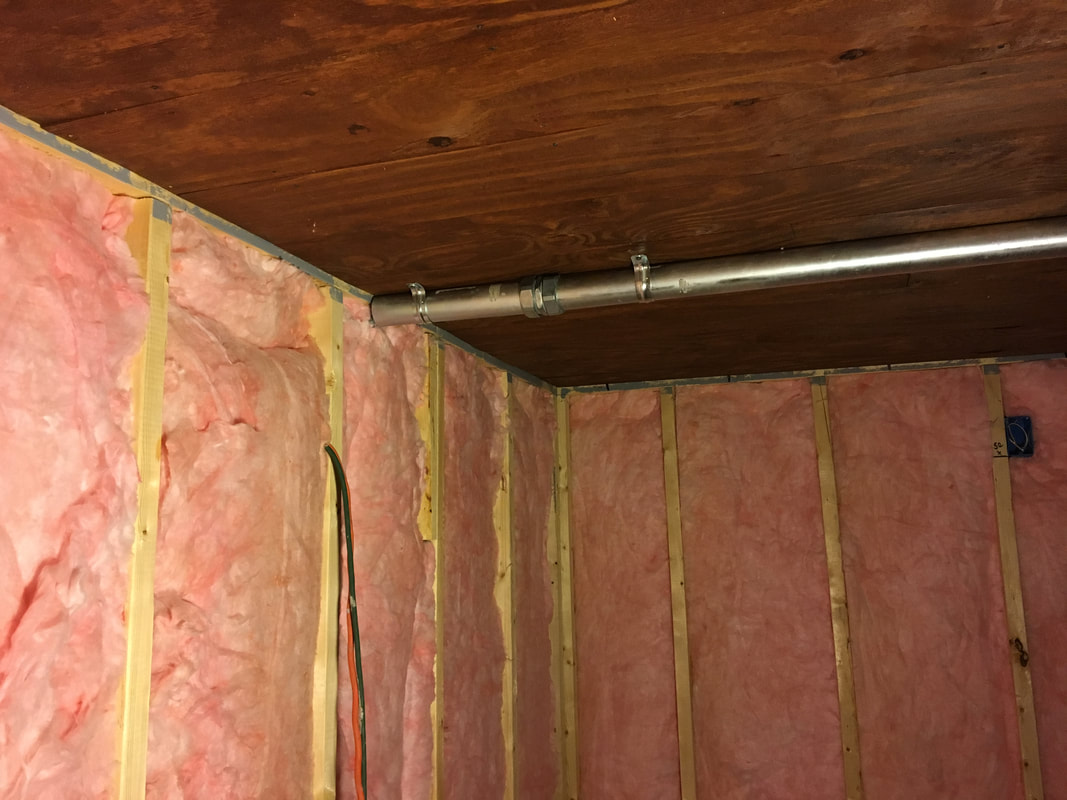
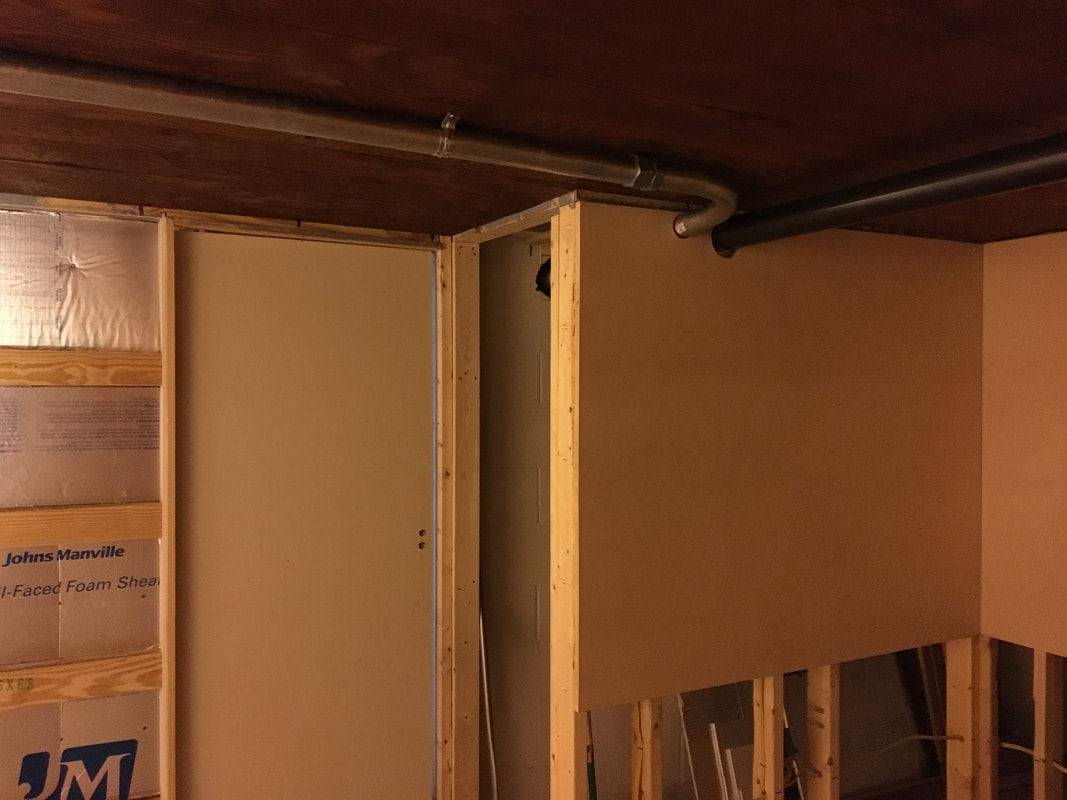
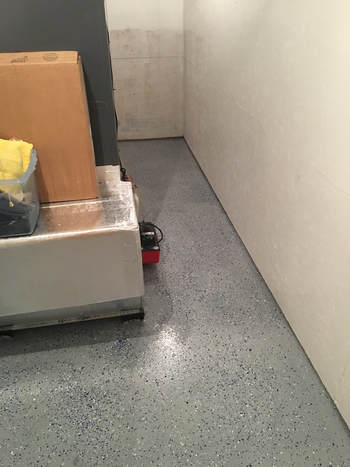
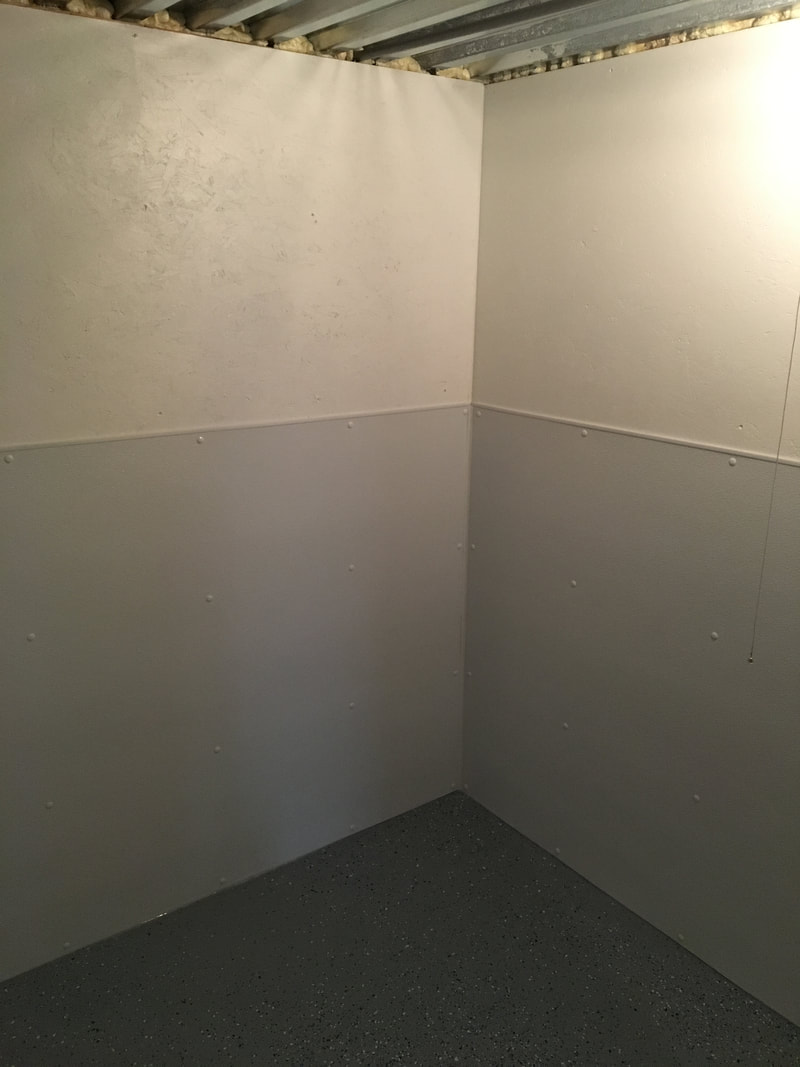
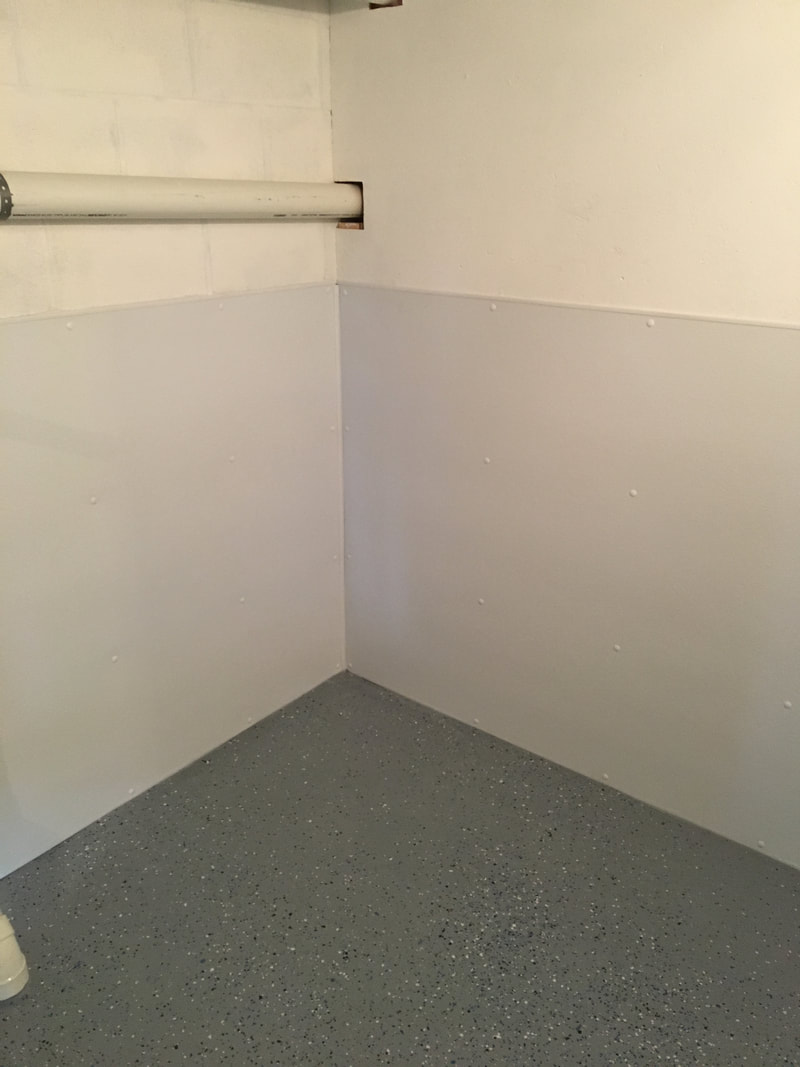
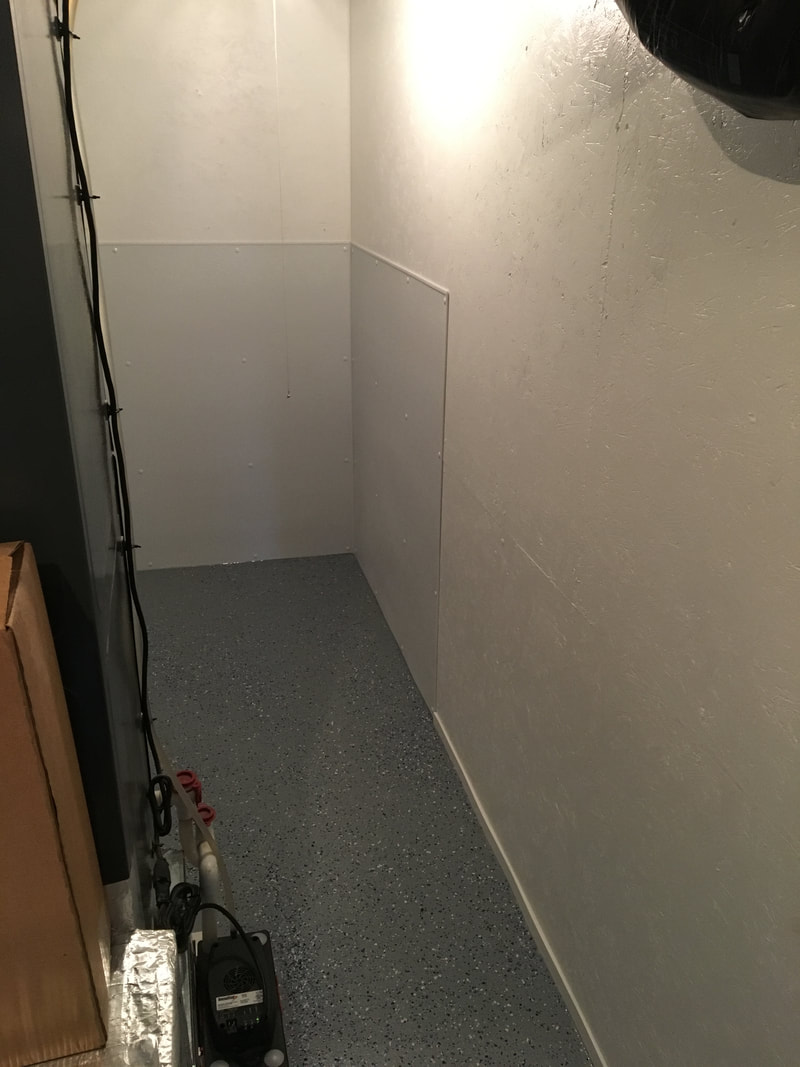
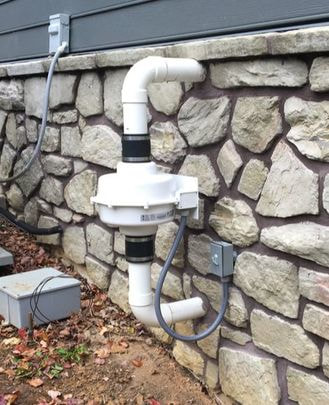
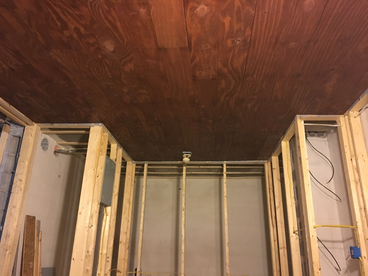
     It was a busy week for me, but I still managed to make just a little bit of progress on the ham shack.  The larger portion of what I did was making more progress on the drywall in the area right outside of the ham shack.  I also put up some of the plywood ceiling in the service area, and added some bulb bases back there so that when I walk behind the equipment to work on things (and as I continue my current construction work!), I'll have plenty of light.
Picture
Picture

    For anyone who missed my previous updates, or anyone who is just inclined to like this type of thing, I also did a very short video tour of the space this week - enjoy!

Lastly, before I wrap up for this week, remember that the School Club Roundup is going on!  Just do me one favor - let's impress these kids and young adults with our very best operating skills - I heard a lot of people calling out of turn, individuals answering when schools called for other schools etc.  Many of these young people are getting their first introduction to ham radio, and if what they hear is adults that can't follow directions, we only have ourselves to blame if we can't get new recruits!

​Bye for now!
Previous Shack Build
Next Shack Build
Back to Part 1
0 Comments

Not that MMR

2/7/2018

2 Comments

 
     I suppose that quite a few people think of the shot for Measles-Mumps-Rubella when they hear the term MMR.  In my case though, I'm talking about the other MMR - Mold & Moisture Resistant drywall.  We've never had any moisture issues in our basement since it's a walk-out with big windows and plenty of airflow, but just to be on the safe side, I decided to use MMR drywall for the walls of the ham shack.
     With the goal of getting started on the hanging, I borrowed a truck this past Saturday morning, went to the home center down the road, and picked up a load of purple drywall.  I rather like the color - maybe I should just leave it this way :-)
Picture

     Anyway - now that there are some actual walls in place, it's a little easier to see and explain how all this is coming together.  The shack is in the "middle" of the basement, so the corner of the room in the picture above has the pocket door that leads to the current family room. The operating position is actually behind me as I stood to take this photo.  You can also see in the above photo, the access to the end of the conduit I ran across the rec room.  The hole will get a metal panel over it, with bulkhead connectors for coax.  I'm planning on mounting the panel with threaded inserts so that it can be easily removed to access the conduit behind it.  Here's a closer shot:
Picture

     The cables you see are the other things I ran while the ceilings were still open -  4 sections of LMR-400, 2 cat6 cables, and a rotor control cable.  
     The operating position is also starting to take some shape, now that walls are in place:
Picture

     The desktop will land right at the division between the plywood and the drywall, so from the desk up, will be a nice, stained-wood surface that will have the equipment recessed in it, and the drywall will only be under the desk.  
     If you look closely, in the lower right hand side of the picture you can see an opening in the wall - this opening will serve 2 purposes:
  • It gives me access to the bottom of the conduit that runs clean up to the attic of the house, to be used for coax, cables etc.
  • It is perfectly sized for the mini-fridge that is currently in the storage room, so most of the time the "hole" will just look like a built in fridge - an important feature in the ham shack!
     If you're wondering about outlets in this space, don't worry!  Some of them will be built into the desktop and back-splash as I finish things out, but most of them will actually be in the "service area" because all you'll see from here is the faces of the equipment - all the wires and such will be accessed by walking behind the wall, through the door to left, that you can just see in the above picture.  It's right next to the door that leads out of the other side of the shack (which will give me quick access to the bathroom that will be across the hall - another important shack feature!)
Picture

     I gave myself about 4 feet of space to the back wall of the room (where most of the equipment will stick through), and about 2.5 feet feet along the side, so it should be a very comfortable way to access the back of the equipment!  I also installed a sub-panel for the ham-shack, so future power needs are well covered!
Picture
Picture

     Anyway, that's where the shack stands for now! This coming weekend will be spent doing more drywall, but that will be out in the hallway and rec-room, so I won't bore you with those details :-)

Thanks for stopping by!
Previous Shack Build
Next Shack Build
Back to Part 1
2 Comments

Warm and fuzzy (scratchy and itchy?)

1/24/2018

0 Comments

 
Post Contains Affiliate Links   
I have another shack update to share!
​With the utility room finished up (I just wrote about that recently), the cat boxes are moved, and I was able to do my final prep before I start to hang drywall in the shack and rec room.
For me, there were 2 things left that I wanted to do before hanging the drywall.  The first was to add insulation to the stud bays.  In the process of doing that I also boxed out the location where I will be attaching a metal panel that will serve 2 purposes:
  1. It will give me access to the end of the conduit I put across the rec room
  2. It will serve as a bulkhead of sorts.  The coax I pulled across the rec room will terminate in bulkhead connectors here, and then as I finish the operating position, I'll make my connections here to get signal to the outdoors.
The second thing on my list was to get the main power feed sheathed in conduit where it would be exposed, and connected to the new sub-panel in the shack.  With that done, I was able to connect a temporary circuit to have a couple lights and a receptacle.  Now I can see while I work, without needing to drag extension cords across the other parts of the basement!
Why the insulation you ask?  It's actually a pretty basic answer - sound dampening.  Now, there is a difference between sound-proofing, and sound dampening, and I think sometimes people get confused about what types of products do what function.  Any porous material, like insulation, or those foam egg crate panels you can hang on walls (which I plan on doing in some areas!), the corner bass traps that you can find online, will do a fine job of sound dampening.  That basically means they can help improve the acoustics of a room by helping to prevent reflections, echos, etc.  They WONT sound-proof your room.  Outright sound-proofing is a different beast, that as hams, we probably don't need to worry about. The best way to really get sound-proofing is mass - i.e. thick concrete walls.
For me, sound-proofing is already about as good as I can expect it because my room happens to be a concrete cube- I just wanted to fill the hollow, framed, walls with something so that my small room doesn't have weird echos as I talk on the radio, and do my conference and video calls for work!
What do you think?
Previous: Shack Build
Next Shack Build
Back to Part 1
0 Comments

A clean place to...well...you know...

1/17/2018

0 Comments

 
More progress on the home shack!  

Well, kind of...first, let me tell you what I was working on, and then I'll roll into the ham radio / shack progress connection.
We currently share our home with 3 furry friends (or maybe, they share their home with us?)  Anyway, their litter boxes have been residing in the end of the unfinished part of the basement that will eventually be the rec room. (If you'll recall, from all the way back here, the room that's becoming my shack used to be the "cat room.")  We wanted to transition their box area to the back of the new utility space, but a couple of them are older cats, which means they sometimes have questionable aim...

Anybody who has ever tried to get the smell of cat pee out of anything knows what a chore that can turn into.  Rather than have our utility room end up smelling like (well, you know....) we decided to make it a very easily cleanable space.  With that goal in mind, I hung plywood on the walls and painted it, to seal it up.  There was still that floor to deal with though...
Picture

So, after some scrubbing, some etching, and some more scrubbing, I epoxy coated the floor to accomplish 2 things - to keep any "accidents" from soaking in and become a permanent part of the milieu, and to make any needed cleanups simple...
Picture

With the floor sealed, and easily wipe-able, It was time to finish up the other things.  I added some trim (PVC trim, for obvious reasons), some silicone to seal around the trim, and some of those beautiful truck-stop-bathroom wall panels.  The final effect makes for a tidy utility room, but also a place to put the cat boxes that will be easy to clean.

So what is the ham radio and shack progress connection?  There's really 2 parts to that:
  • I had to get this done in order to move the cat boxes, so that I could continue hanging drywall.  This means that during the next several days I'll be doing some odds and ends to prep, and by the weekend I'll be hanging the walls in my future shack!
  • With the layout of the house, this room is part of one of my "exit routes" to get coax out of the basement in the future.  By routing through the storage space with exposed conduit/cable, I can get wires and coax into this room, and out of this little handy spot that goes to a 12" x 12" plastic junction box right at ground level outside the house.
Picture
This is one of the entrance points I left myself for future coax / cable needs.
Picture
Remember when I put the radon fan in? The thing I didn't explain at that time was the big gray box with the ground rod right next to it....that's where the conduit in the utility room goes. When we finish grading for the flower garden on this side of the house, the ground level will come up to just below the top of this box.

I'm excited to have another thing done (even if it is just the fancy restroom for the cats), especially when its one that moves me closer to having my ham shack done!
Previous: Shack Build
Next: Shack Build
Back to Part 1
0 Comments

Dusty Progress

12/6/2017

0 Comments

 
     It was a busy week!  I was out of town last week doing one of my multi-city sprints for work, where I spend long days working, and then my nights driving between cities.  I did get to make a couple of HF contacts, and have a couple chats on repeaters around Long Island, New York City, and the Hudson Valley, but that was really it for my on-air activities.
     The radio related thing that I really did last week, was starting to hang drywall.  That's the reason I got to spend so much time wearing these things, and practicing my Darth Vader voice:
Picture


     In the interest of brevity though, I'm not going to bore you with all the details, because I haven't actually started the drywall in the shack yet.  My shack project is part of a larger project of finishing the basement in our addition, and refinishing part of the space in the original house.  The drywall I was hanging was for the ceiling, but If you'll recall from earlier posts, the ceiling in the shack is actually already done, and it looks like this:
Picture

     The ceiling I was working on was actually the ceiling in the rec-room, which is the room that just last week, I ran some cable through.  This means that while the drywall I hung wasn't in the shack, it means I'm now committed to what I ran into the shack.  The good news however, is that I left provisions for future growth, and I always have the "long way around" option if my shack growth exceeds what I can fit through the area that I gave myself access to.
     This also means that while I finish up the drywall, I won't have a ton of updates on the home shack other than more drywall and paint.  When that's done however, the real fun beings - starting to put together the operating area!
Previous: Shack Build
Next: Shack Build
Back to Part 1
0 Comments
<<Previous
Forward>>

    Categories

    All
    Antenna
    Cw
    Digital-modes
    Flying-with-gear
    Home QTH
    Miscellaneous
    Mobile
    Operating Events
    Portable
    POTA
    Shack Build
    Technical


    - N3VEM -

         Welcome to my Ham Radio Blog!  This blog was started primarily to share my two concurrent shack builds - my mobile station and my home station.  Over time, this has grown to include sharing about my operations, and general radio-related thoughts that I have as a newer operator.  
         
    ​Enjoy!

    RSS Feed


    Picture
    POTA!

    Picture
    Proving that hams do indeed still build stuff!

    Picture
    100 Watts and Wire is an awesome community, based around an excellent podcast. 

    Archives

    September 2020
    July 2020
    January 2020
    September 2019
    August 2019
    July 2019
    June 2019
    May 2019
    March 2019
    January 2019
    December 2018
    November 2018
    October 2018
    September 2018
    August 2018
    July 2018
    June 2018
    May 2018
    April 2018
    March 2018
    February 2018
    January 2018
    December 2017
    November 2017
    October 2017
    September 2017
    August 2017
    July 2017
    June 2017
    May 2017
    April 2017
    March 2017
    February 2017
    January 2017
    December 2016
    November 2016
    October 2016
    September 2016
    August 2016
    July 2016
    June 2016
    May 2016
    April 2016
    March 2016
    February 2016
    January 2016
    December 2015
    November 2015


Picture
Copyright © 2015
 Vance Martin is a participant in the Amazon Services LLC Associates Program, an affiliate advertising program designed to provide a means for sites to earn advertising fees by advertising and linking to amazon.com.