NOVEMBER 3 VICTOR ECHO MIKE
  • Blog
  • Events and Activations
  • Diversions
  • About
  • Gallery
  • Contact
  • Links
  • Subscribe
  • Search
  • Blog
  • Events and Activations
  • Diversions
  • About
  • Gallery
  • Contact
  • Links
  • Subscribe
  • Search
NOVEMBER 3 VICTOR ECHO MIKE

ham radio Projects and musings from a (Relatively) new operator

More Fun Than Radio

11/1/2018

1 Comment

 
post contains affiliate links     
     Shhhhh....don't tell, but there's something I'm having more fun doing than radio....hanging out with my family and our new baby!

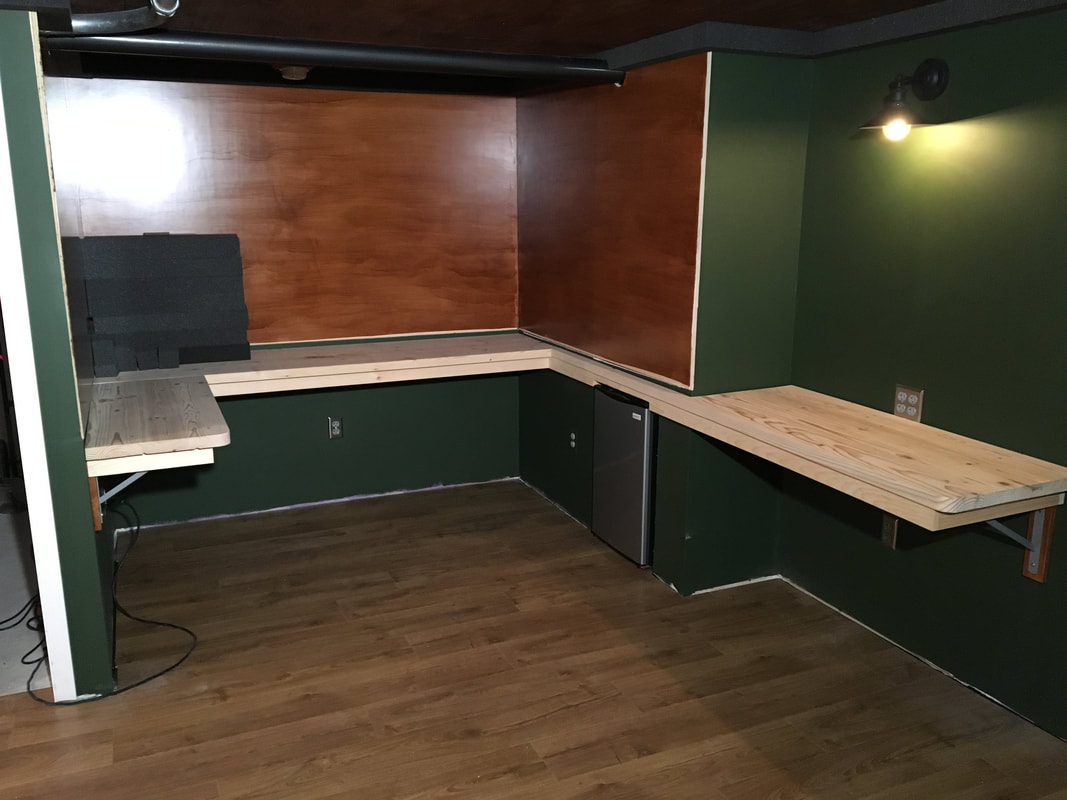
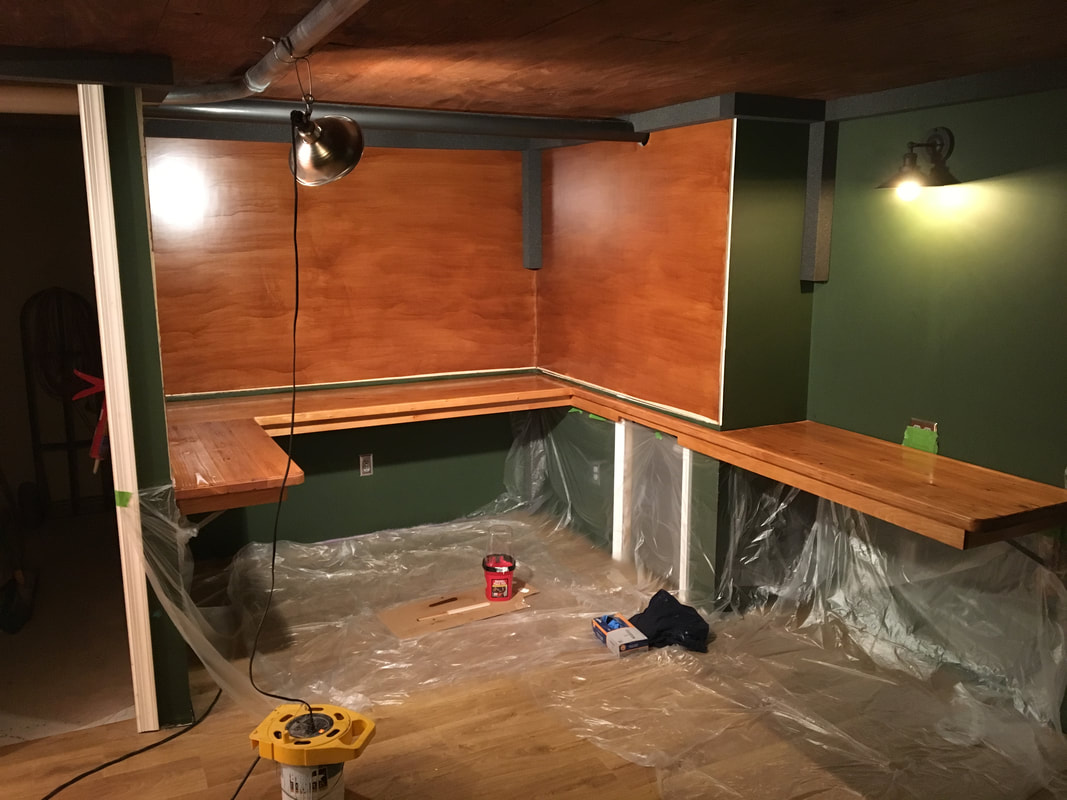
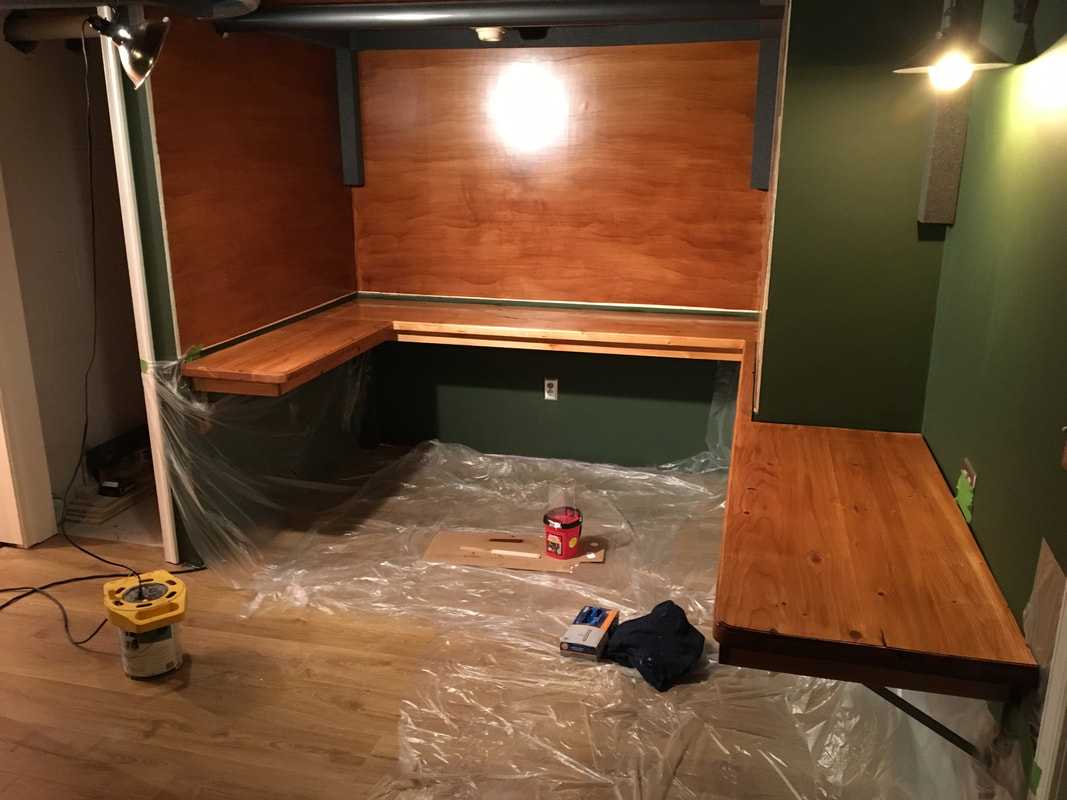
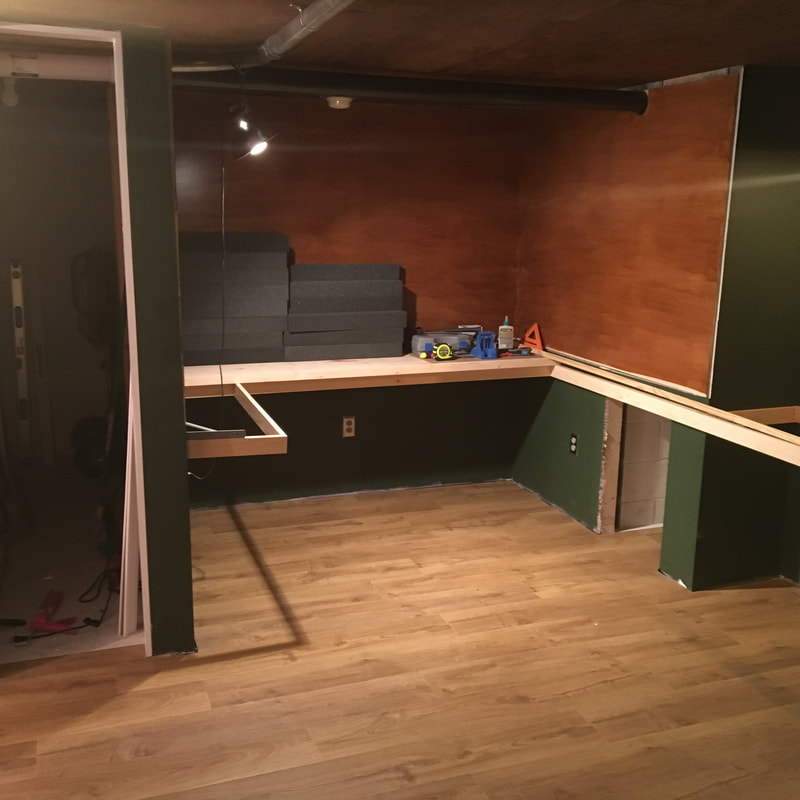
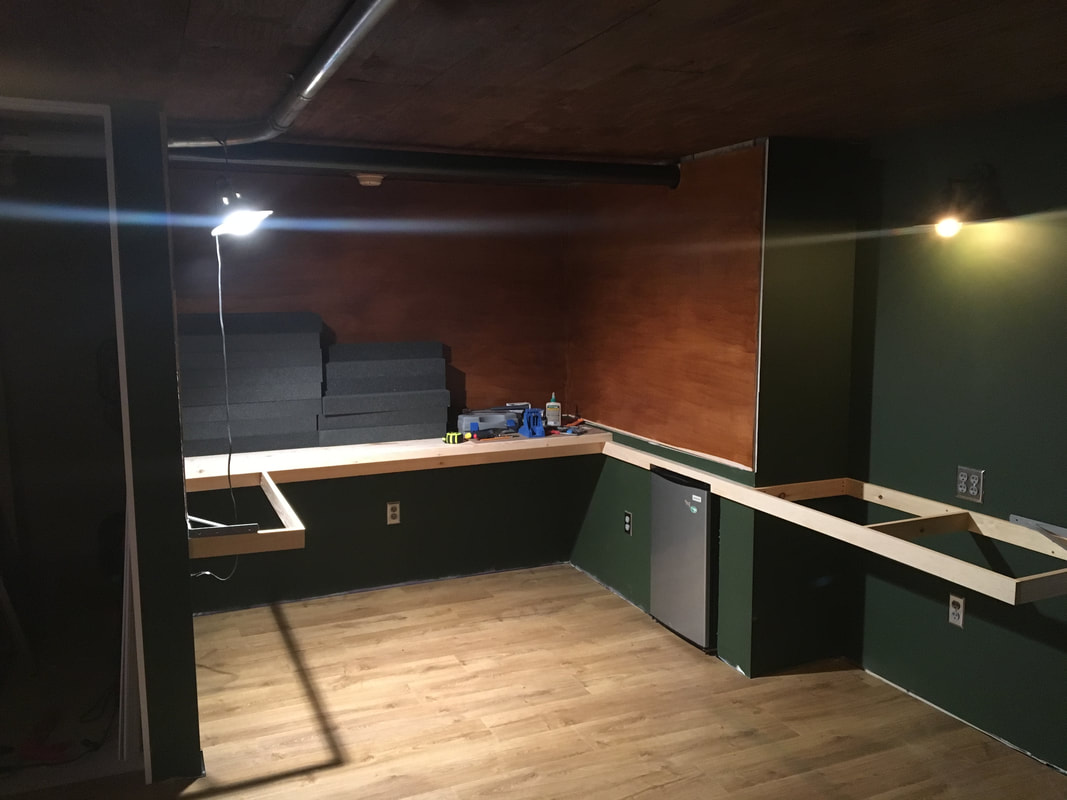
     The good news is, I still really like ham radio, and have kept plugging away at my shack project, work on the POTA database, and getting on the air,  in little bits and pieces as I have time.  The shack stuff has mostly been details, the most visible of which is the "splashguard" boards around the desk.  

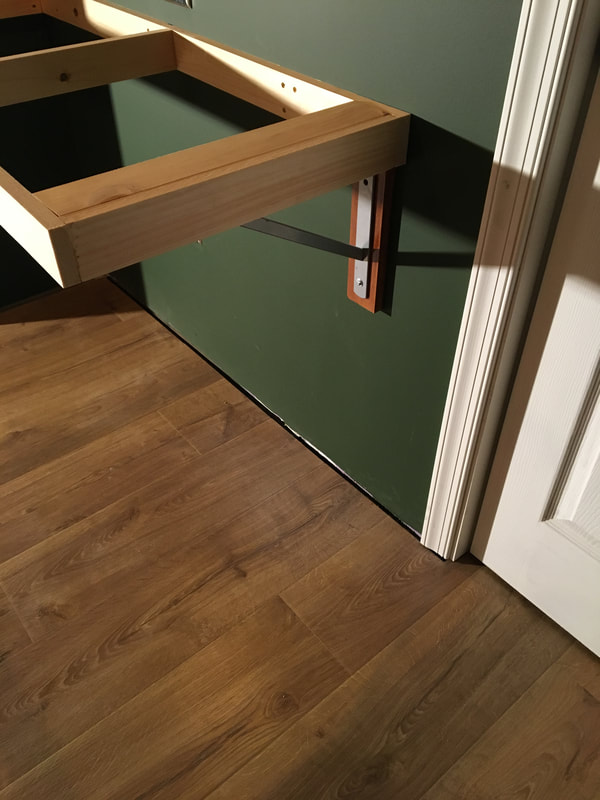
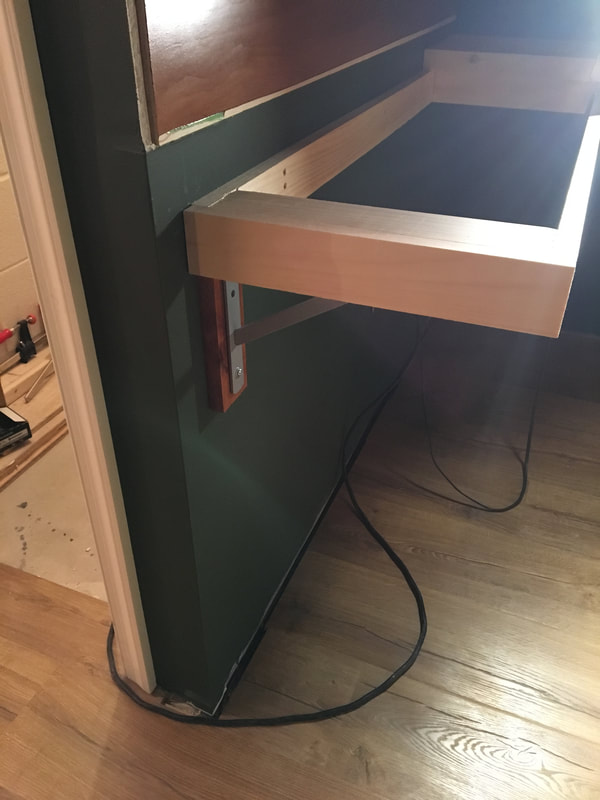
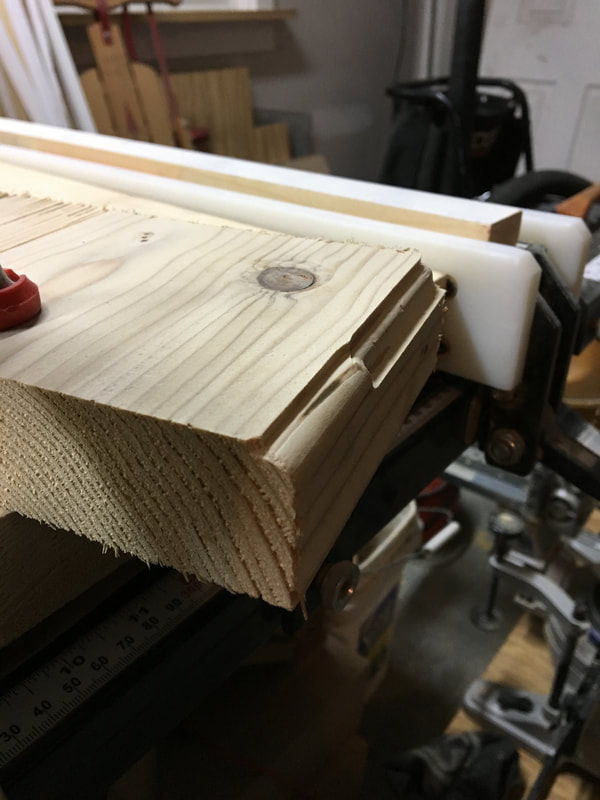
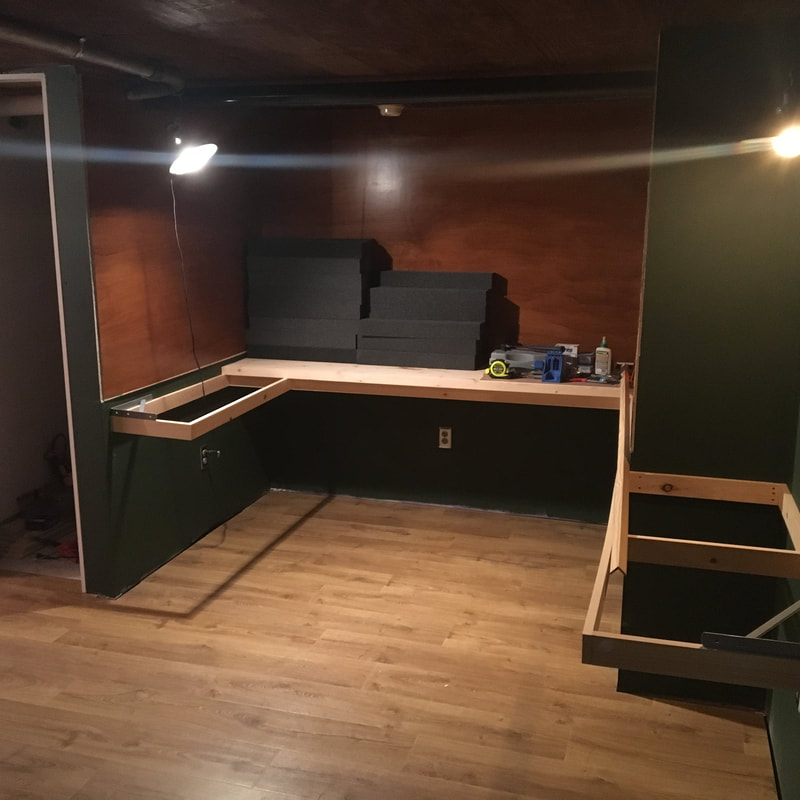
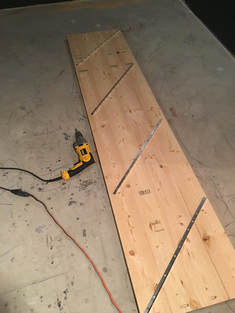
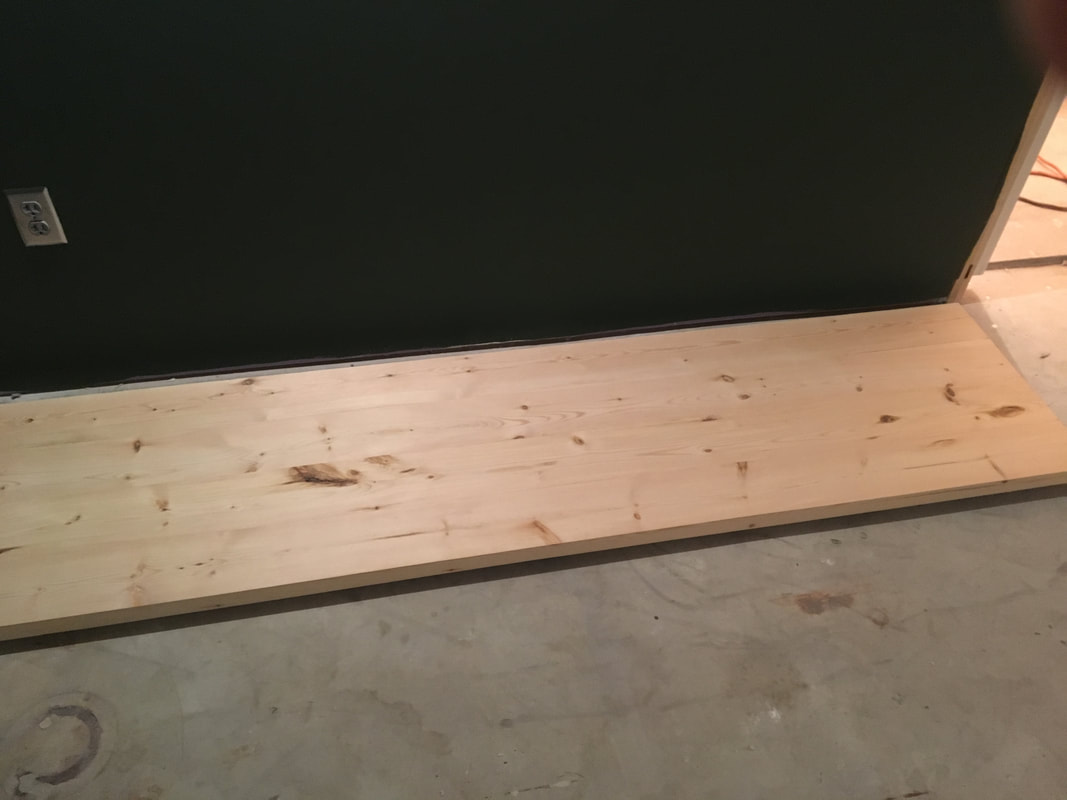
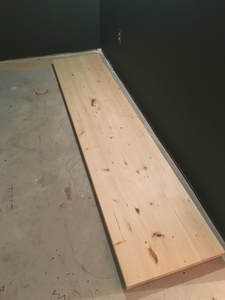
As I was measuring, cutting, and test fitting those boards, I did find a spot in the wall that has a bit of a bulge, which meant I had to make one of my otherwise solid boards, "bendy":
Picture
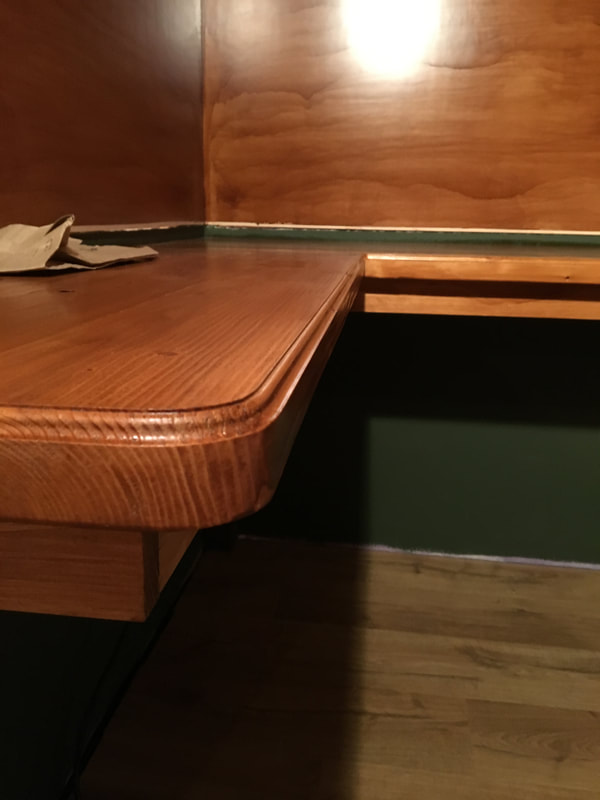
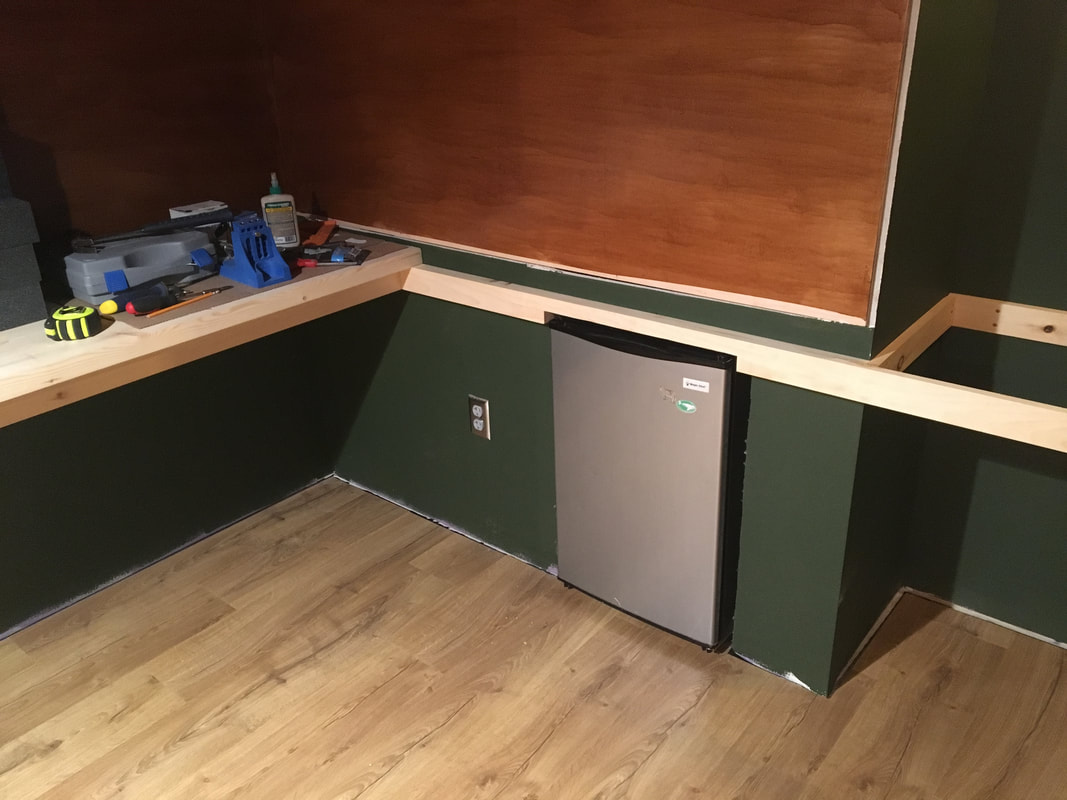
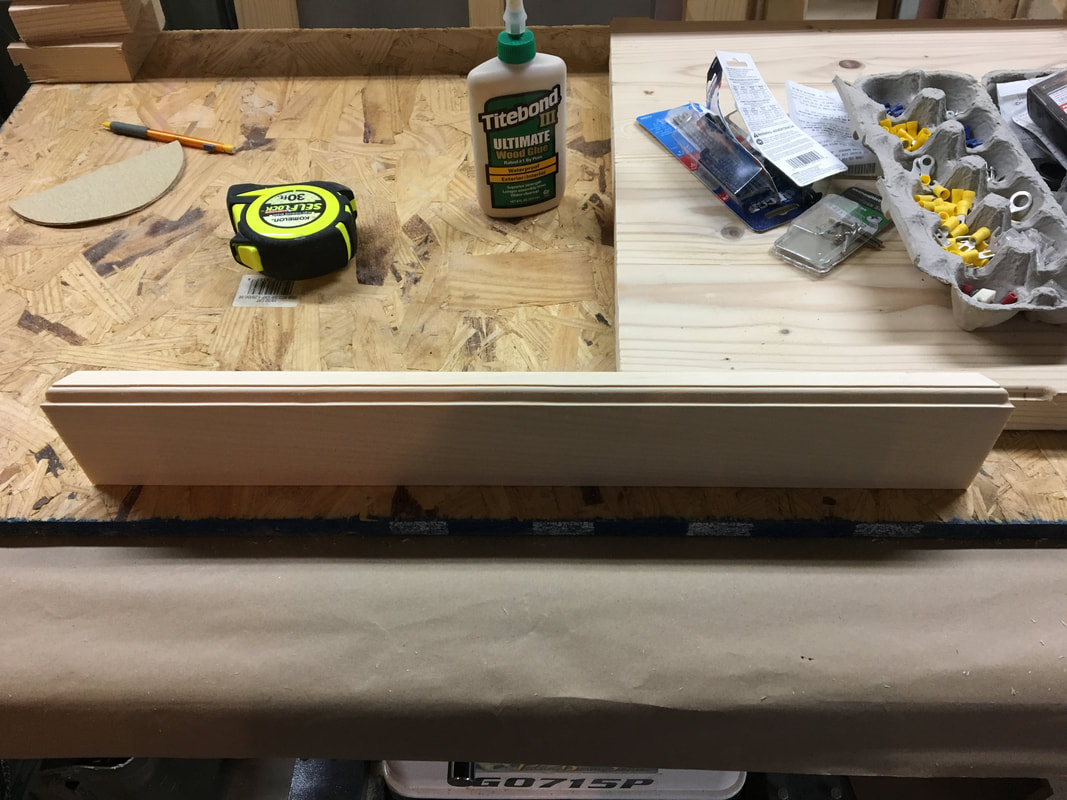
This board needed to "bend" around a bulge in the wall....
Picture
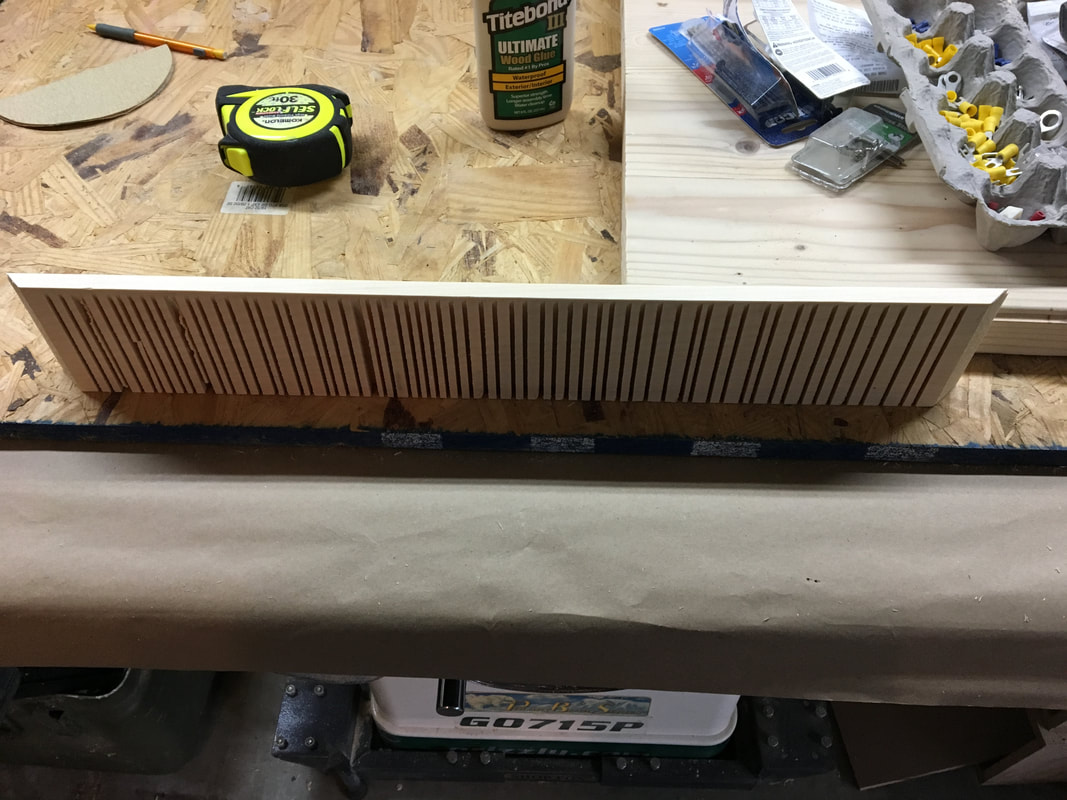
...So I mutilated it's backside with my miter saw

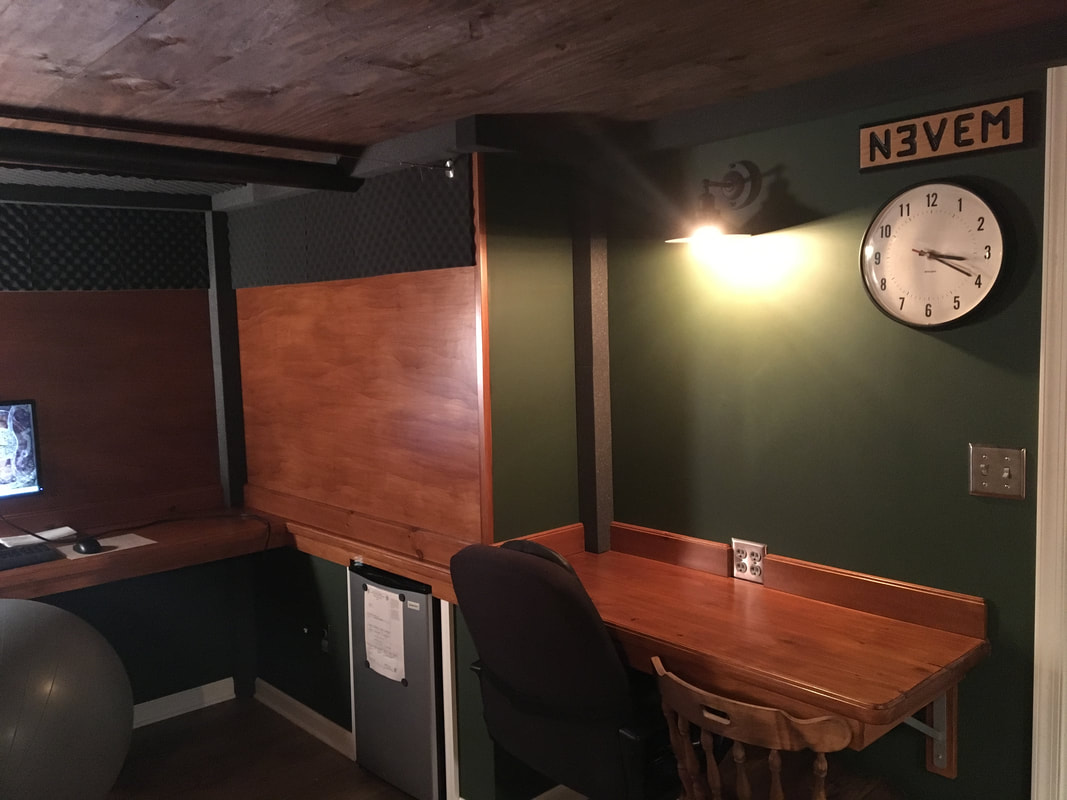
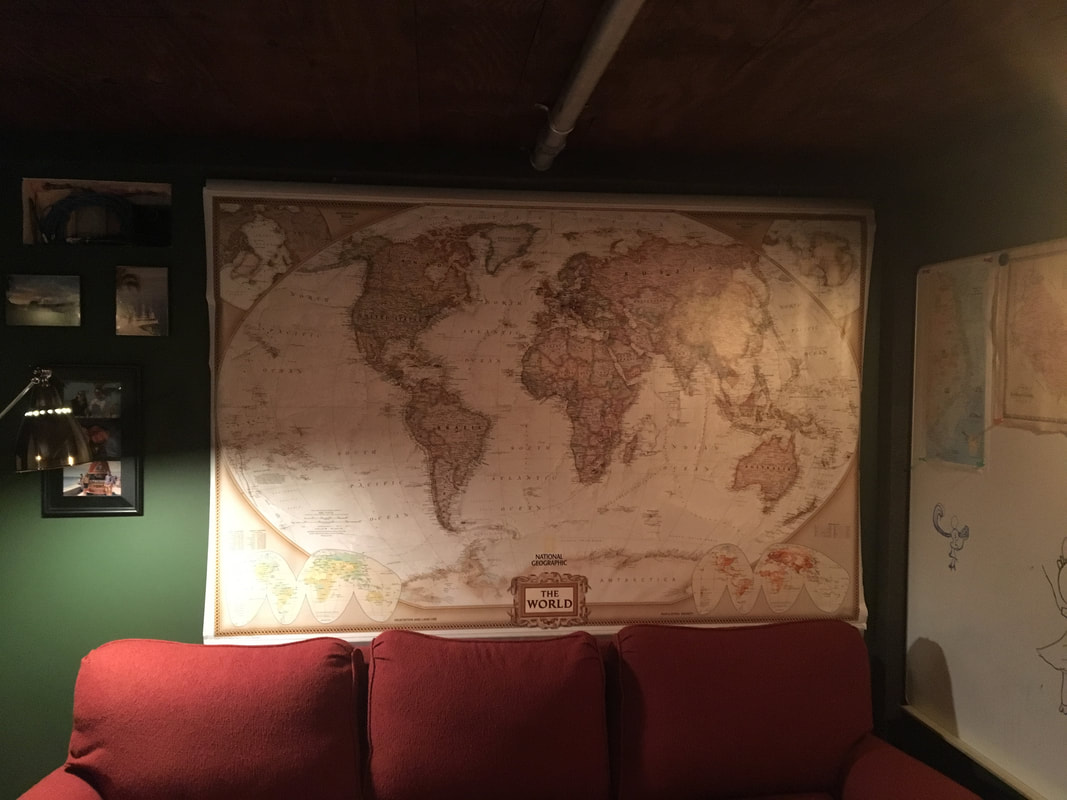
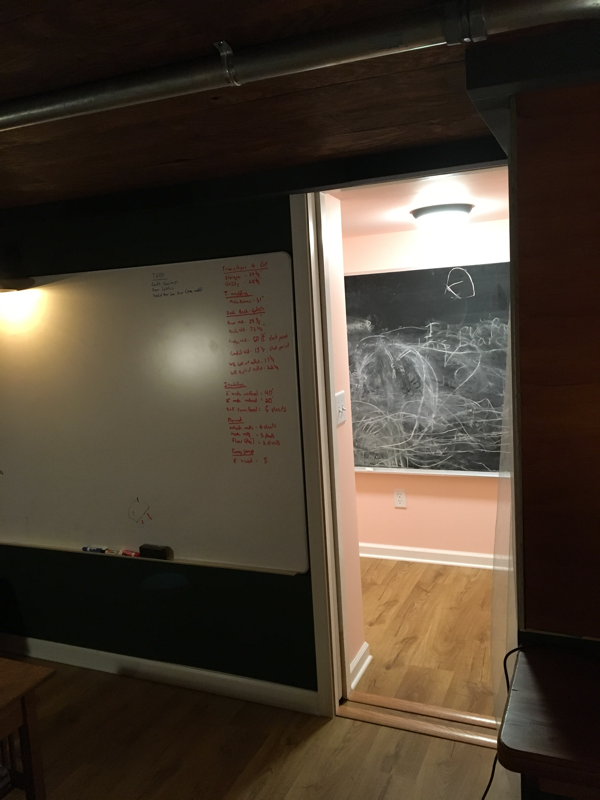
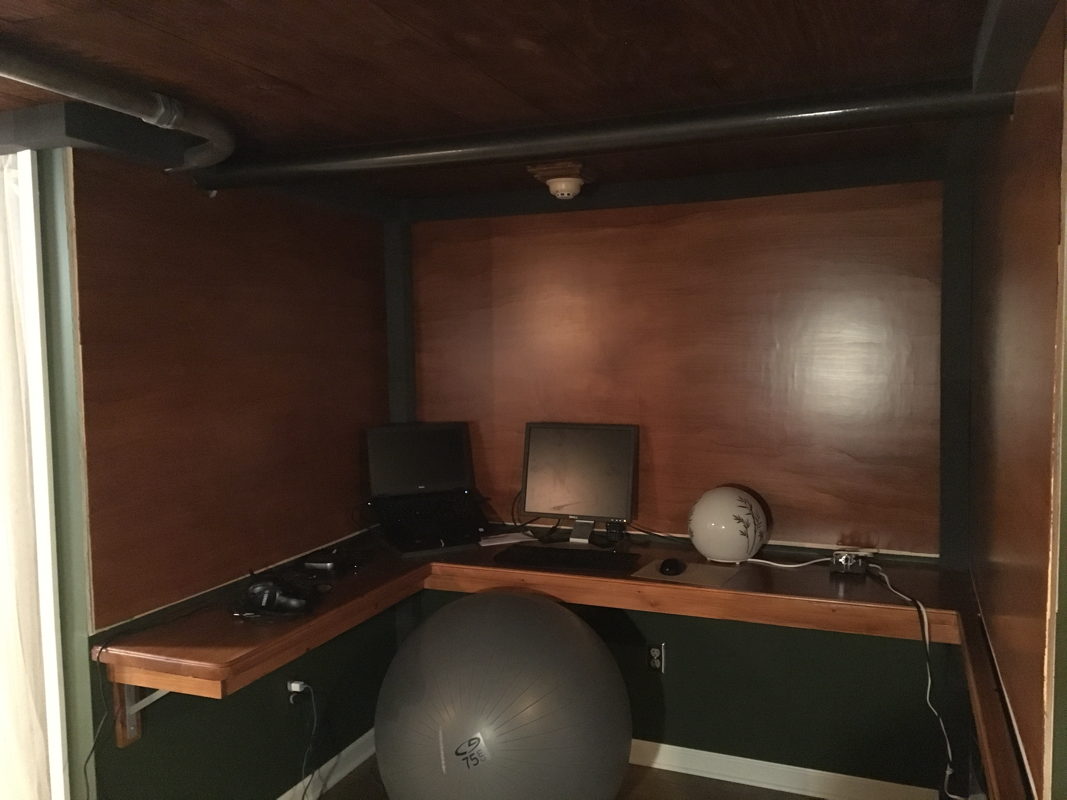
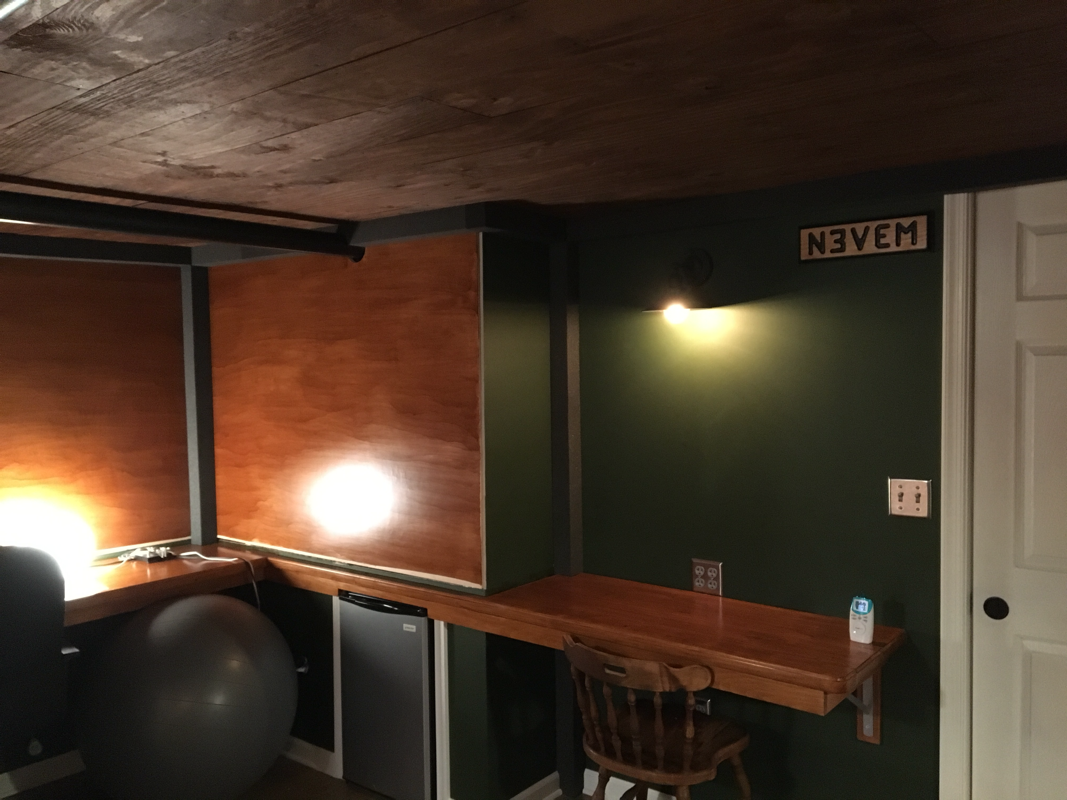
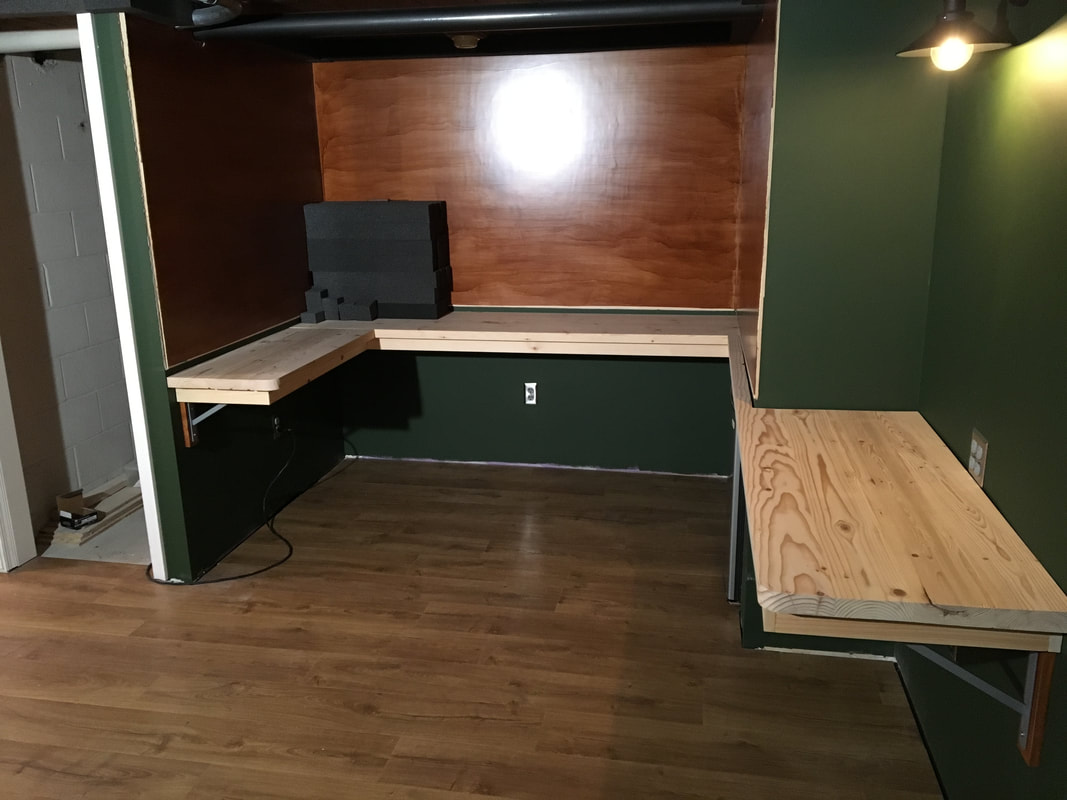
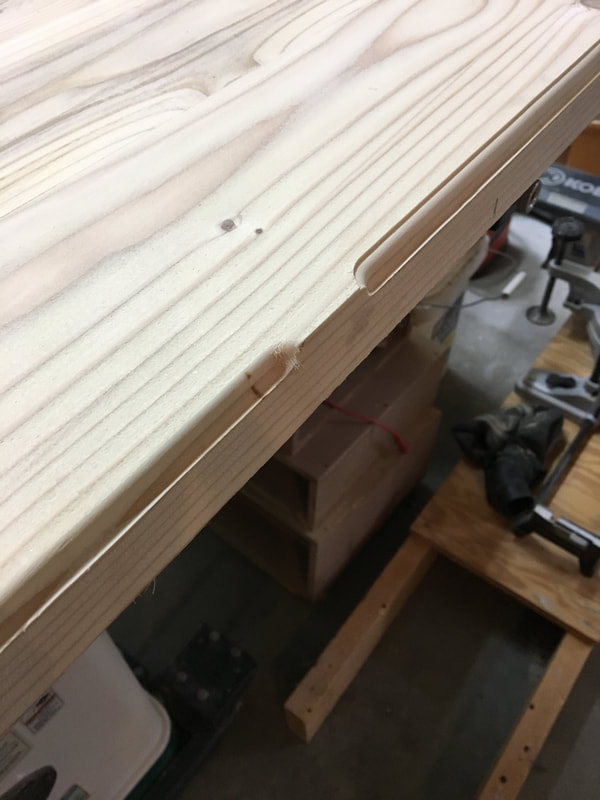
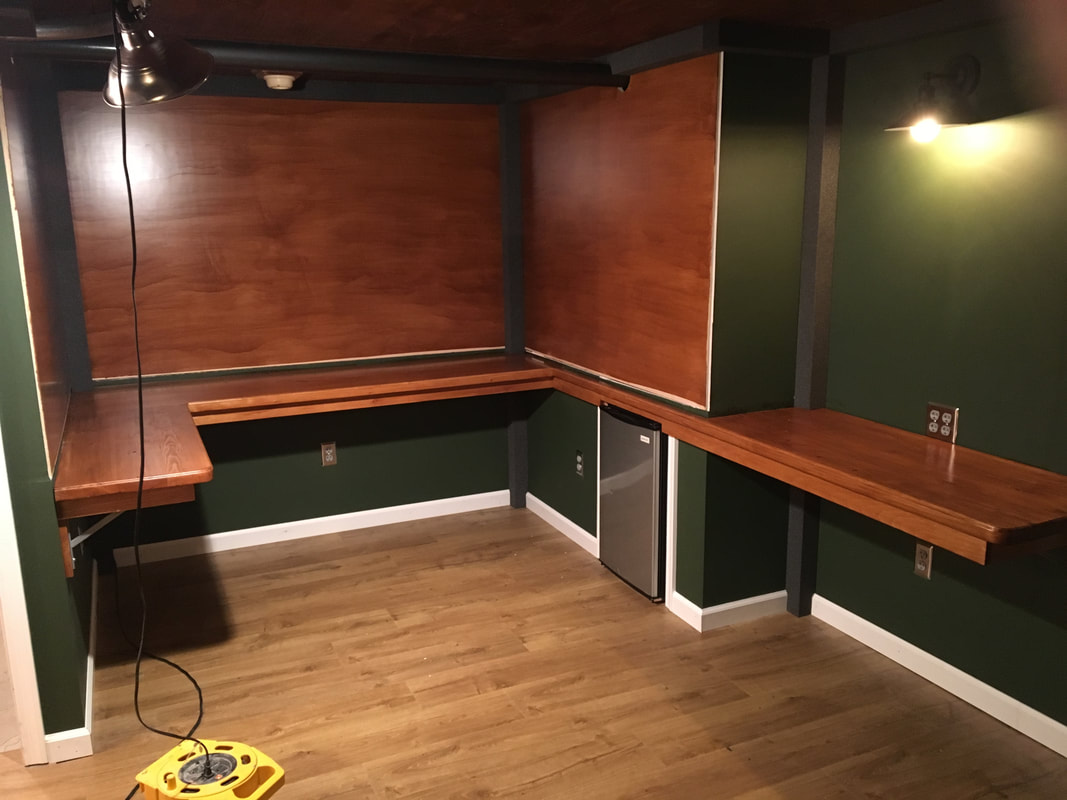
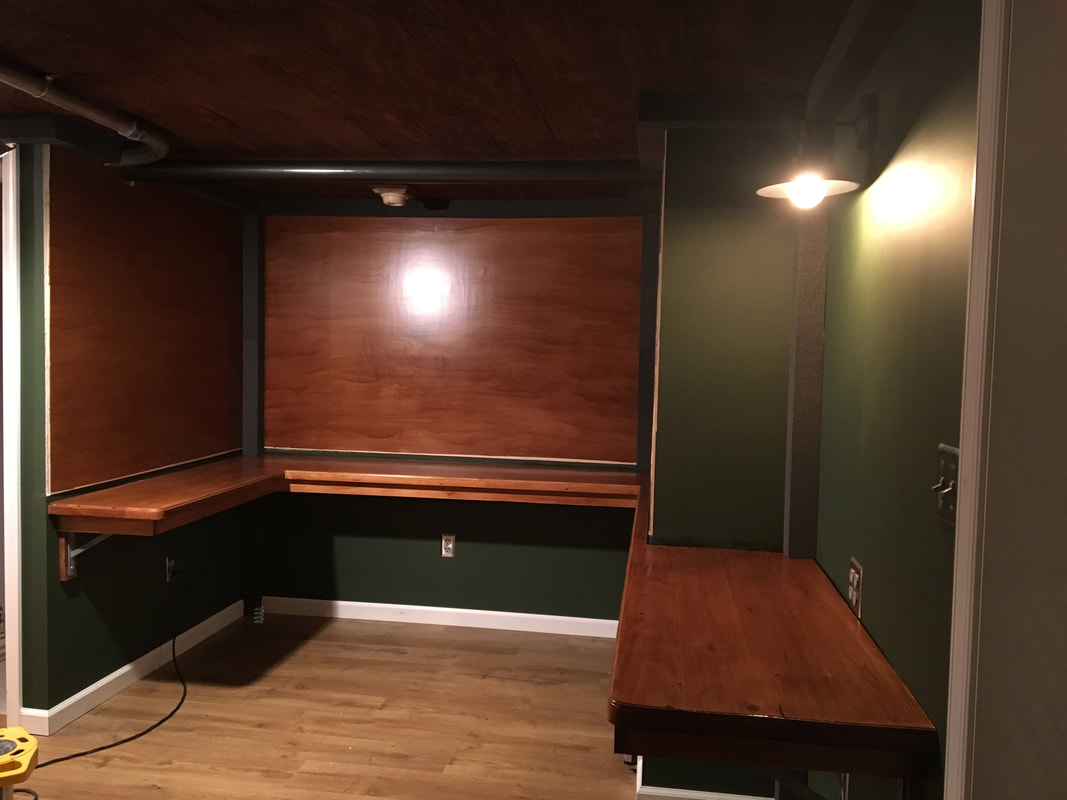
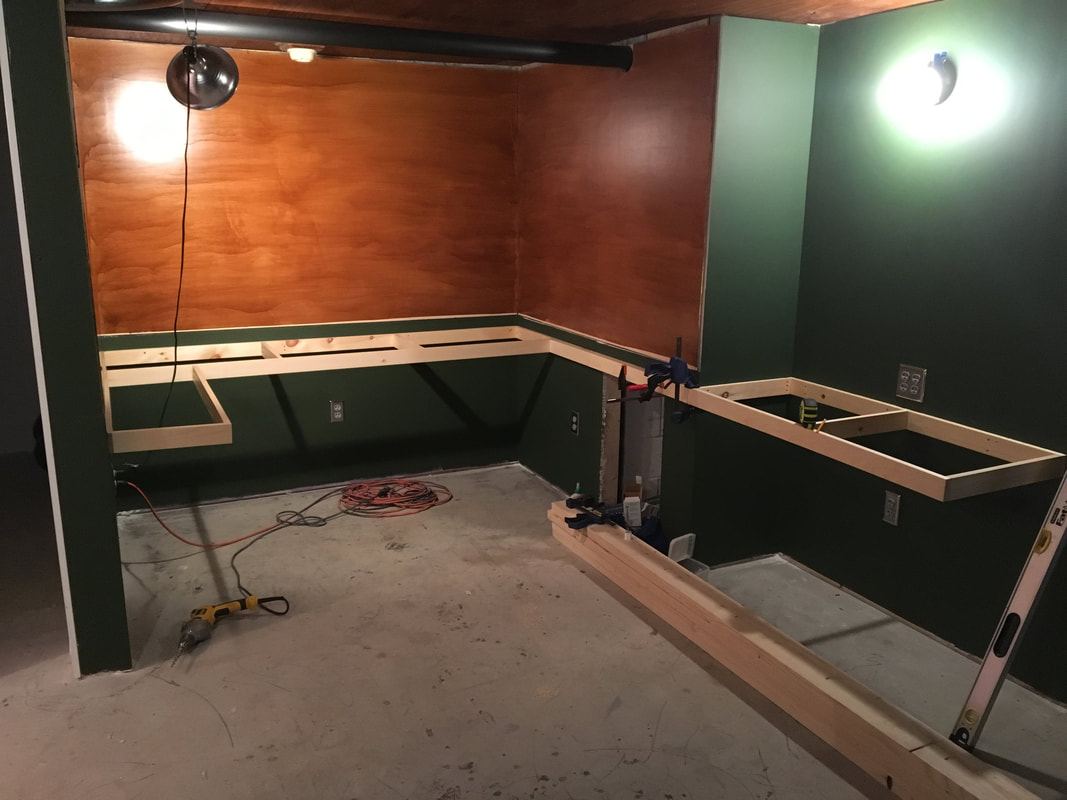
Luckily it turned out well, and things look a lot cleaner, and more "finished" now that they are in place.  In classic "Where's Waldo" style, look for the following things in the picture below, that are the "details" I've been working on.
  • "Splashguards" installed
  • Additional sound-deadening installed
  • Corner trim
  • Callsign Plaque made by W8ZST
  • UTC clock installed
  • FCC License displayed, in super fancy fashion
  • Tension wire stretched near the ceiling, behind the operating position
    • I work from home, so when I'm on video calls I can pull curtains across behind myself to "hide" the rest of the room when I'm on display :-)
Picture

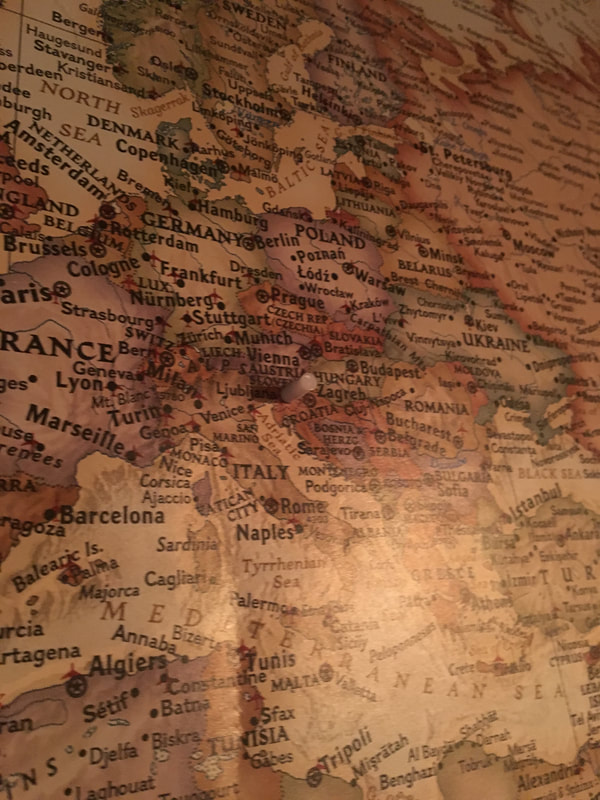
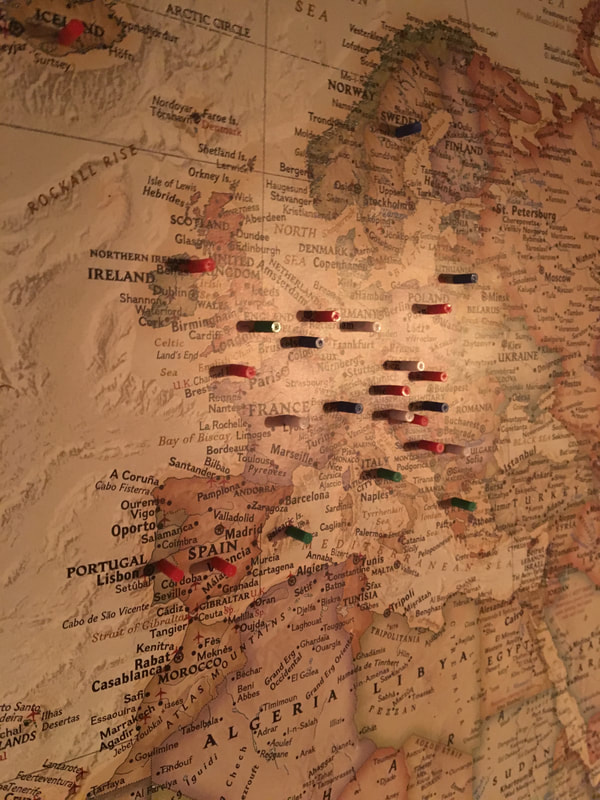
     The other fun detail was some little tid-bits I ordered for my giant map.  I wanted to be able to "pin" states, provinces, and countries as I contacted them, but the map is actually hanging using poster clip rails.  I ordered some map magnets, and a whole bunch of super tiny magnets, so that I could just put one of the tiny magnets behind the map, the map magnet in front, and then slide them into position.
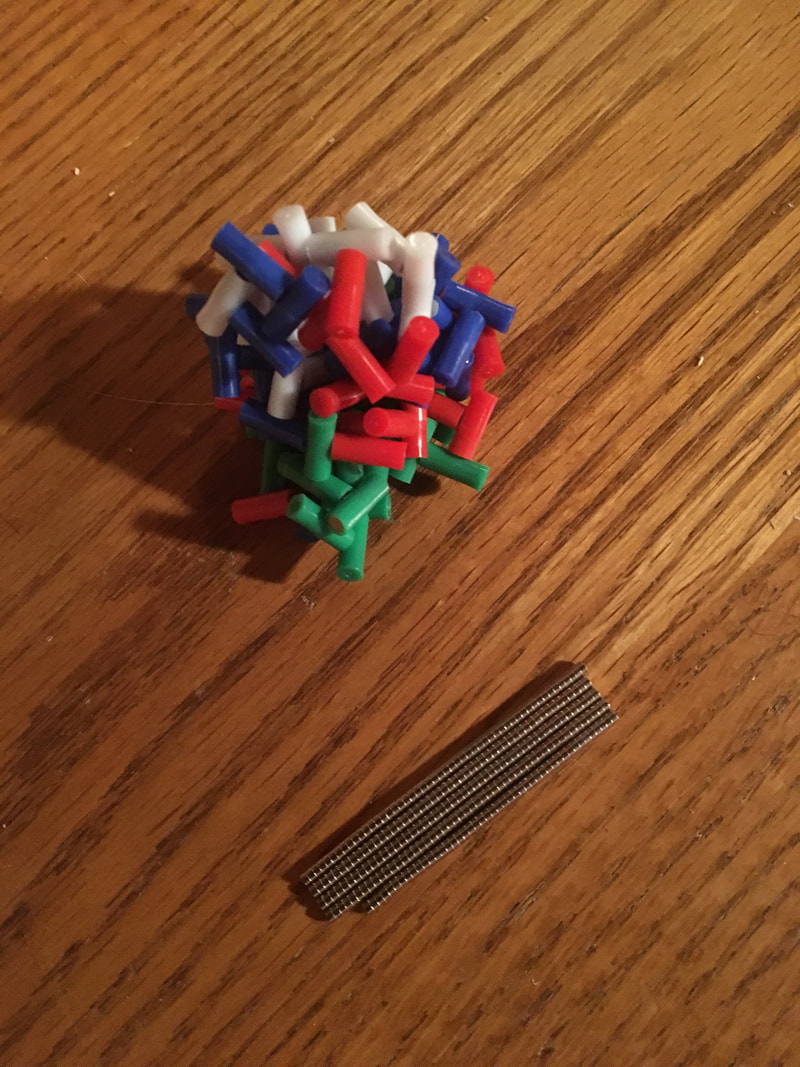
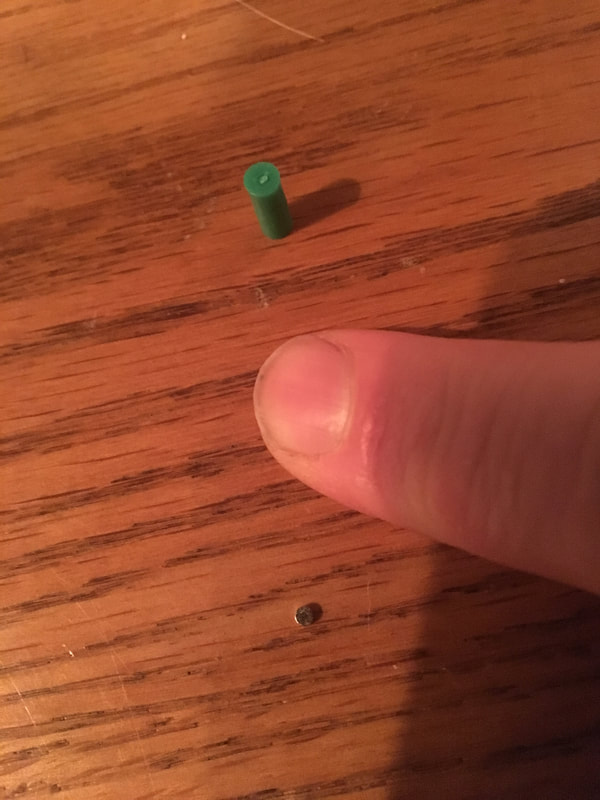
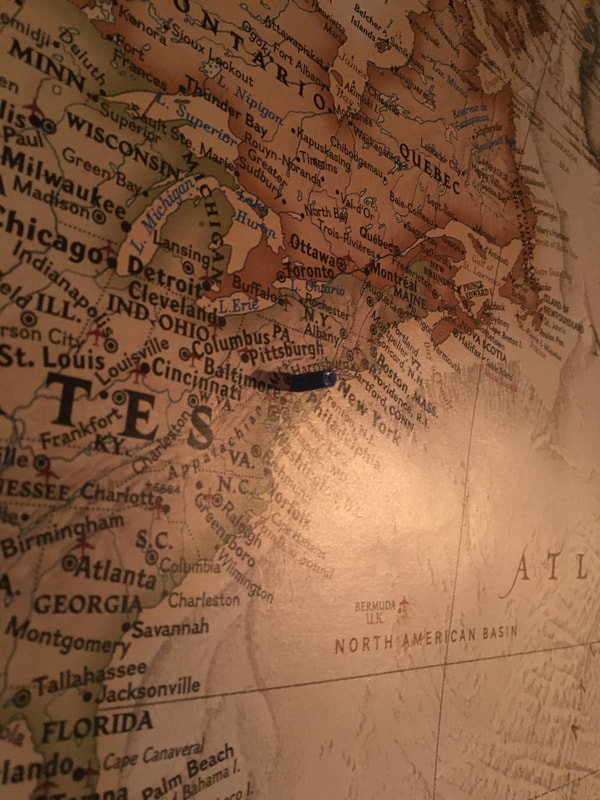
If you want to do something similar, most of this stuff can be grabbed from Amazon:
  • Map Magnets
  • Tiny Magnets
  • Giant Map​
Previous Shack Build
Next Shack Build
Back to Shack Build Part 1
1 Comment

Moving In

10/10/2018

0 Comments

 
Hello there! Due to the birth of our newest future operator, I’ve only had time for some minor “construction” related progress in the new shack, but I did manage one major item - moving out of the master bedroom closet and into my new space!

While the space is now able to be occupied, the things left to do are all the radio“ish” things, like installing gear, running coax, mounting antenna’s etc. the goal was to get to this point before the baby was born, so that I could at least move my home office to a quieter area of the house, so that I wouldn’t disturb the baby, and vice-versa during my at-home workday. I’m sure my progress will be slower now that we have a tiny one in the house, but at least when I do get to plug away at things, it will be the “fun stuff” related to the radios.

​Here’s where I’m at now:
0 Comments

A Ditty about Desks and Details

9/26/2018

0 Comments

 
Post contains affiliate links     
I have casually mentioned in past posts about our "self-imposed deadline" for finishing the basement project, which includes my new ham shack. I figured now is as good a time as any to share what that deadline is - the date our 3rd future operator joins us! We're expecting a baby boy, and we are now in the window of possibility [ed. he was born the 27th!]. The goal was to have the basement project done before he is born, and we "might" make that goal, depending on the timing he decides:-)
     With that in mind, here's the progress update...
     Since my last update, I have finished everything in the big room except for the shoe molding and a couple transition strips between the new floor and a couple doorways.  With a bit of luck, by the time you read this, I will also have finished that, and we'll have started moving in furniture:-)
     Now - on to the part you mostly likely came here for - the shack progress!  The update since last week is mostly around details and the desk:
  • Finished making the additional slabs for the desktop
  • Attached them in place
  • Stain/Poly applied (I used Minwax Polyshades for speed and simplicity)
  • Acoustical Foam put in all vertical corners, and the whole way around the wall/ceiling corner
  • Baseboard Trim installed
   
​The next bits in here will be the shoe molding, a couple T moldings and such for the floor, a board to act as the "backsplash" for the desk, and then moving in furniture!  I'll also be adding more acoustical foam before too long, but I want to get all the furniture etc. in the space before I decide how much additional echo-dampening I actually need, since things like the couch will go a long way to cutting down on the reverb effect in the room :-)  Here's some pictures, with some quick captions of the things to note....enjoy!
    As a parting note - since we are in "any day now" mode with the baby, if I disappear for a couple weeks without a new post, you'll know what's up:-)
Previous Shack Build
Next Shack Build
Back to Shack Build Part 1
0 Comments

Like, Totally Floored Man!

9/19/2018

0 Comments

 
     I just recently finished putting down about 830 square feet of flooring!  The largest portion of this was in what will be our new rec room, but a small portion of it was the very important bit - the ham shack!
Picture
Picture

     For the floor, we wanted something simple and quick, that also looked pretty decent when it was done, so Pergo to the rescue!  We used their Outlast + series, and were very specific to follow their recommendations for the type of vapor barrier for our application, since this is a basement and I don't want any trouble :-)
     With the floor in place, and the desktop partly built, the room is really starting to look like a ham shack...
Picture
Picture

     Oh, and for anyone who hasn't been reading along for the last few months, and is wondering what that hole in the wall is for.....
     The recessed fridge also has a secret purpose.  I can pull the fridge out, go through the hole, and there is an empty space large enough for me to stand in.  That space is where the conduit runs up to the attic start, so I can go in here to work and pull cables up and down in the future.  I've been trying to plan ahead during this whole thing :-)

​..
Previous Shack Build
Next Shack Build
Back to Shack Build Part 1
0 Comments

A place to work

9/12/2018

0 Comments

 
Post Contains Affiliate Link          
     I'd like to share another bit of my shack project with you - the desk for my operating position.  For reference, here's the space before I started building the desk:
Picture

     The look I'm ultimately, going for is more on the rustic side - think "old English pub turned into a radio studio" :-)  Anyway, for a desktop to match that look I waffled around with ideas, but ultimately wanted something pretty beefy - like maybe butcher block or old thick reclaimed boards.  Ready-made butcher block would have been pricey, and I didn't see any old torn-down barns in my area in the last few weeks, so I decided to make something.  Of all the potential materials, I ended up just getting a bunch of 2x6 boards.  
I started by ripping about 1/4" off both sides using my table saw, so they would have square edges.  After that, I borrowed the YL's kreg jig to make pocket holes, so that I could glue them up, and then use screws to pull them together tight.
This type of lumber is often pretty green (i.e. not fully cured) so it can have a tendency to twist funny as it dries.  Since I'm going for rustic, I don't mind if goes slightly askew while it dries, but to try to minimize it, I screwed some steel angle onto the bottom, to keep things relatively straight while the glue set, and I did the sanding etc. to prep the top.
Picture
This is the first of two of these slabs to make up the desk area.  It was a couple days before I had a chance to get back to it, so the glue was good and cured by the time I flipped it over and started sanding the top.  I started with 60 grit paper in my sander to knock everything down to the same level, and then worked my up to 80, 100, 120, and finally 220 grit paper.  The second slab has just started getting its first sanding with the 60 grit :-)
I'm pretty pleased with how the top came out after sanding.  Once it's stained and sealed I think it will give me just the look I'm after.
Picture
Picture

     Next, I needed a frame to mount the desk on!  Luckily, I though ahead and put lumber in the walls where this was going to mount, so I have some very strong anchoring in the wall.  For the frame I went with 1x3 pine.  With the frame in place you can really start to see how the operating desk will kind of flow around the corners, and blend in with what will be the workbench area, to the right.
Picture

One final note - most ham shacks are probably going to want deeper desktops, but in my case, the equipment will be recessed in the wall, accessible from the rear by the doorway to the left.  For this reason I only wanted my desktop wide enough that when I rest my arms on it, my finger tips just hit the wall (where the buttons will be!)  For me and the way I sit, that worked out to be about 20."

Bye for now!

​..
Previous Shack Build
Next Shack Build
Back to Shack Build Part 1
0 Comments
<<Previous
Forward>>

    Categories

    All
    Antenna
    Cw
    Digital-modes
    Flying-with-gear
    Home QTH
    Miscellaneous
    Mobile
    Operating Events
    Portable
    POTA
    Shack Build
    Technical


    - N3VEM -

         Welcome to my Ham Radio Blog!  This blog was started primarily to share my two concurrent shack builds - my mobile station and my home station.  Over time, this has grown to include sharing about my operations, and general radio-related thoughts that I have as a newer operator.  
         
    ​Enjoy!

    RSS Feed


    Picture
    POTA!

    Picture
    Proving that hams do indeed still build stuff!

    Picture
    100 Watts and Wire is an awesome community, based around an excellent podcast. 

    Archives

    September 2020
    July 2020
    January 2020
    September 2019
    August 2019
    July 2019
    June 2019
    May 2019
    March 2019
    January 2019
    December 2018
    November 2018
    October 2018
    September 2018
    August 2018
    July 2018
    June 2018
    May 2018
    April 2018
    March 2018
    February 2018
    January 2018
    December 2017
    November 2017
    October 2017
    September 2017
    August 2017
    July 2017
    June 2017
    May 2017
    April 2017
    March 2017
    February 2017
    January 2017
    December 2016
    November 2016
    October 2016
    September 2016
    August 2016
    July 2016
    June 2016
    May 2016
    April 2016
    March 2016
    February 2016
    January 2016
    December 2015
    November 2015


Picture
Copyright © 2015
 Vance Martin is a participant in the Amazon Services LLC Associates Program, an affiliate advertising program designed to provide a means for sites to earn advertising fees by advertising and linking to amazon.com.