Here’s another post with some details on the process of building a model rocket with an electronics package to do some telemetry and messaging via APRS, and LoRa, during a short rocket flight. Make sure to check out the Radio-Rocket Tag to find more posts, or check out the summary static pages on the project posted here. Some of the code is also finding it’s way to a github repo. I wrote a fairly detailed summary post as an intro to all of this, that you might want to check out as well.
The Ground Station
In order to communicate with a rocket that has radio gear on it, you need to have a way to receive, and potentially send back, radio signals of your own! I’m currently building version 2 of both the rocket and the ground station, so if you read my previous post on the ground station, it has changed quite a bit.
One thing that has remained the same however, is the need to essentially have 2 “radios” in the ground station:
- One to do LoRa RX and TX to enable two-way communication with the LoRa transceiver on the rocket
- One to receive APRS Packets
This post will focus on the first item - I’ll detail the updates to the ARPS half in another post.
Hardware
I made the decision to set up the ground station as a server, so while it does the work, any nearby device (a laptop, tablet, etc.) can connect to act as the user interface.
Computer
Thanks to the unobtanium status of RaspberryPi’s I needed to go on the hunt for an alternative ‘computer’ to act as the server. In that hunt, I ended up coming across the LePotato by Libre Computer. I ended up installing Armbian on it. From an experience standpoint, I’d say anyone who has already dabbled in Single Board Computers shouldn’t have any problems getting one of these up and running.
Radio
I already had an Adafruit Feather 32u4 Radio Fruit from my version 1 experiments, although if I was purchasing a new device today, I’d either go with the M0 Version, or maybe even just the LoRa breakout, connected directly to the LePotato.
Because I used what I had, I just have the Feather communicating with the LePotato via USB serial to get the received packets into the single board computer.
Power
I wanted this version to be able to be self-powered, because I ran into power issues in V1 during our failed launch. For V2 I picked up a thing that is the opposite of a HAT (a boot?) that sits under the LePotato, and uses little pogo pins to contact the needed points on the 40 pin header. This ‘Boot’ as I’m calling it, uses 2 of the venerable 18650 cells for power, and it works like a UPS - when it has external power plugged into its microUSB, it charges the batteries and runs the SBC, and if you disconnect power it just runs off the batteries. For power into the box, I actually stuck a 12v to 5v buck converter, because almost all of my portable power stuff is 12v, so doing this lets me power off the batteries, chargers, power supplies, etc. that I already have, when I want to use external power.
For all three of theses items (Computer, Radio, Power) I essentially made a mini-computer stack to layer it all on top of each other, which included a DIY ‘HAT’ cut from perf board, for the feather to sit on.
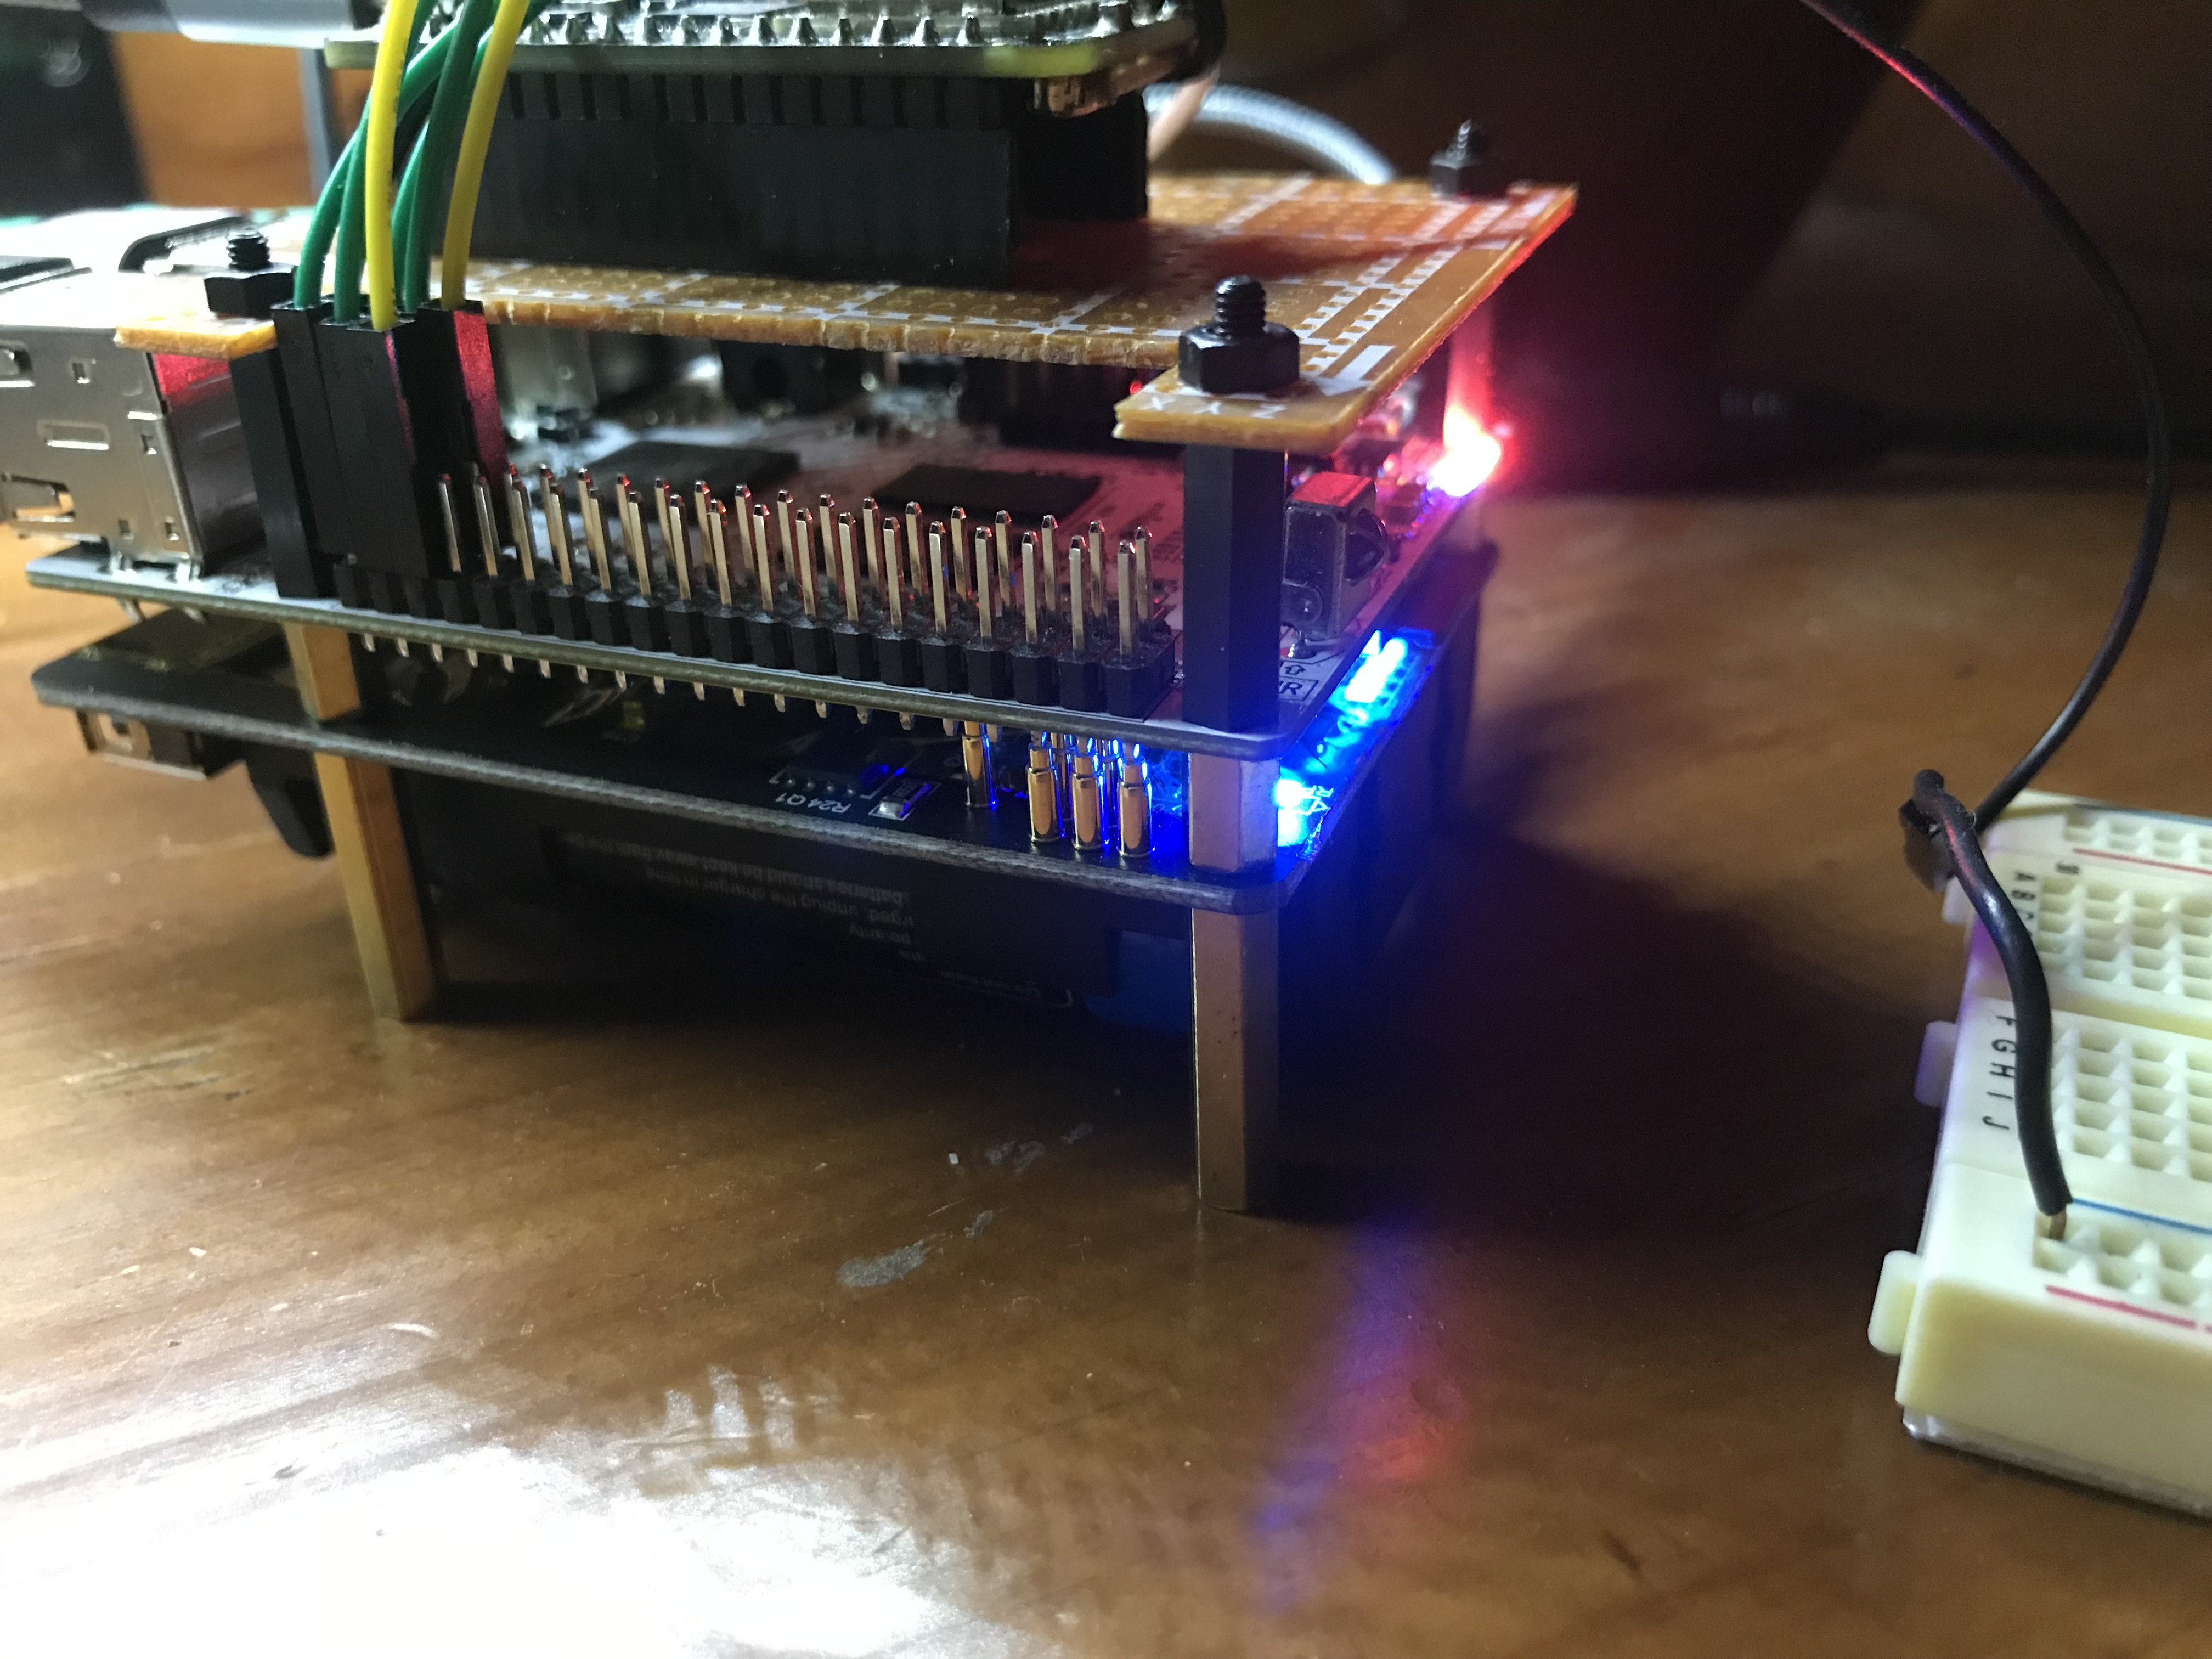

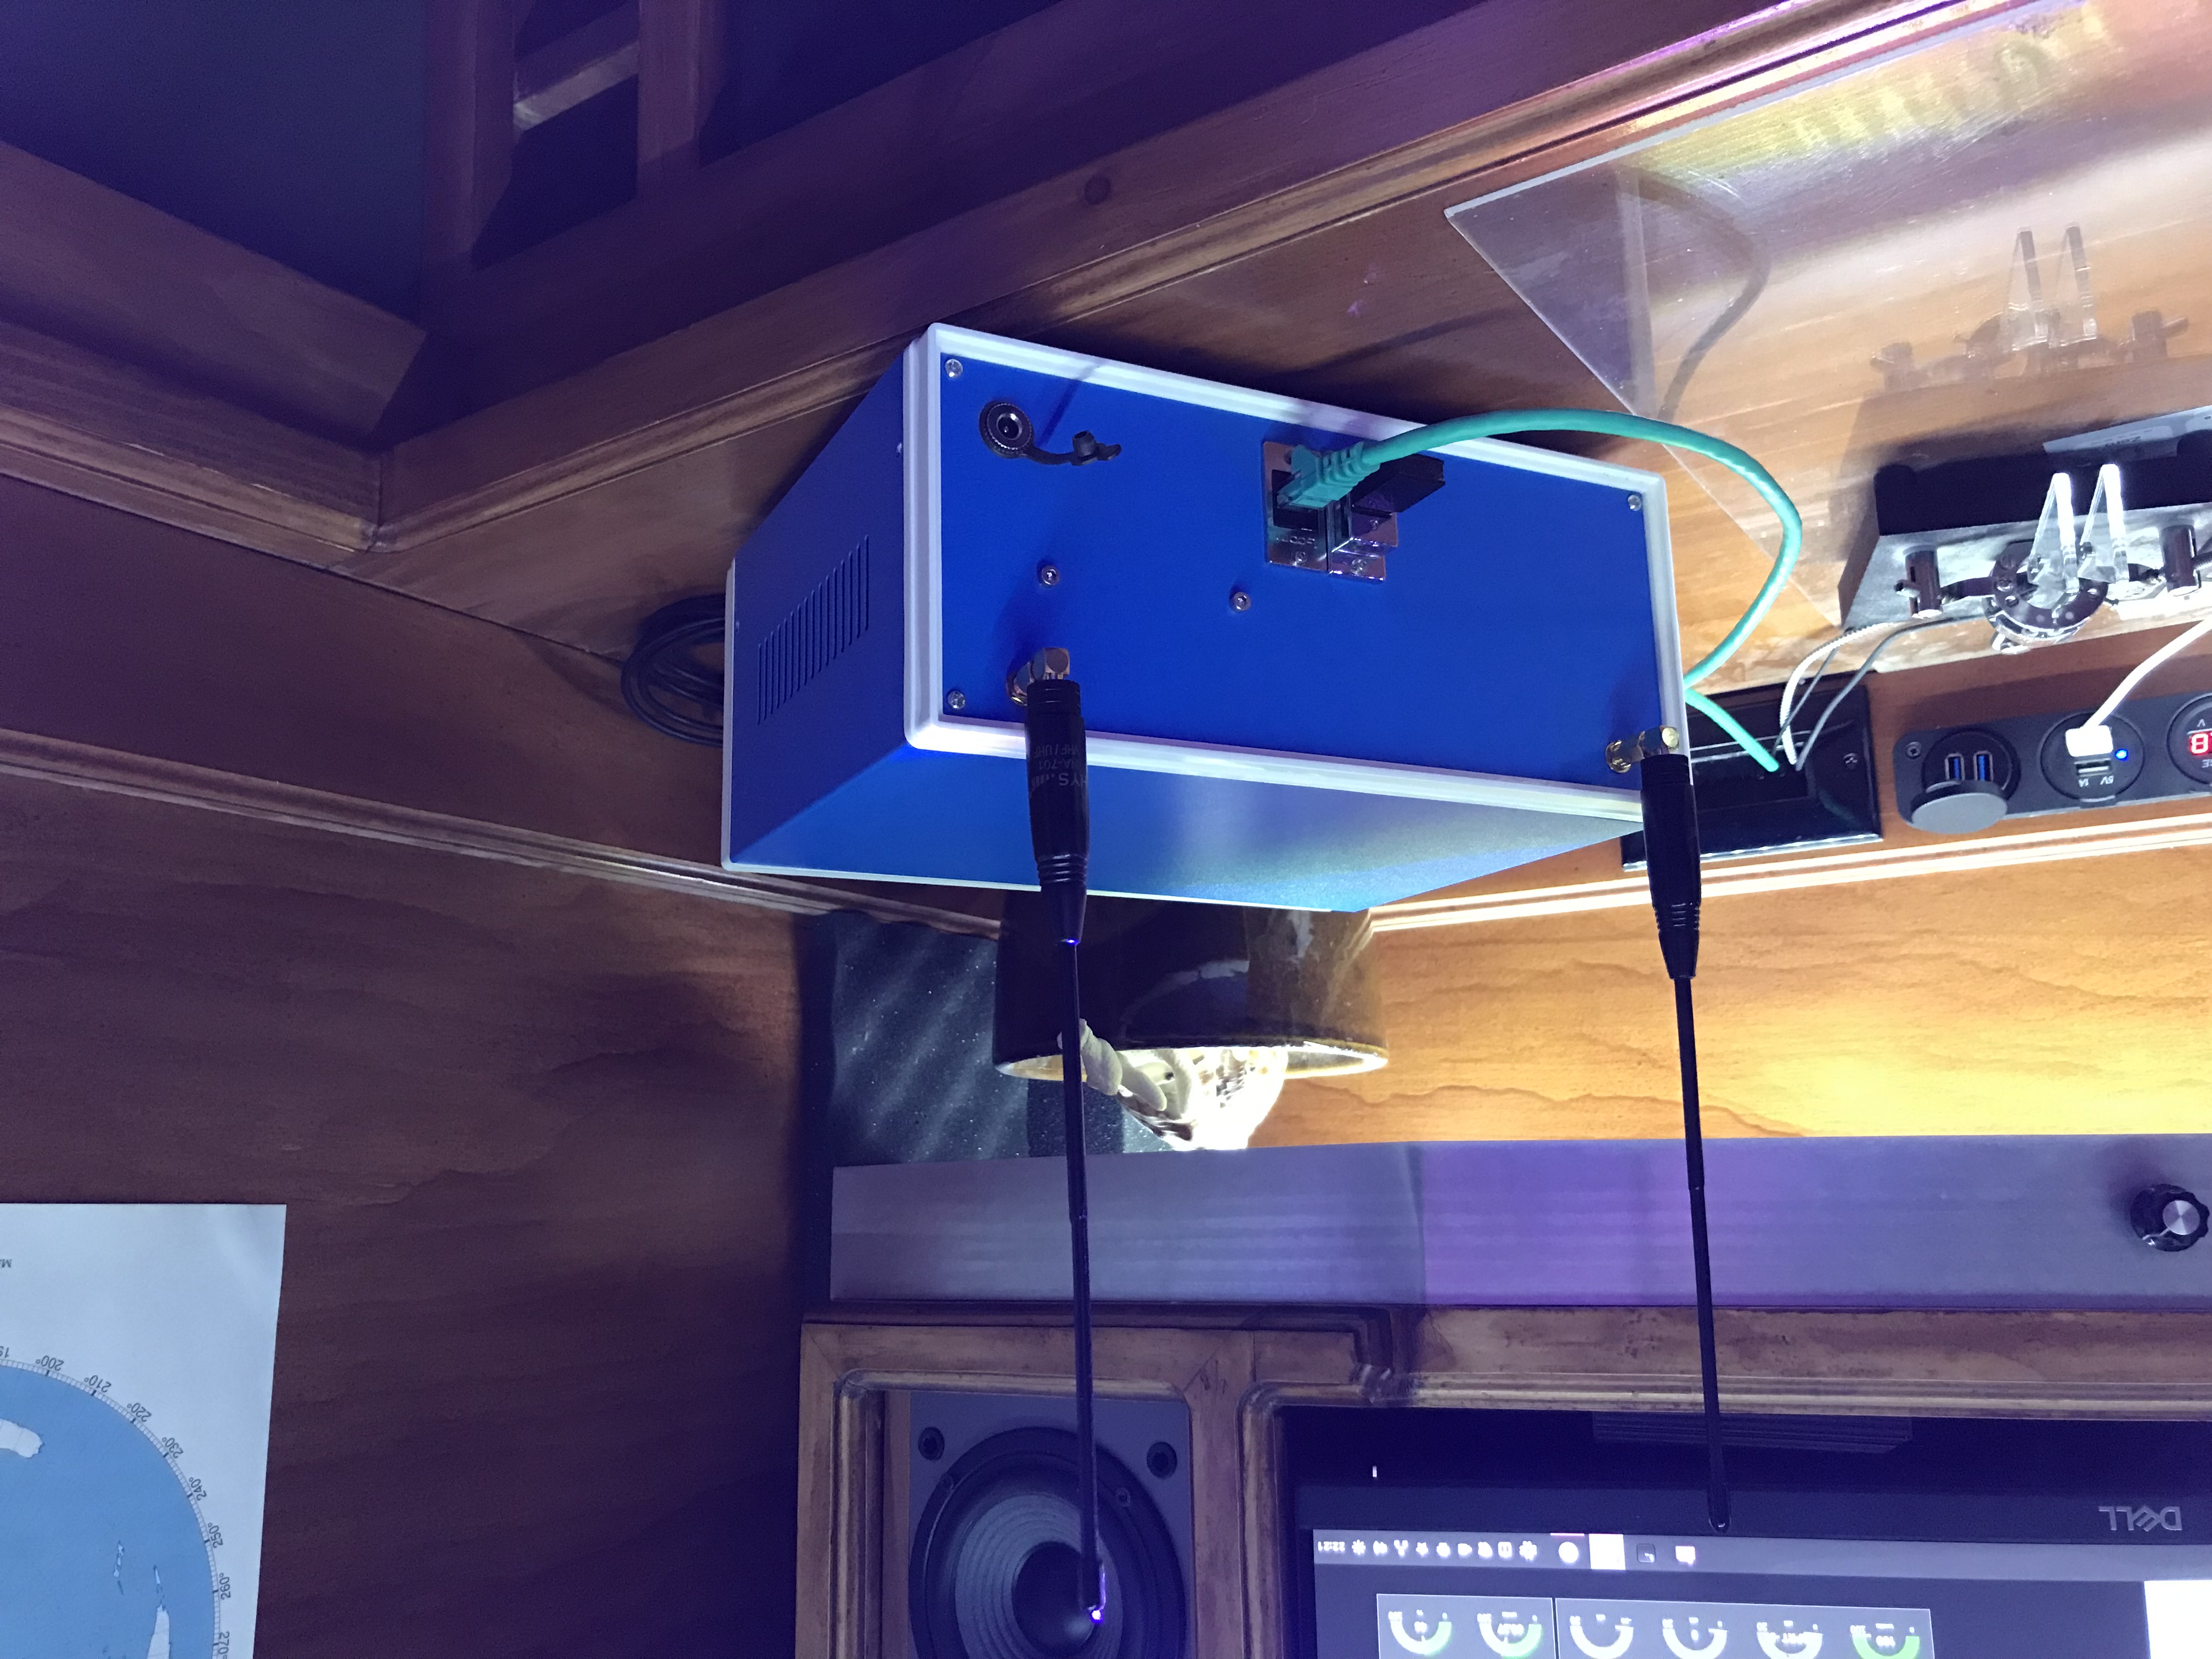
Oh, and don’t worry - I have plans for all that empty space in the box, but for now it’s a secret :-)
Indication
During our failed launch of V1, we couldn’t really tell what was going on. To solve that problem for this one, we added LEDs that indicate:
- When the computer is booted up
- When Node Red is running
- When the RTL dongle software is running (used for APRS, not the LoRA - that will be another post)
- When Direwolf is running (again, used for APRS, not LoRa)
- Blinking LED when LoRa packets are received
- Blinking LED when APRS packets are received
Software
There are a couple different critical bits of software running on the LePotato that I already mentioned, but I’ll stick to the LoRa specific stuff at the moment.
From a fresh Armbian install, I then installed Node Red using the standard directions available at nodered.org. I then proceeded to use a serial node to get the data from the Feather, a second serial node to send data to the Feather, and then a bunch of nodes and dashboard elements to do all the other bits. After a few hours of massaging stuff around, I had a working dashboard! I don’t have the space or desire to teach node red in this post, so if you’re interested in learning it, start firing up the internet search-o-matic machine, and you’ll find all kinds of how-to’s and tutorials.
Quick video walkthrough, for the extra curious: